This page allows you to send an instant message to subscribers depending on the behavior (according to the activity criteria from previous emails).
Pages for adding and editing emails are identical to each other except for the page title (Add or Edit respectively).
The page contains 4 tabs:
- Main settings
- Restrictions
- Additionally
- Testing the distribution of spam
The {…} button has appeared on the editor panel, which allows you to add information from additional contact fields to letters. More details can be found here.
Main settings
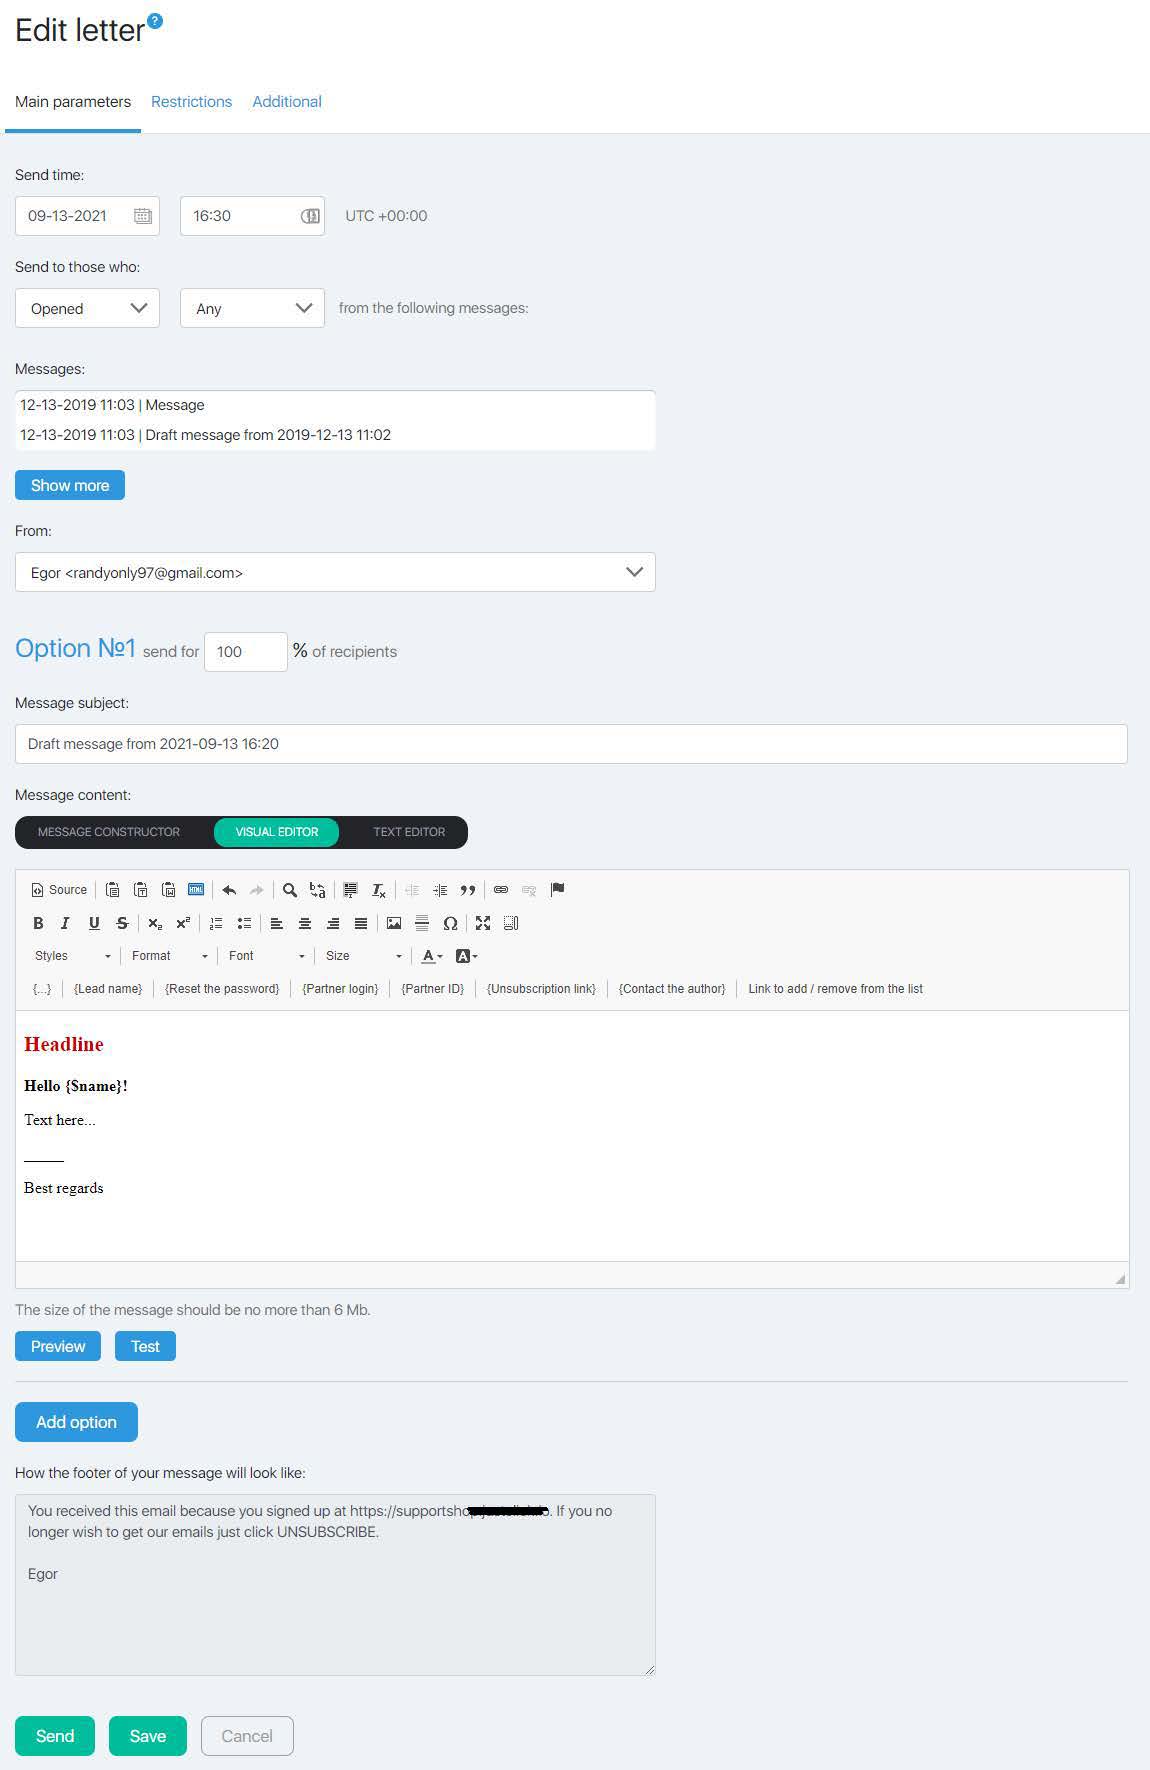
On the Main Settings tab, you must select the date and time when the message was sent.
Note! Despite the fact that the tool is called “instant messaging” there can be a certain time lag (depends on the number of recipients). In addition, the actual time of receiving a message depends on the recipient’s mailbox.
You can prepare an instant message in advance (for example, specify the date of sending the next day). Then by clicking the Send button the email will be put on hold and sent at the specified time.
Please note that:
Formation of the list of addresses to send is performed when creating an instant mail by activity.
Recalculation of the list of addresses to be sent is performed 1 hour before the letter is sent.
This means that if you set up an e-mail by activity before the selected letters in the list of options have been sent, and the interval for sending the e-mail by activity is less than 1 hour after the corresponding instant messages have been sent, the e-mail by activity will not be sent.Let’s explain on an example. You set up an instant letter by groups for 6:00 p.m. in advance. Immediately after creating an instant group email, without waiting for it to be sent, you set up an instant activity email to be sent to those who have not opened the group email. The activity email is set up for 6:30pm. In this case, you must create or re-save the activity email after the Instant Group Letter has been sent.
Next, select the desired (one for one mailing) activity parameter.
List of parameters:
- Opened: all selected emails/any of the selected emails
- Not opened: all selected emails/any of the selected emails
- Clicked on the link in the email: in all selected emails/in any of the selected emails
- Did not click on the link in the email: in all selected emails/in any of the selected emails
Choose the email(s) from the list the recipients of which, based on the selected activity, will form a mailing list for this email. Blue background – the email is selected, white – not selected. By default, the last 5 emails are displayed. The Show 5 button opens the next 5 emails in reverse chronological order.
In the Send on behalf field, select one of the pre-added and confirmed senders. Depending on the selected sender, the message will change.
The Subject of the letter field is intended for entering the header of the message, which will be displayed in the subscriber’s mailbox.
The Letter Format radio button allows you to choose in what form the message will be generated – HTML or plain text. If you select plain text, no methods of formatting the message are available, but the message is guaranteed to be displayed in the same way in all mailers. When selecting HTML, advanced editing capabilities for messages (editor and html-markup mode) are available.
After that, in the editor window, you need to insert the message text or change the existing one. Editing text is done using the default text editor on JustClick.
Data substitution variables allow you to insert individual values into the message text for each subscriber. For example, when clicking on the Subscriber name button, the variable {$ name} will be inserted in the message text, which will be replaced with the name of a specific subscriber when the message is sent, taken from the database.
Variable Link for quick subscription/unsubscription allows you to insert a link into the message, by clicking on which the subscriber will automatically be moved from one group of subscribers to another without entering any data into the subscription form. This is an important tool that allows you to segment the subscription base.
Click on the title Option No. … allows you to minimize/expand the current version of the letter. This is convenient if you are using split testing (A/B testing) to switch between message variants.
A/B Testing
Split testing allows you to choose an option with better openability/clickability/conversion by analyzing the response of the audience to changing any element of the message.
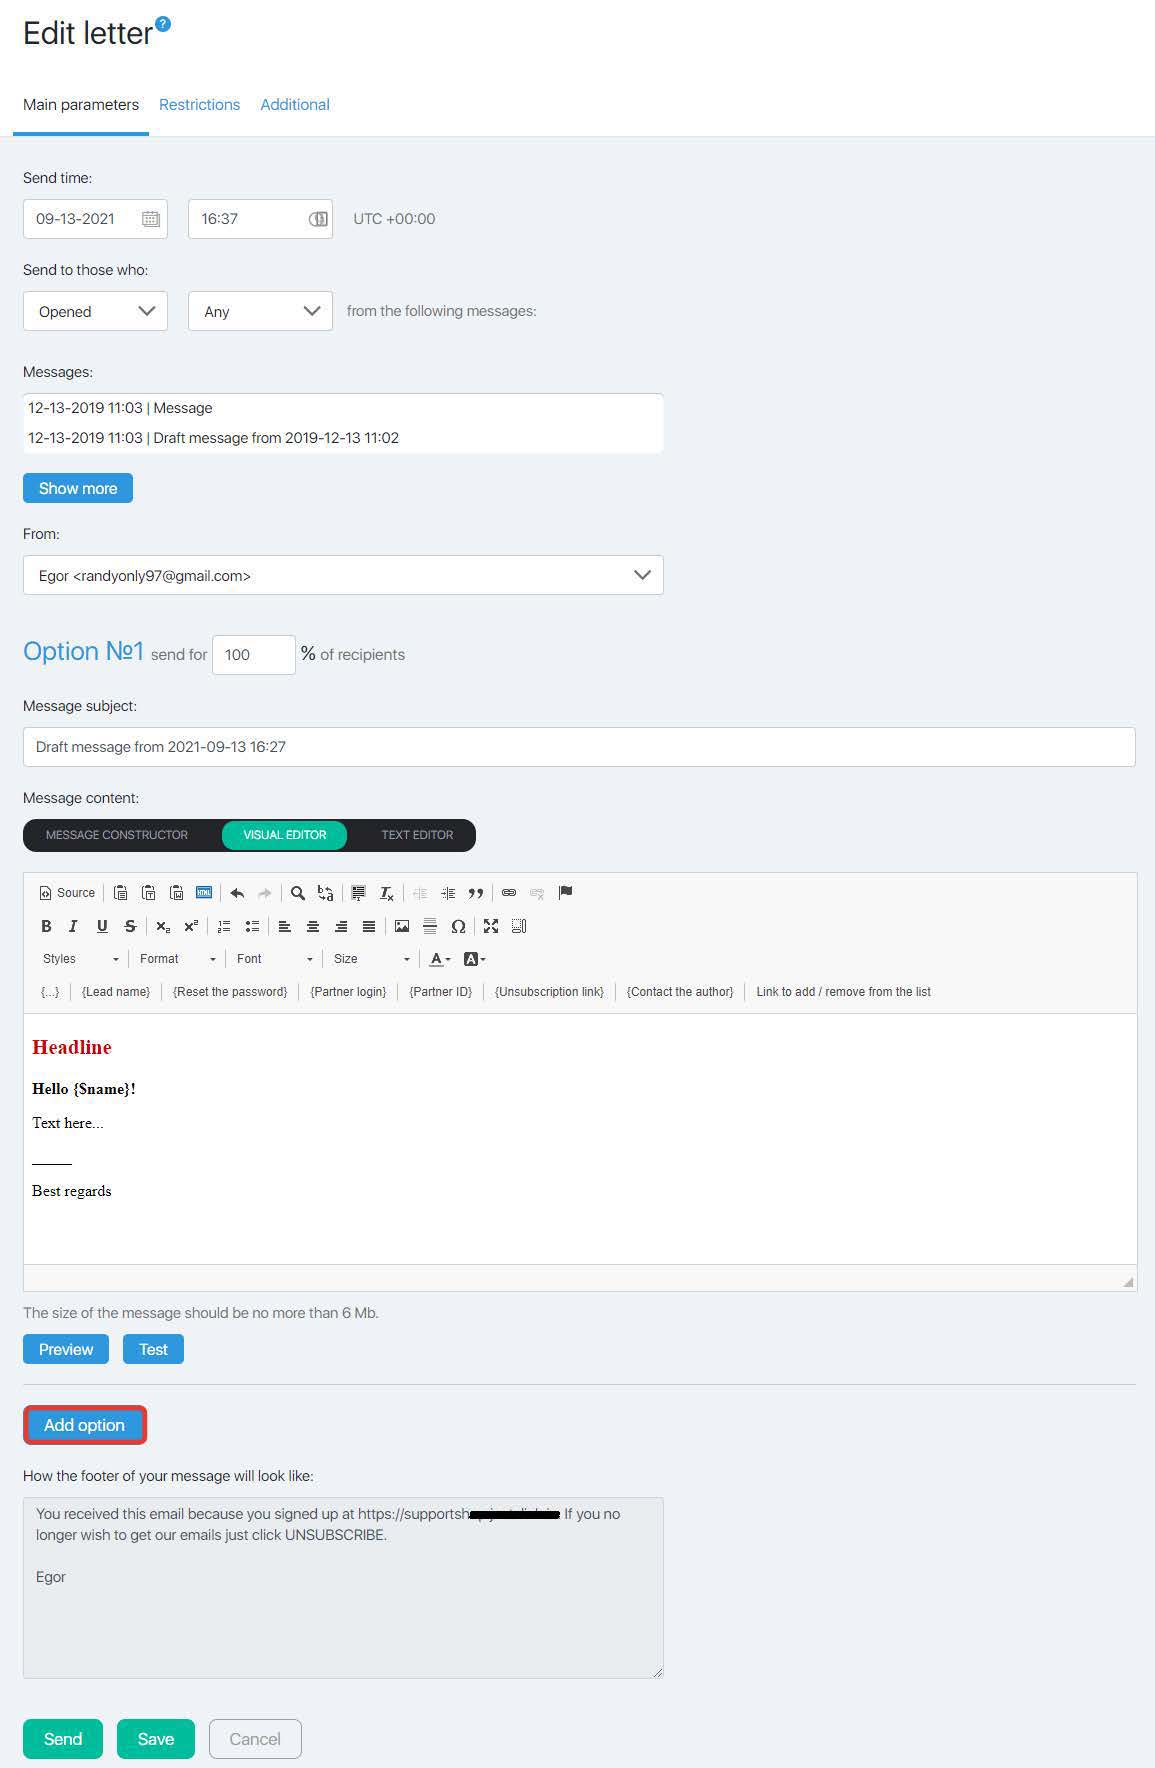
To conduct A/B testing, click the Add option button. Under the first option, a similar editor window will be added, allowing you to enter the second variant of the email. Similarly, you can add the 3rd, 4th, and so on options.
Note. The total value in the window is 100%. Those. if we test 2 variants, we expose 50%, if 3 – 33%, 33% and 34%, and so on.
The Preview button displays an approximate view of how the message will look to the subscriber. When you click the Test button on the mail, which you specified in the test settings, the email will leave (it helps to see how the letter will look directly in the mail client).
Restrictions
On the Restrictions tab, you can specify which subscriber will not receive this email.
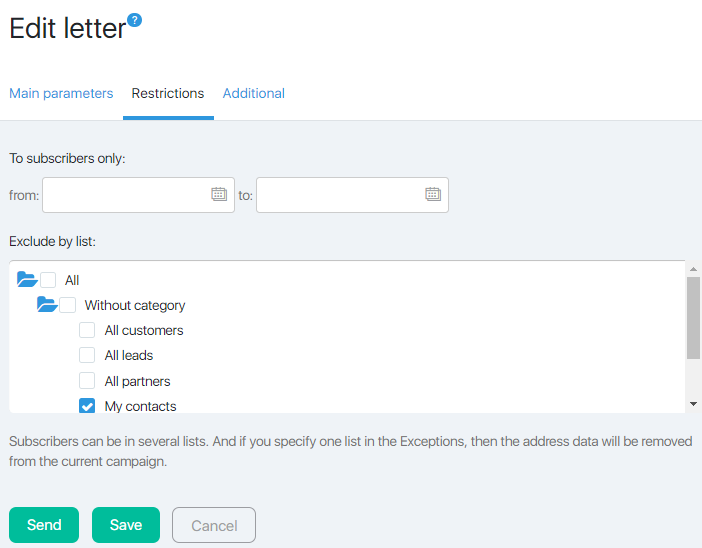
For example, you can specify a date in the Only signers with … field to avoid resending the message to subscribers who have already received the information contained in the email earlier.
The Exclude by Groups window allows you to configure which other groups will not receive this email. For example, the message suggests buying a product at a discount. It can be received by customers who bought the product at full cost. To avoid this situation, just tick the checkbox in front of the Customers group of the Product … This group of subscribers will not receive the current email.
Additionally
On the tab Additionally, using the checkbox count followed links from the message, you can enable or disable click-through-link counting in the message. This will allow you to consider not only the openability, but also the conversion of the email. In addition, then in the instant mailing you can send emails by the activity that passed/did not click on the link.

Here you can specify (if necessary) a personal redirect page after the unsubscription.
After making changes on all tabs, you can click the Send button. Sending will begin immediately, or the email will set on waiting for sending, which will begin at the time specified in the settings.
When you click the Save button, the email will be paused. To start sending it, you need to go to the Instant Mailing page and click the submit button.
