Content
The mailing settings allow you to choose the server through which your emails will be sent. By default, emails are sent through the JustClick service servers.
Amazon Web Services‘ Simple Email Service (AWS SES) allows you to quickly configure your emails to be sent through their SMTP. In this tutorial, we’ll look at how to set up AWS SES and connect their SMTP to send your emails from your JustClick personal account.
Configuring your AWS account
Setting up email inside AWS
To create an account, follow this link. A simple registration process awaits you. Be sure to activate your account (this is done by clicking on the activation link in the email you receive after registering).
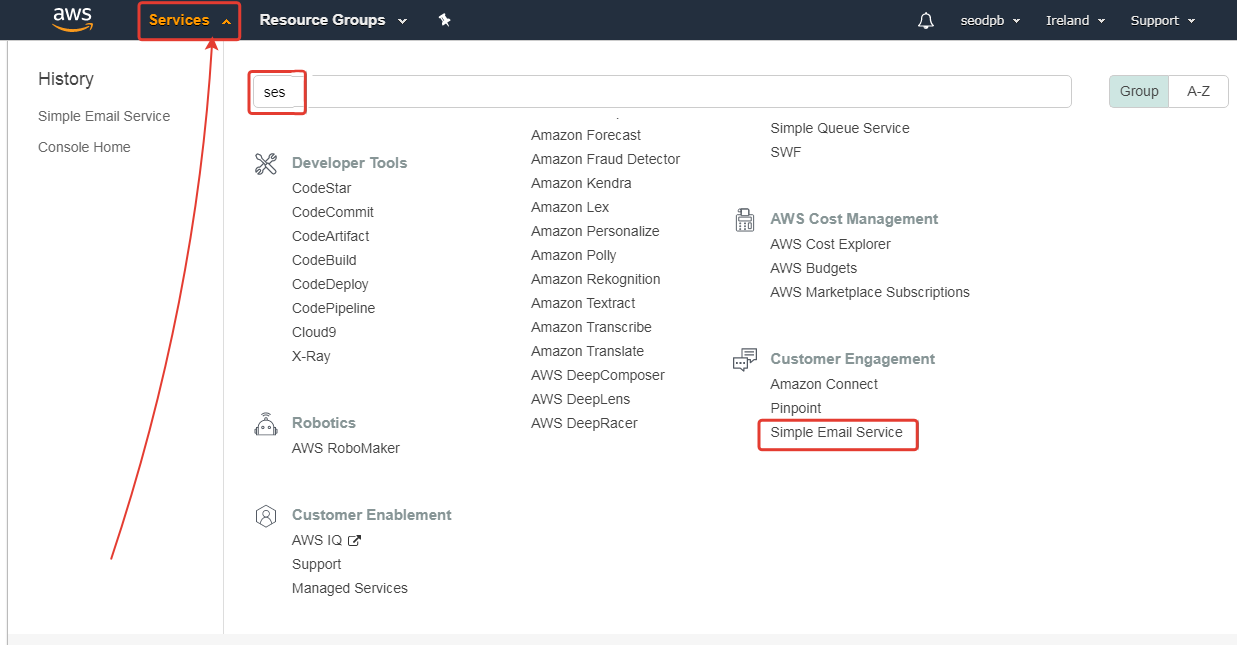
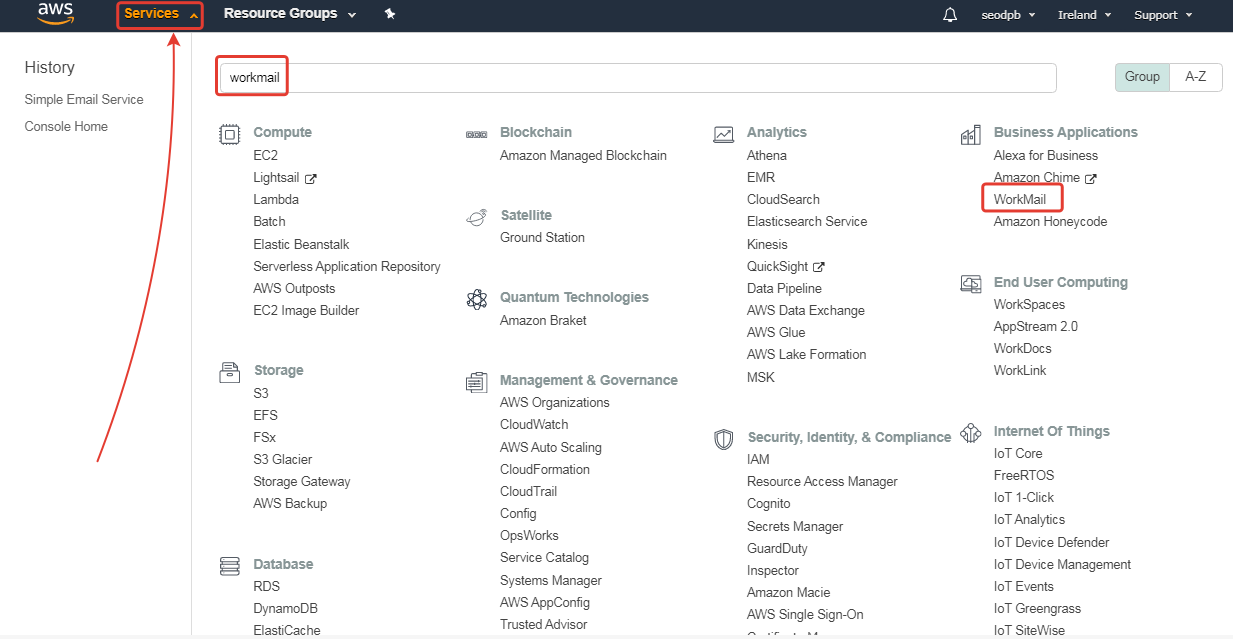
Open the list of services and select Simple Email Service either through the search box or in the list of all services:
Adding a domain to AWS SES
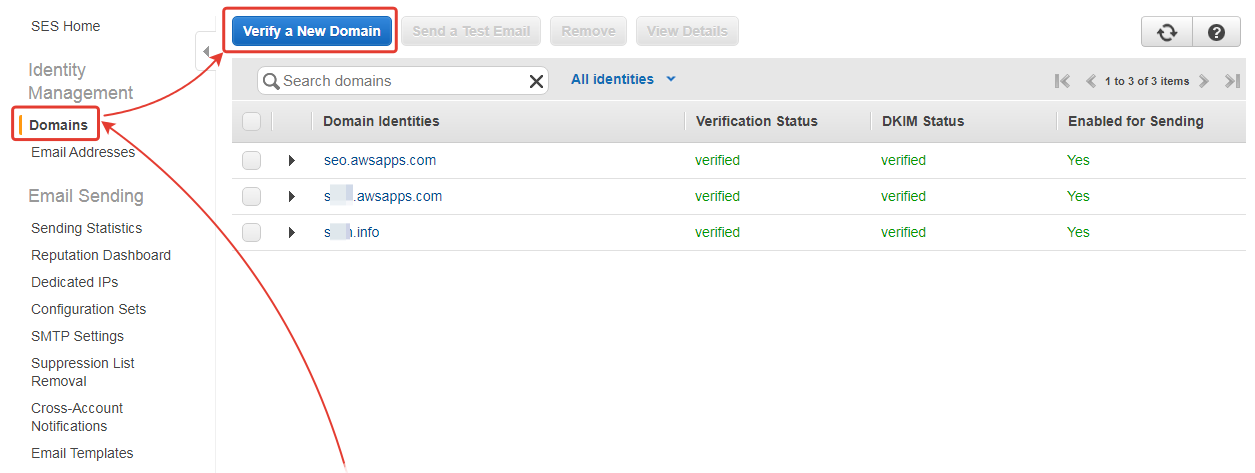
To set up an AWS-based corporate email service – click on “Domains” and select the option to add a domain:
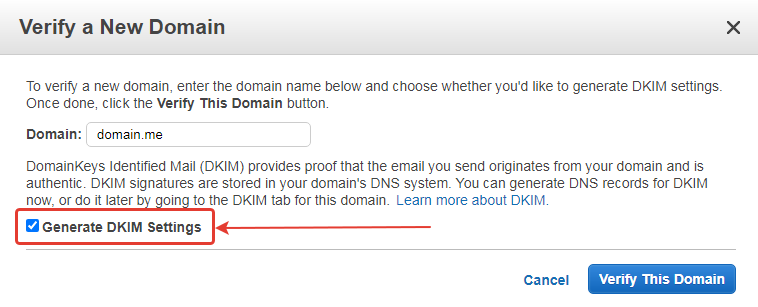
Check the checkbox to add DKIM and confirm the domain addition:
You will be shown the entries to be added to the domain:
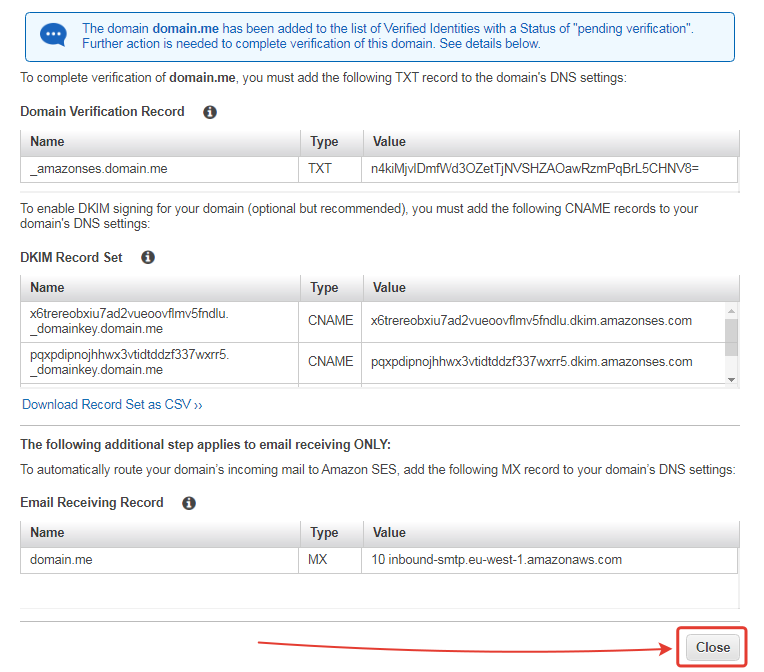
All records need to be added to the domain.
If your domain is delegated to JustClick – you can do it following the instructions. If your domain is delegated to other service – you can add records in admin panel of this service (if you do not know how to do it – contact support of your web host where domain is delegated).
When the domain is added and the inscription “verified” in the column “Verification Status” – click on it in the list of domains:
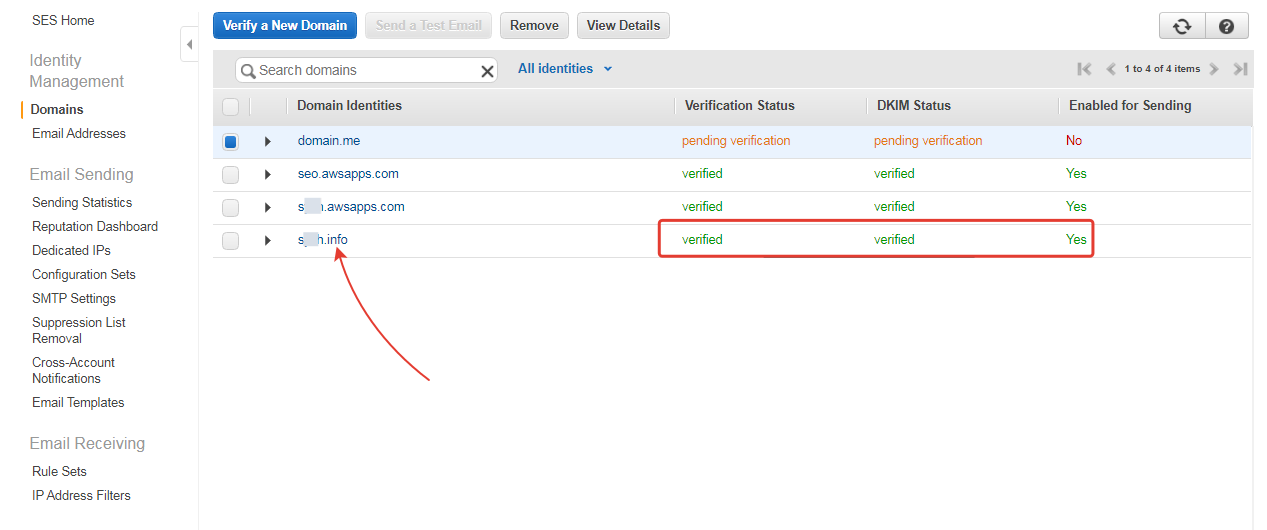
There you will be able to get a DKIM record (all the records shown must be added to the domain) and start setting up mail on the domain:
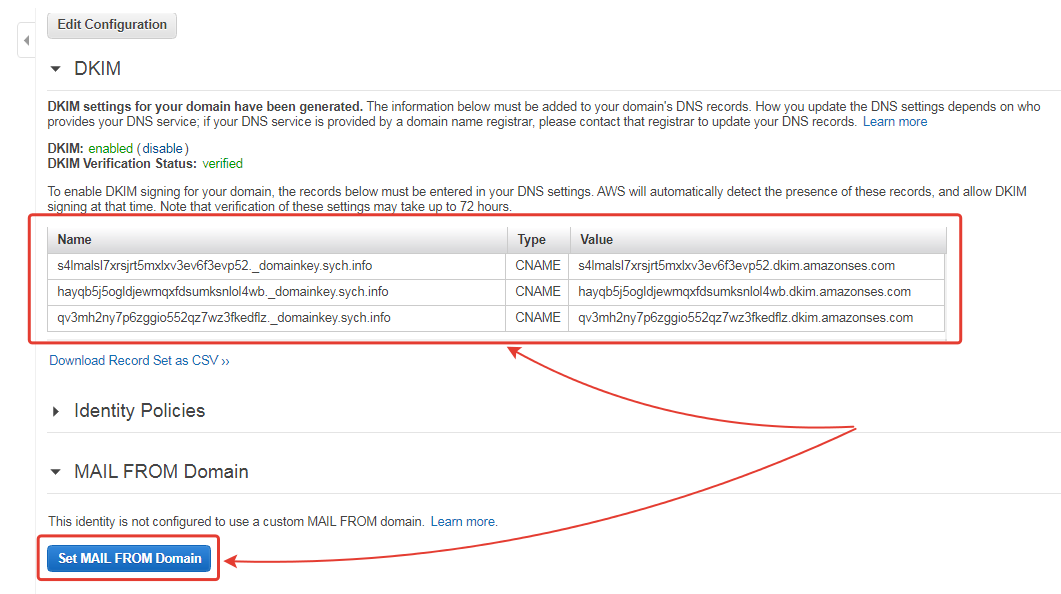
At this point you should determine – whether you already have corporate mail configured or not. If you already have corporate mail configured on another service – go straight to section “Configuring SMTP inside AWS SES”.
Creating email in AWS WorkMail
To create an email based on a domain already added to AWS, go to the WorkMail service:
Create a new organization in WorkMail:

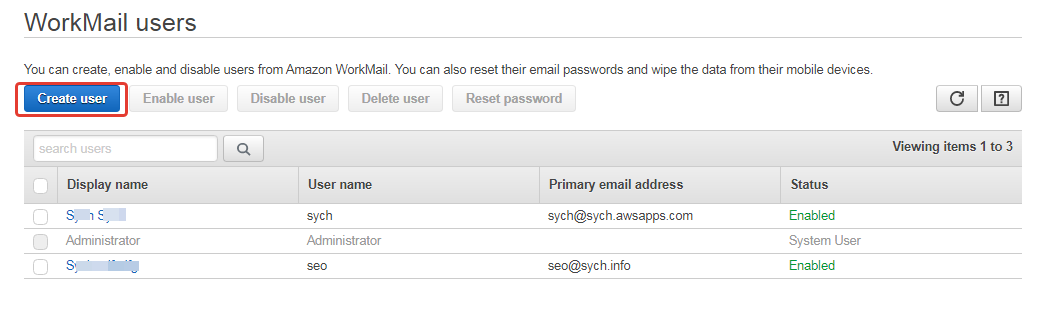
Once the organization is created, select it in the list – the option to create users (new emails for that organization) will open. Click on “Create user”:
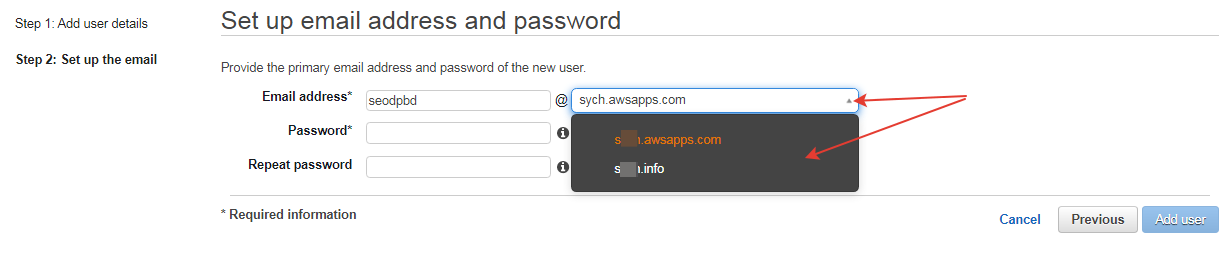
Enter the wanted data of the user. You can select the domain for the mail as follows:
To go to your newly created email, use the “Web Application” link in the “Organization settings” tab:
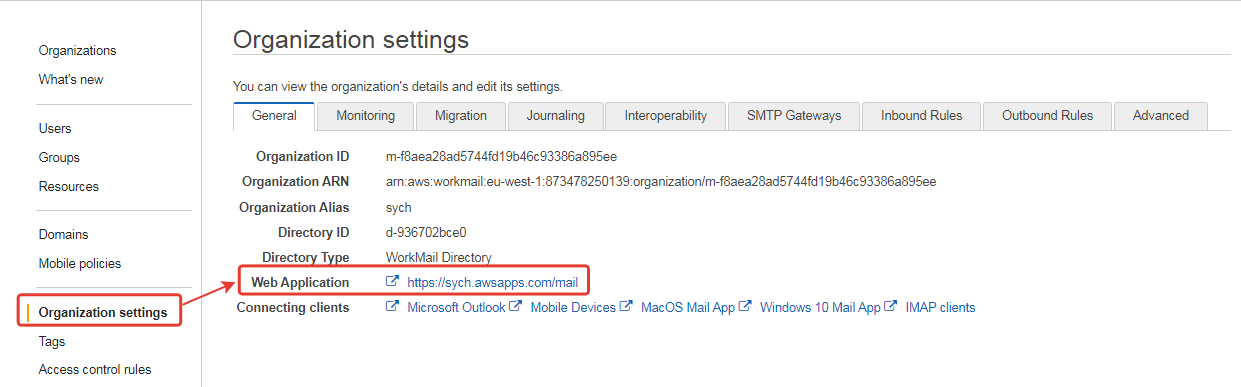
You can use this link all the time to log in to your emails created through the WorkMail service.
Configuring SMTP inside AWS SES
Connecting email in AWS SES
Go to the AWS SES functionality. Select “Email Addresses” from the side menu and click the “Verify a New Email Address” button:
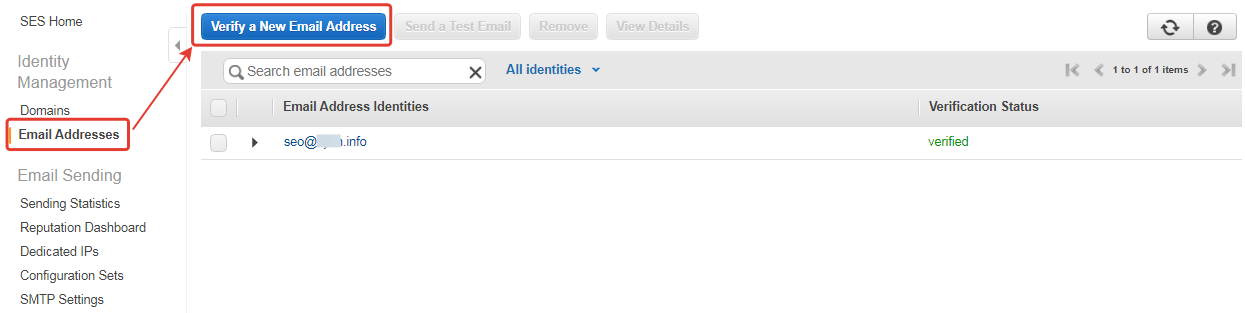
Add your email and confirm the addition. An activation email will be sent to your email. Open this email and click on the activation link in it.
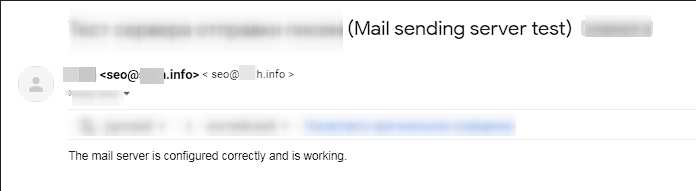
You can test if sending an email through the SES functionality using this function:
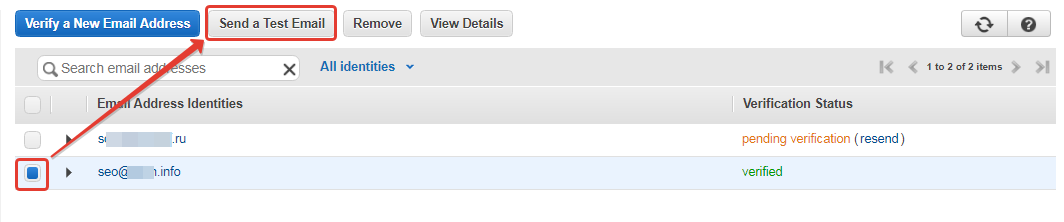
If the test is successful, you will get an email sent through the test functionality. If it did not come – you should check the settings once again and write to AWS support.
Unlocking AWS SES restrictions and limits
By default your account is in the Amazon SES sandbox. This means that you cannot send emails to unverified contacts – only to your contacts added to the AWS functionality.
You can find more information about AWS access limits in this tutorial.
To remove restrictions from your account, you need to create a request to the AWS service support using this link. In the request, you must specify:
- How many emails you plan to send (number per day and per month).
- Whom you will send letters to (subscribers, customers…), the source of their contacts and geography (if any).
- Mailing topics.
After getting the answer about getting your account out of the sandbox from Amazon support you can move on to configuring the SMPT integration.
Getting SMTP data for JustClick integration
Select “SMTP Settings” on the side menu:
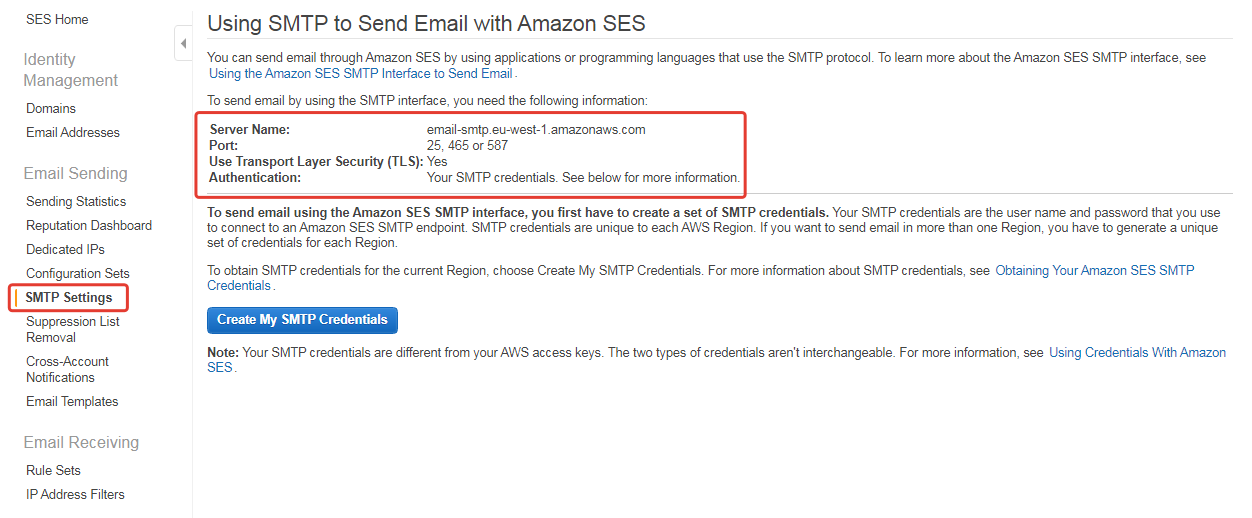
This window shows you the data for the SMTP connection, this is what you need to use to configure the external email sending server in JustClick.
Click on the button “Create My SMTP Credentials” and the connection data for SMTP will be created for you:
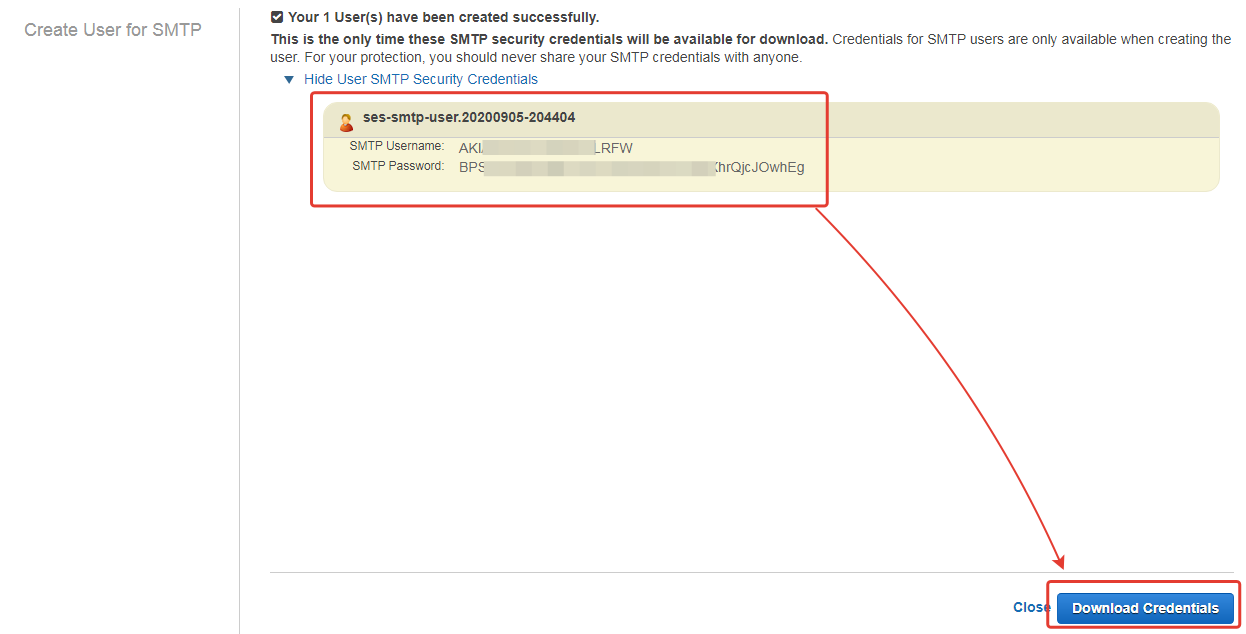
Be sure to save this data!
Use them to integrate AWS SES and JustClick following these instructions.
Important: Add as a sender contact the email that you previously connected to AWS. Select it as your default default sender contact.
After a successful test, be sure to check your test email – you will receive an email informing you that the test was successful: