Content
- 1 Introduction
- 2 How to create a message?
- 3 What are the components of a email template?
- 4 Collection of ready-to-use sections
- 5 How to add new widgets
- 6 How to move the elements
- 7 Changes in the elements’ design
- 8 How to add variables in a message
- 9 How to create a customized email template
- 10 How to delete or to edit a customized email template
- 11 Working in the mobile version of the letter constructor
- 12 How to provide an access to edit email template to employee?
Introduction
We are delighted to present a new service tool which is long-awaited by our clients – a Message Constructor. We hope it will simplify your work with the mailouts.
How to create a message?
Section “Campaigns”, subsections “Broadcasts” and “Email series” handle all activities with the message constructor.
Switch to “Message Constructor” when prepare a message:
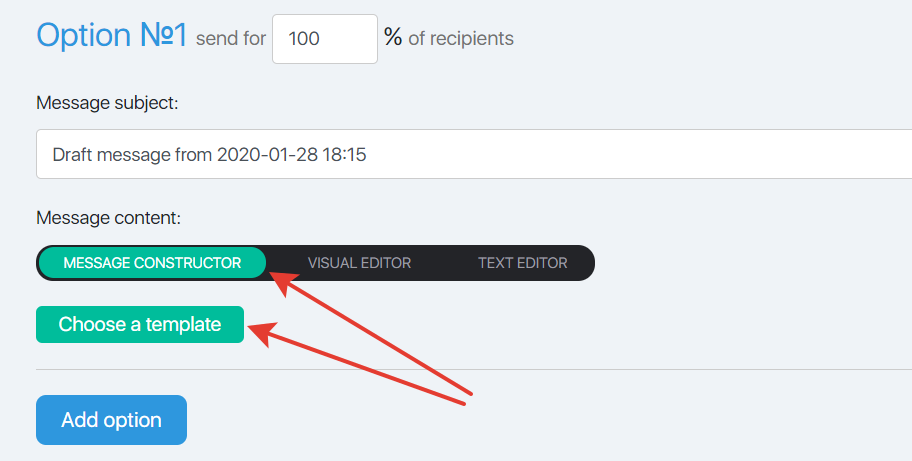
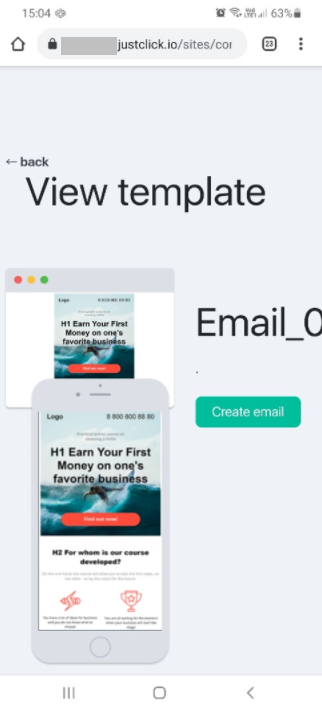
To create a message in Message Constructor, click “Choose a template”, then the system will forward you to a page with the email templates: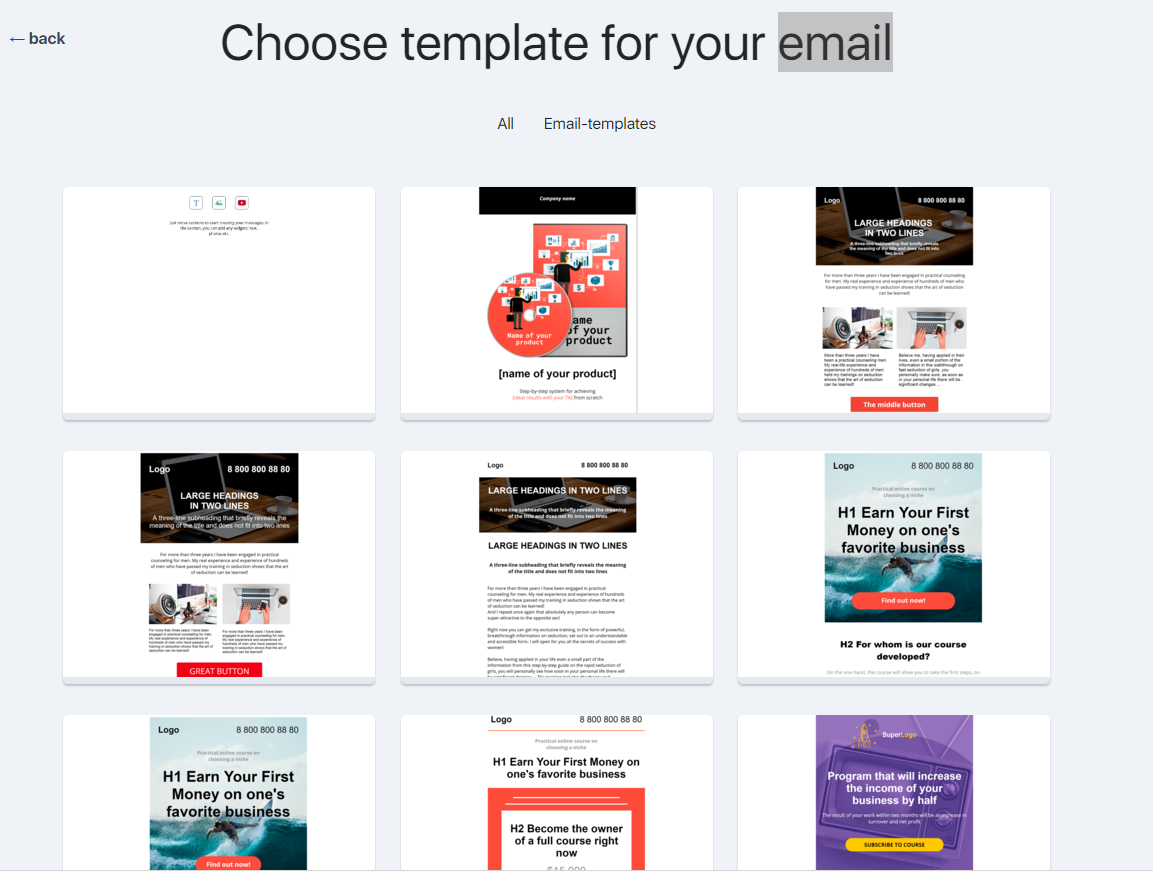
Select the template you need.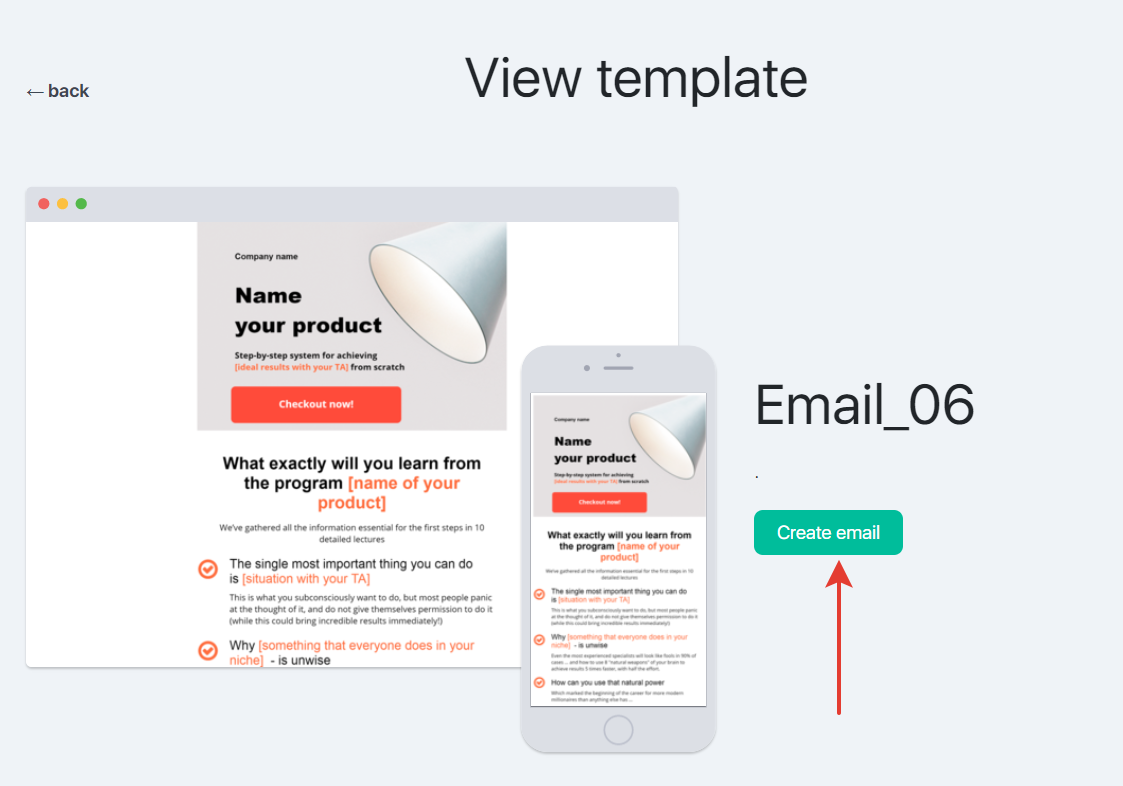
If you are satisfied with the design and the look of the template, click “Create email” to go to message constructor:
What are the components of a email template?
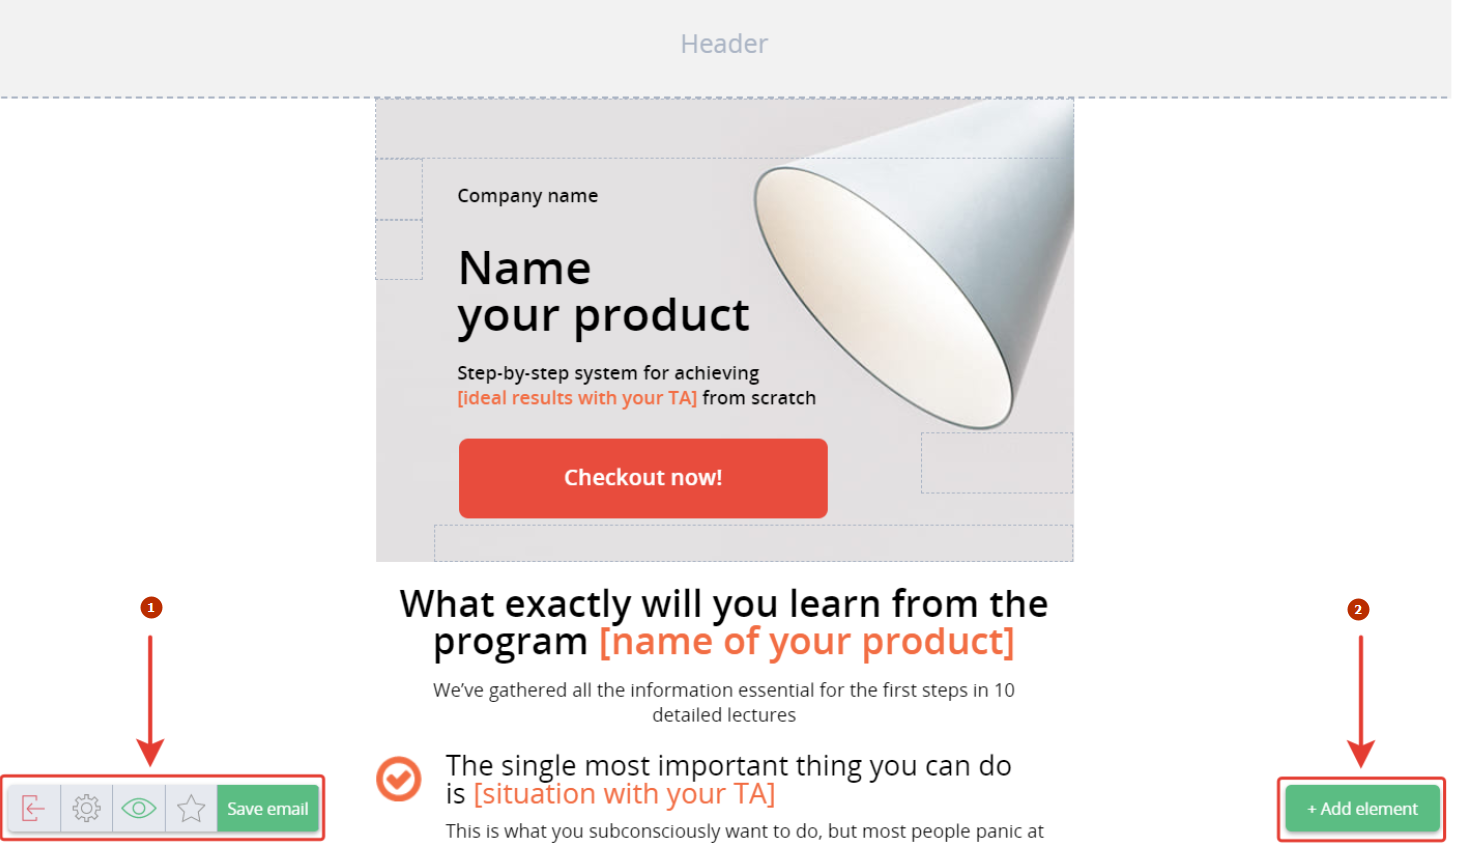
The Editor of a template constructor takes half of the screen. The control buttons are at the bottom:
- to the left — page settings,
- to the right — adding new elements.
- message settings
- adding sections and widgets
Left panel buttons:

- exit the mail editor
- email settings (background, effect, colour)
- email preview
- save a page as a template
- save chfnges in this email
The page is divided into three logical parts: header, main content and footer.
Additional sections can be added to each part. Each section contains widgets.
Collection of ready-to-use sections
Large blocks of a message — sections — are divided into categories by the content: content, reviews, footer, products, header. Ready-to-use sections can speed up the process of message creation.
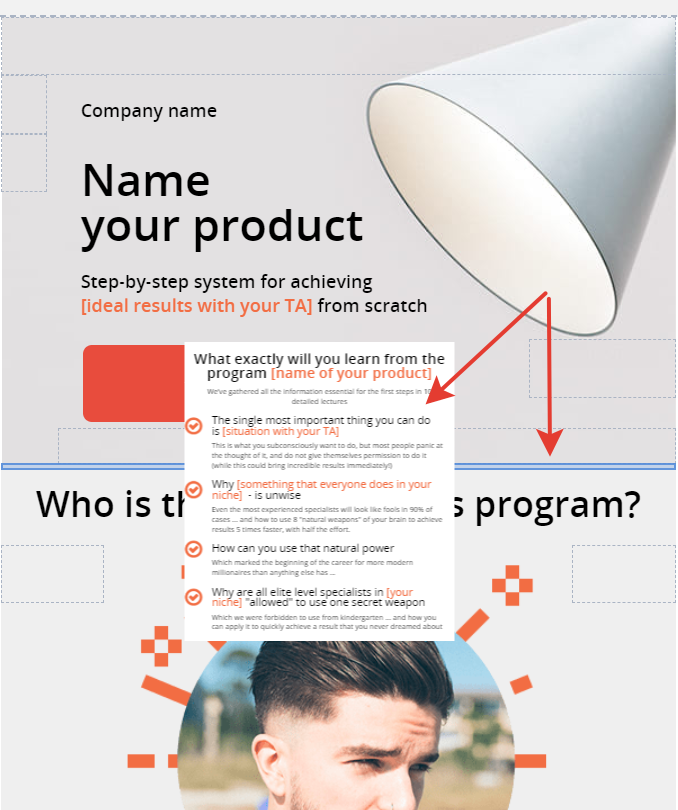
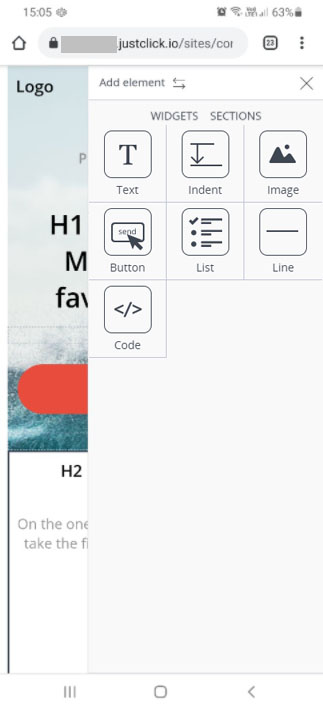
To add an element into a message, click “Add element” in the right corner below:
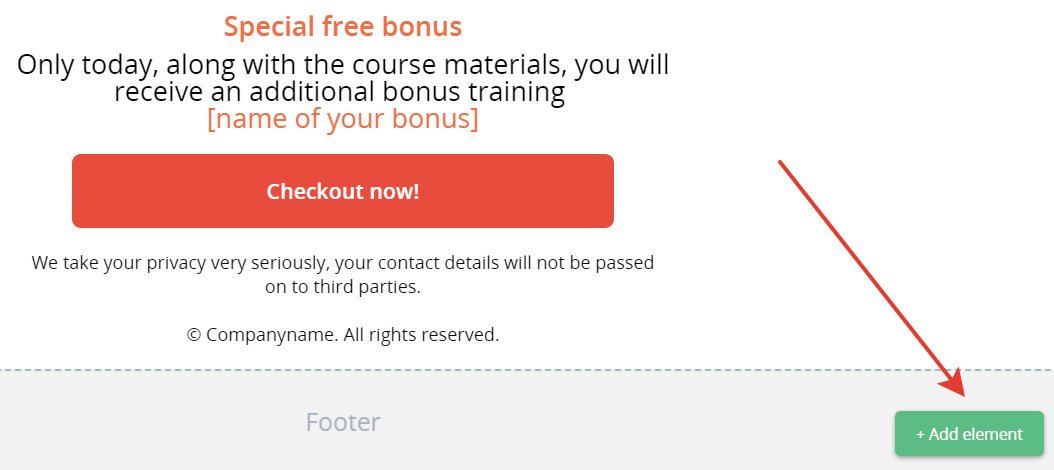
Then just drag the required section to the place where this section should be dropped. This place will be highlighted in blue.

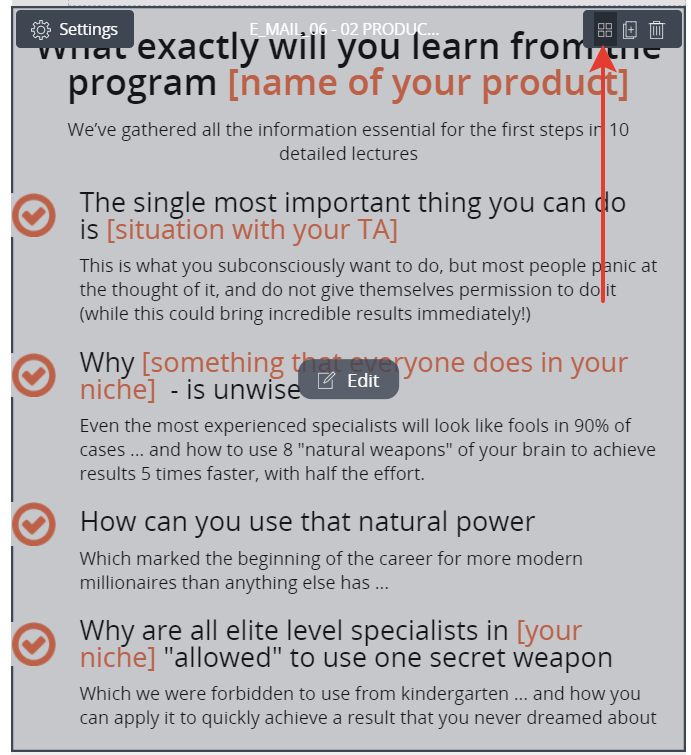
You can also add your own partition templates to a collection of finished partitions.
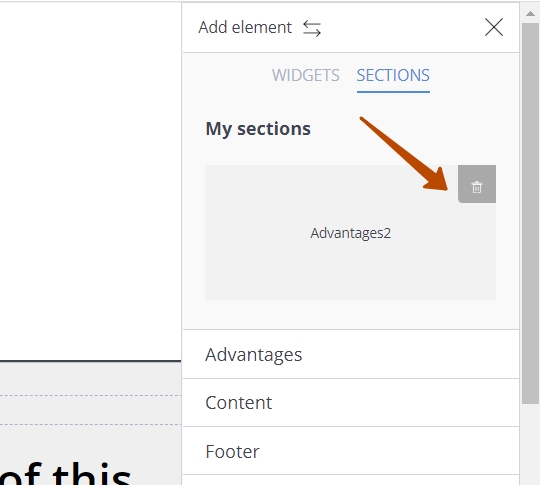
To save the section as a template, move the mouse over the upper-right corner of the section and click the star icon.

To delete a partition template, go to the My Partitions category in collection and click the recycle bin icon on the partition template you want to delete.
How to add new widgets
To add a widget to the message, a section should be placed and selected (by right clicking the mouse).
You can add new widgets by clicking “Add element”. You should select a WIDGETS tab in the popped-up panel on the right by holding the required widget and dragging it to the required place in the section.
An element location is highlighted in the same way as the section location — by a blue line.

Tenga en cuenta que en el widget “Texto” puede establecer diferentes sangrías para las versiones de escritorio y móviles de la carta.
Para hacer esto, abra la configuración del widget de texto y establezca los valores de sangría necesarios.
Puede cambiar el estilo de las cartas de correo especificando ciertas configuraciones de trazo de sección.
En la configuración de la sección, puede seleccionar el tipo de trazo, el grosor de la línea, el color de la línea, los márgenes internos y externos del contenido, la presencia de una sombra, su color y ancho.
Abra la Configuración de sección y establezca los valores de Trazo de sección deseados.
How to move the elements
To move a section or a widget in a message, click the block heading. Hold the element by left clicking the mouse and drag and drop it to the required place:
Widgets can be moved inside the section and between the sections. When moving a widget from one section to another, this widget will be the first on the list. When moving a widget to a new section, select this section (by left clicking the mouse) and drag and drop the widget to the required place inside this section.
Changes in the elements’ design
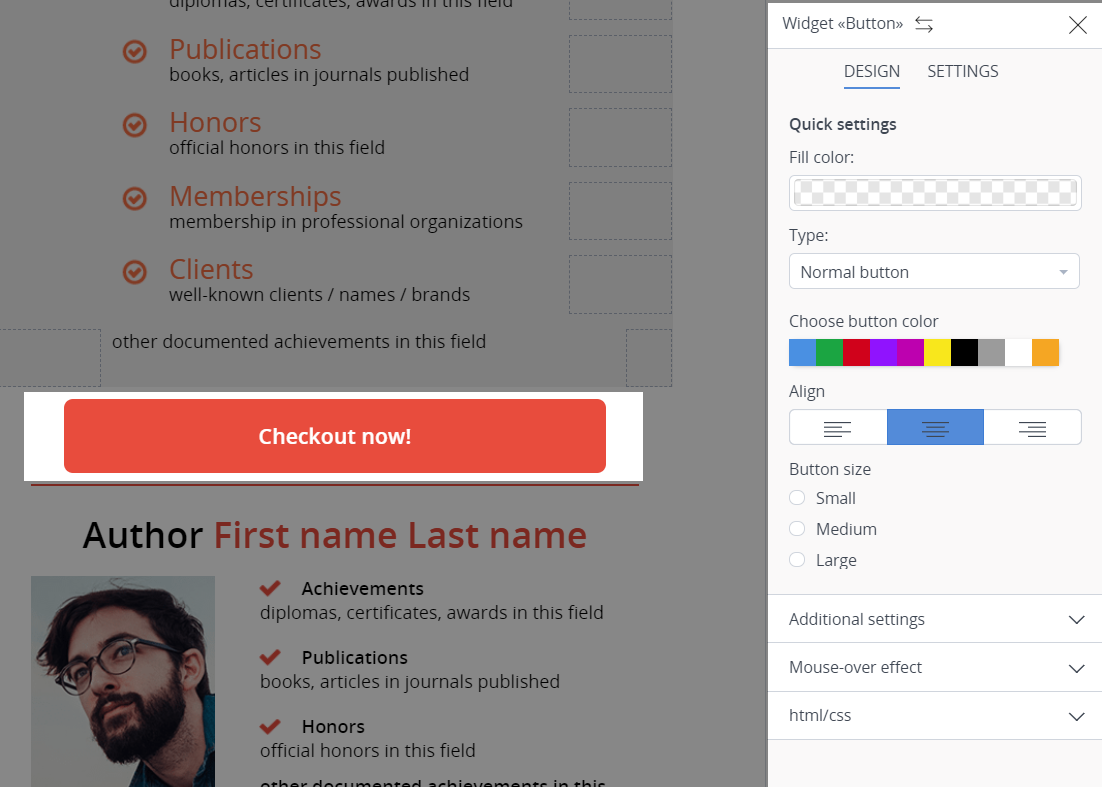
Click the required element of a message — the right panel will display the settings for this element. Each element has ready-to-use styles which save your time.
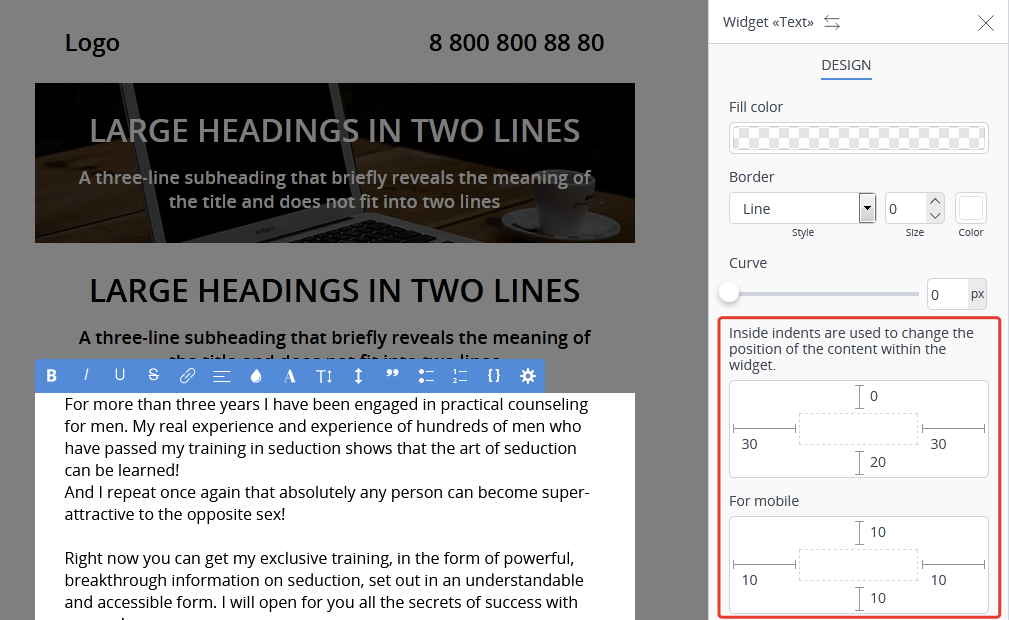
Please note that in the widget “Text” you can set different indents for the desktop and mobile versions of the letter.
To do this, open the text widget settings and set the necessary indent values.
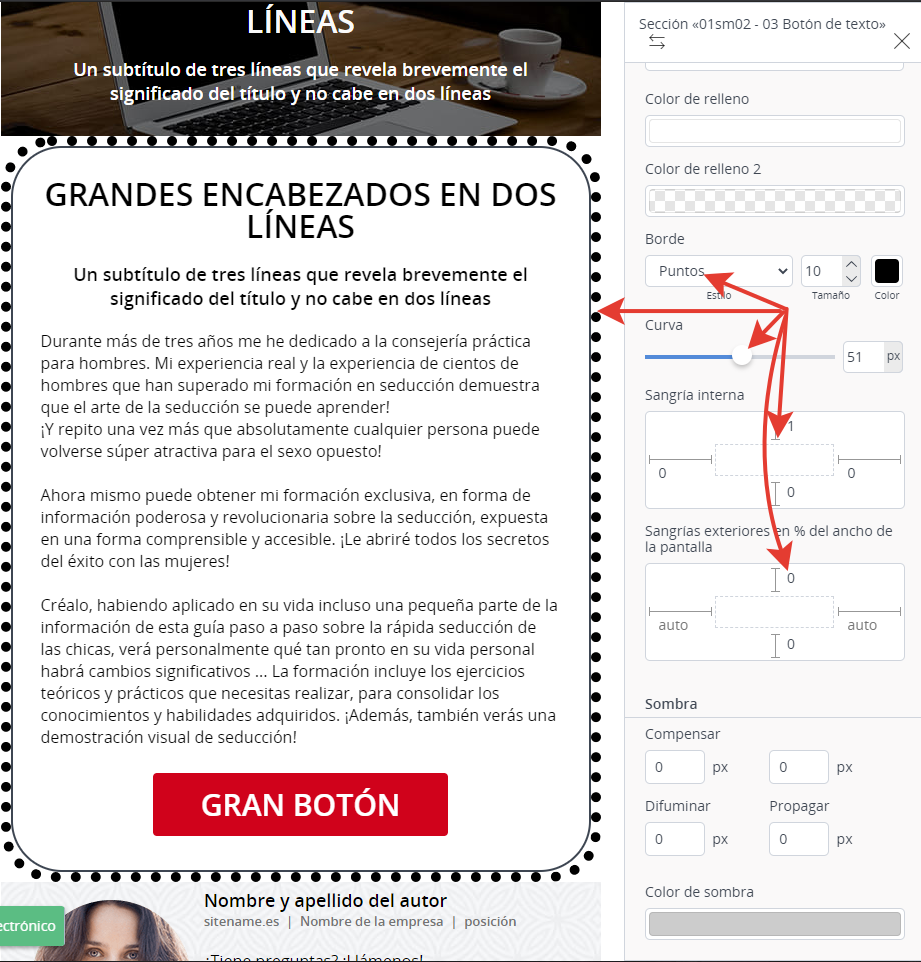
You can change the style of mailing letters by specifying certain section stroke settings.
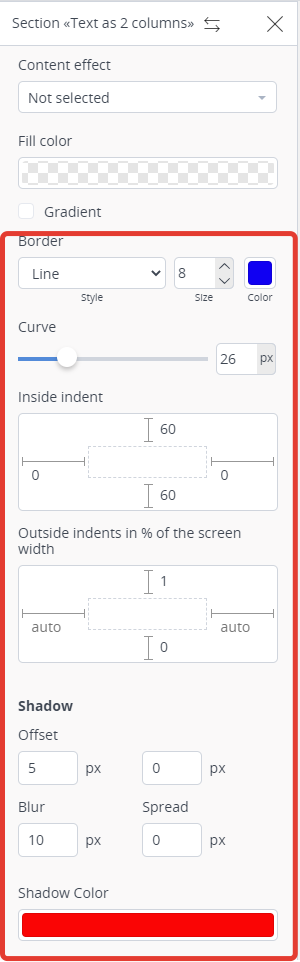 In the section settings, you can select the type of stroke, line thickness, line color, internal and external margins from the content, the presence of a shadow, its color and width.
Open the Section Settings and set the desired Section Stroke values.

How to add variables in a message
Variables typical for email can be added by clicking a “brackets” icon in Text widget:
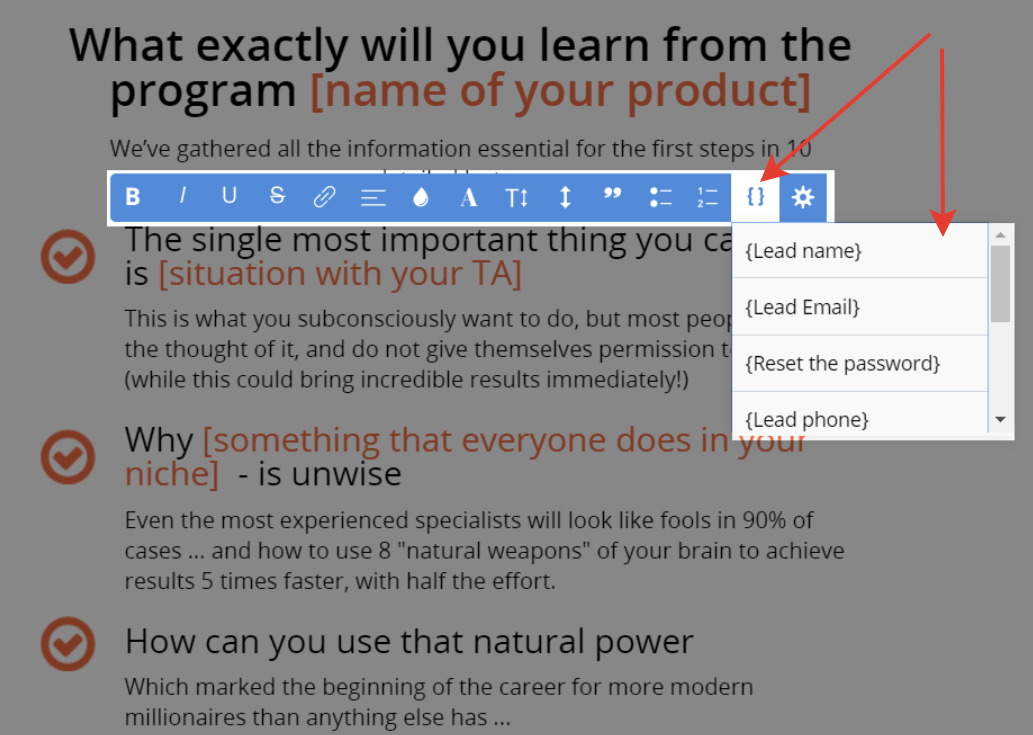
Left click the required variable, and it will be added to a email template.
How to create a customized email template
To create a customized email template, click the “star” in the setting panel.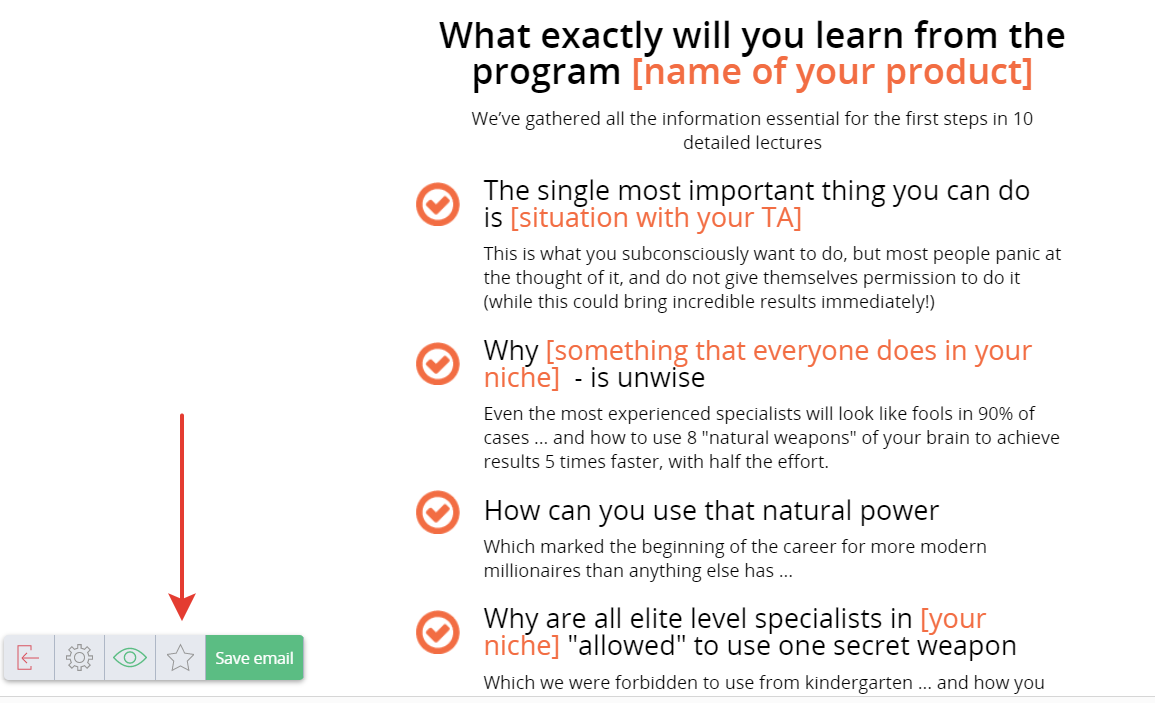
The system will ask you to enter the name of the template, its description, to upload a template cover for the computer and smartphone, then the template can be saved.
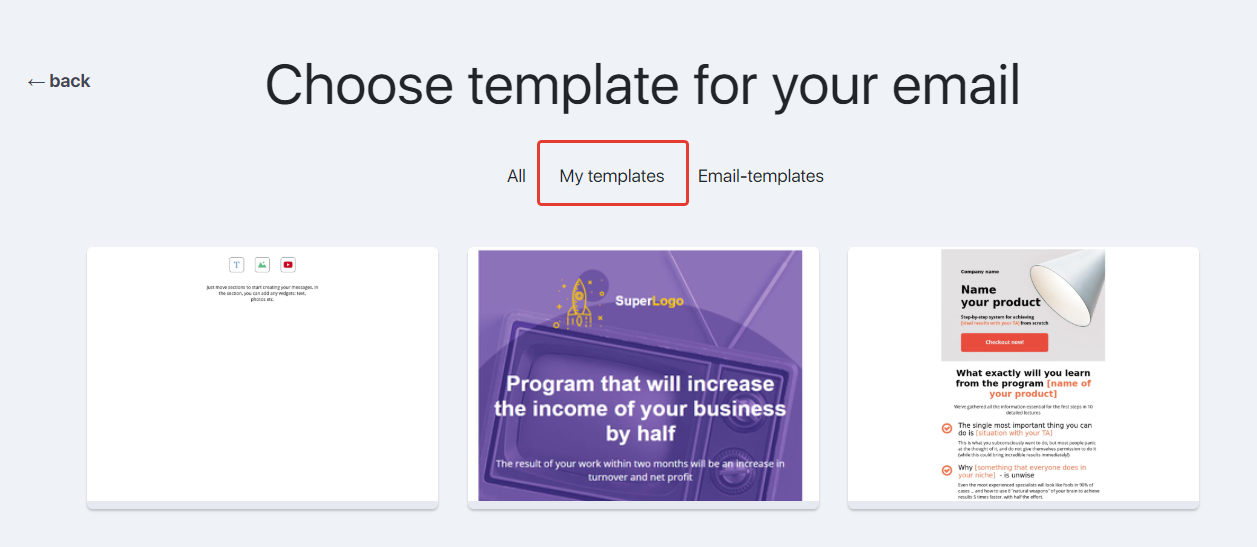
When creating a new message, in case you want to use this template, select a “My templates” tab and the required template from the previously created ones.
How to delete or to edit a customized email template
To delete or to edit a customized email template, go to My Templates from Campaigns — Broadcasts or Campaigns — Email series. Click View in the required template.
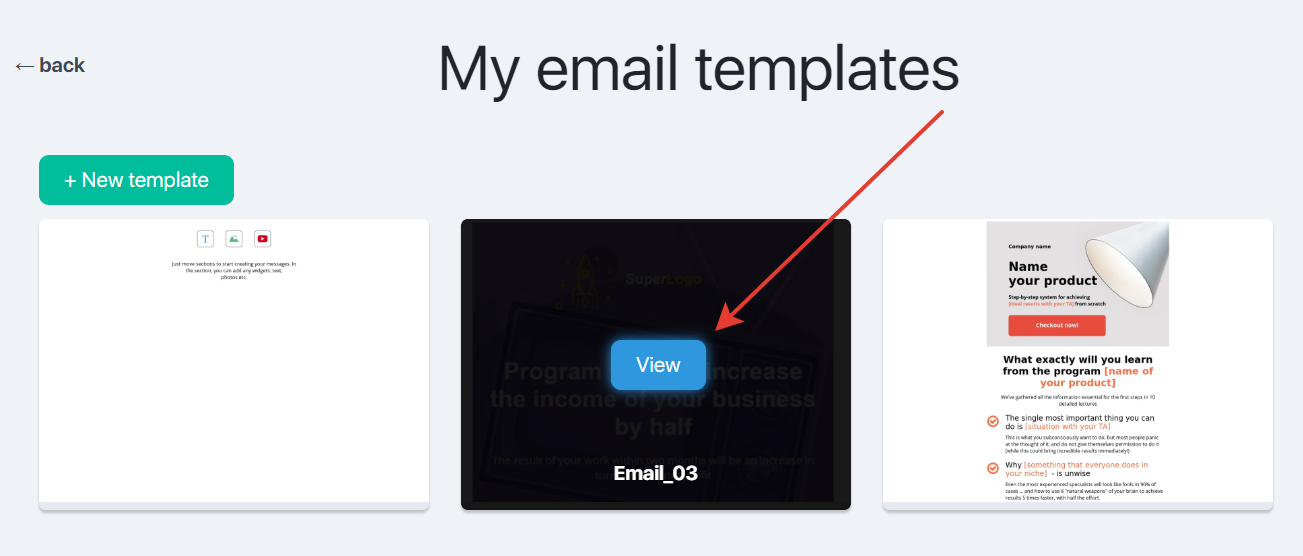
Select what exactly you would like to do: Edit or Delete.
Having edited the template, click “Save email” to save the changes.
Working in the mobile version of the letter constructor
Sometimes you may need to create or edit a letter with only a mobile device at hand.
In the letter constructor, you can add new letters, as well as add, remove sections and widgets, make changes to the widget settings from mobile devices.
How to provide an access to edit email template to employee?
To make an editable email template accessible to employee, go to “Employees” (in the drop-down menu in the upper right corner of your account), and check the box “Create new pages on sites” in profile editing in “Site” tab. If you check the turn off boxes, then employee will be able to edit both the email templates and the website pages.

- turn on
- turn off
- turn off
You have already understood that the Message Constructor follows the same principle as Template Designer. So, if you have already tried the Template Designer, you can easily and quickly create a message.
Think outside the box, create unique emails for your mailouts. Use new tools with pleasure!
