You can transfer data to Bitrix 24 (Bitrix 24) through a separately created process or process in the visual funnel. In our example we will show how to pass a contact’s name, phone number and email.
Settings on the Bitrix 24 side
Pay attention to your rate in Bitrix 24, whether it allows you to receive data via webhooks
You need to generate a link on the Bitrix 24 side to transfer the data. We will send data to this address.
Open the menu in myAlpari and select the tab “Applications” >> “Developers”
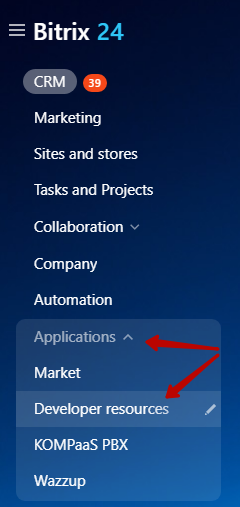
Open the “Other” section.
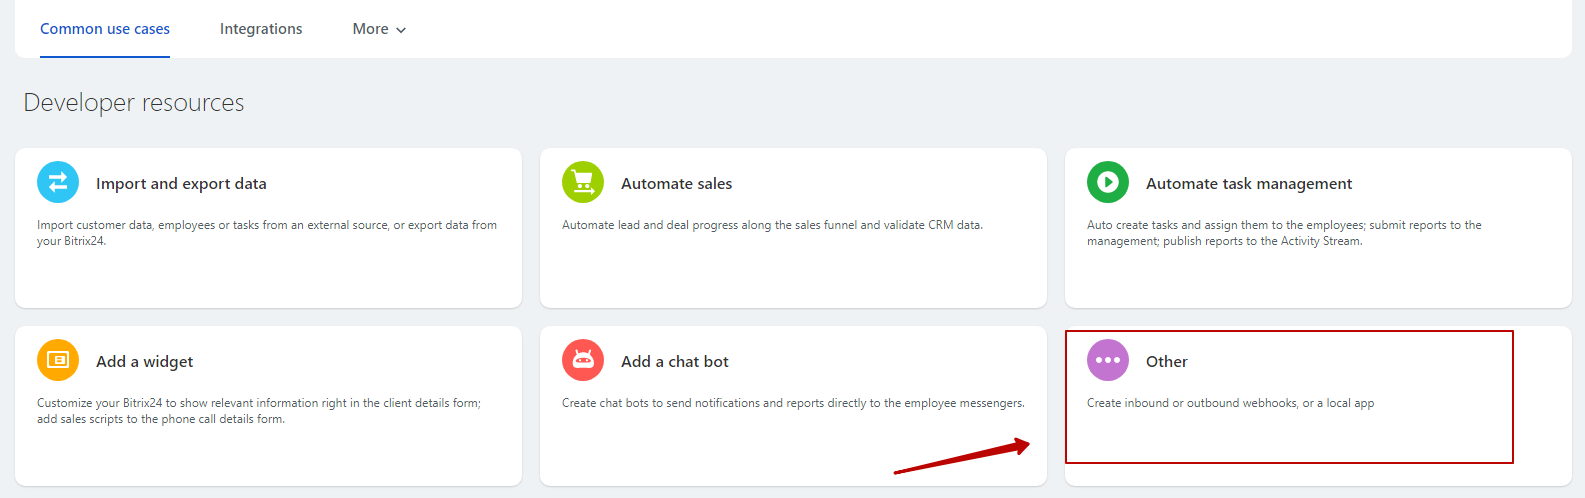
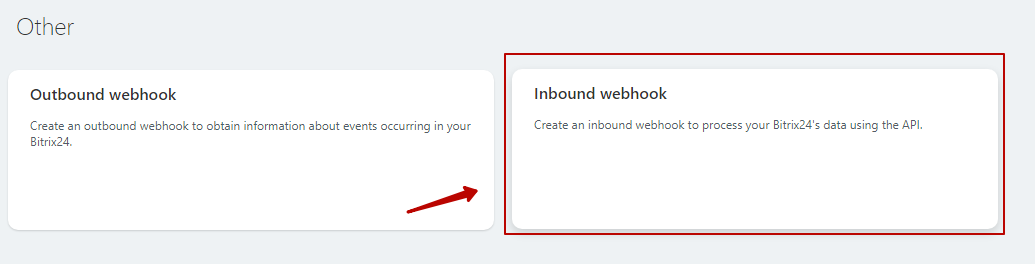
Choose the “Incoming webhook”.
In the window that opens, select the “crm.lead.add” method and add below 3 main parameters and two additional parameters to the PHONE and EMAIL fields as shown in the screenshot.
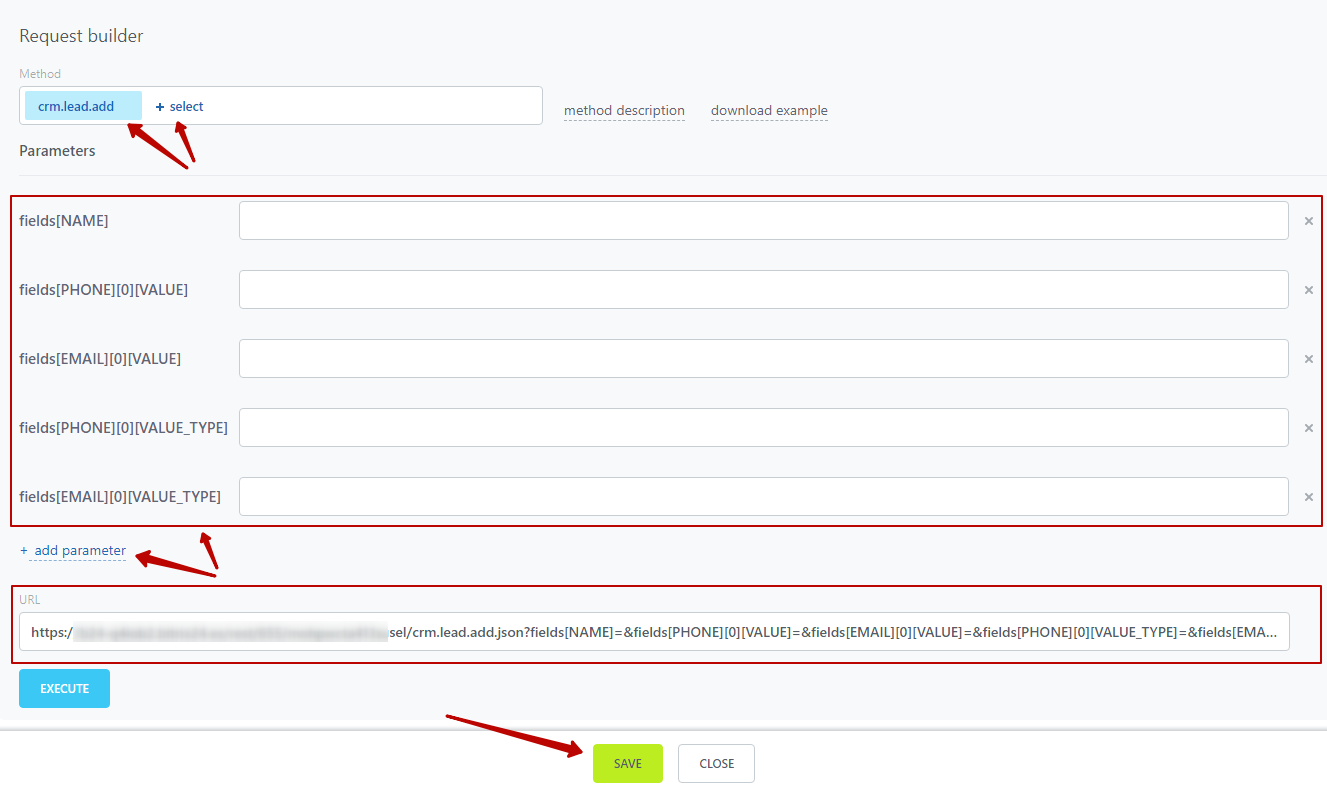
Use the following values:
- Method – crm.lead.add
Parameters:
- Name – fields[NAME]
- Phone – fields[PHONE][0][VALUE]
- Email – fields[EMAIL][0][VALUE]
- Optional phone – fields[PHONE][0][VALUE_TYPE] // additional field
- Optional email – fields[EMAIL][0][VALUE_TYPE] // additional field
Copy the created URL
Settings on the JustClick side
Available on Expert and Guru tariffs
Let’s use a simple funnel for data transfer – after activating to subscribe, the subscriber gets into the process. In this example, the data of activated subscribers will be transferred to Bitrix 24.
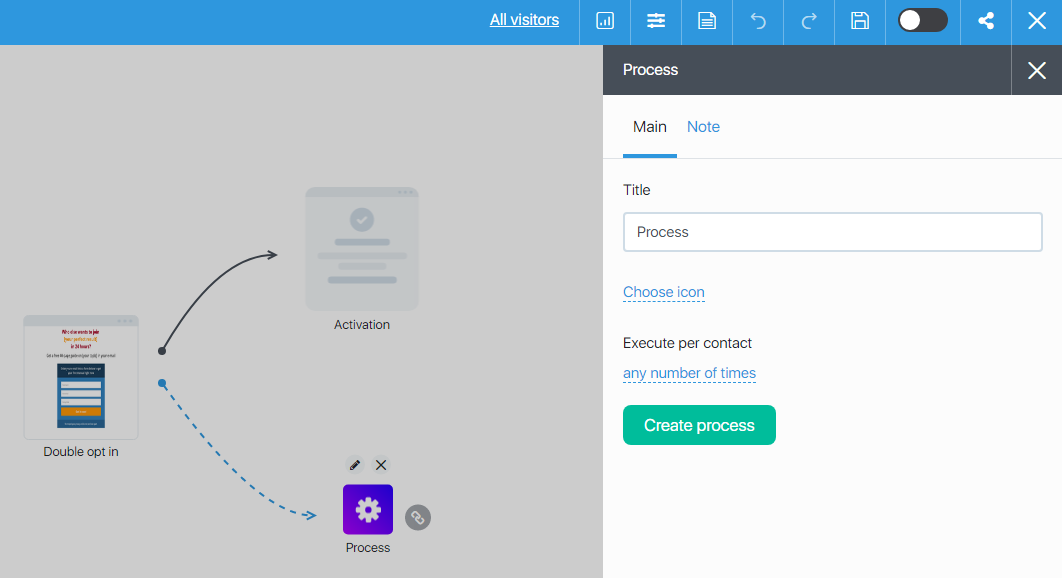
You can replace the Subscription module with the Payment Page or Payment Form module, then customer data will be transmitted. You can set up a process that will keep track of those who are in the right group of subscribers or customers, or contacts that have been assigned the right tag. There are many options. If you need advice on how best to configure the funnel for your situation, write to our technical support.
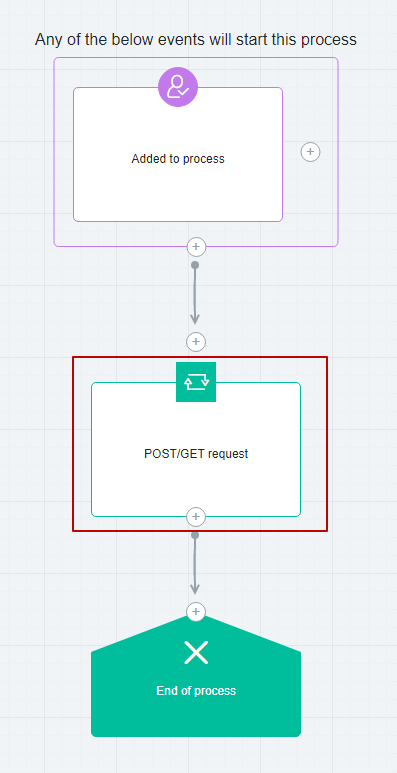
In the process we add and configure block “POST/GET request”.
Specify the POST method of data transmission and paste the previously copied URL from the Bitrix 24 webhooks settings.
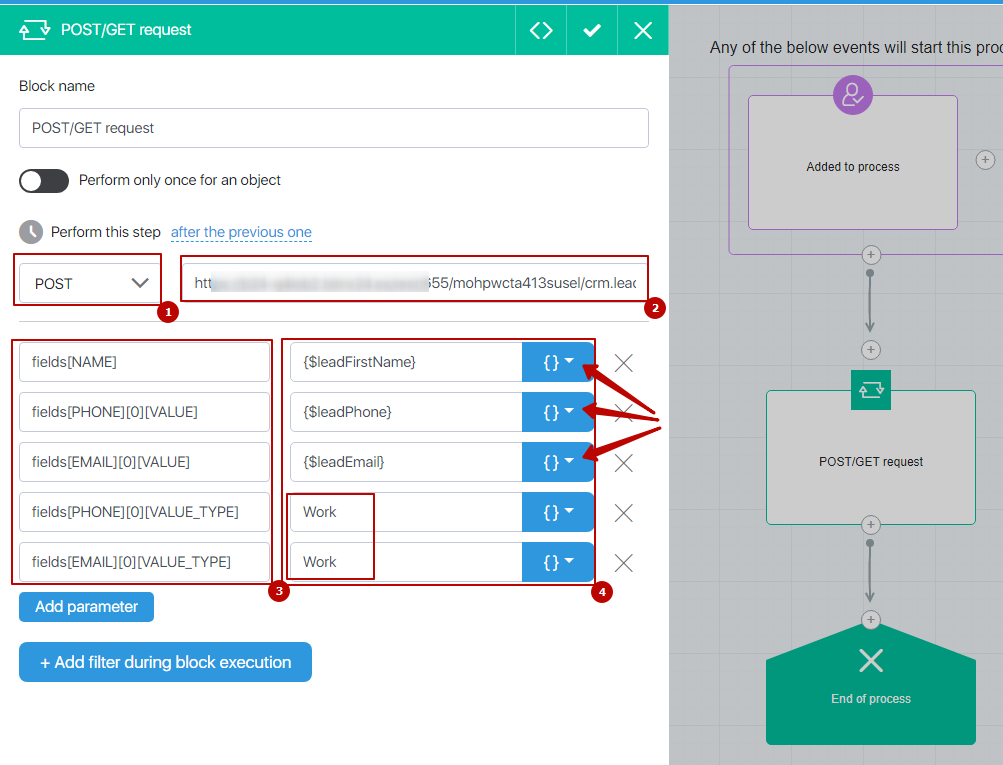
On left side add fields and specify parameters described above (the order of specified parameters does not matter):
Name – fields[NAME]
Phone – fields[PHONE][0][VALUE]
Email – fields[EMAIL][0][VALUE]
Optional phone – fields[PHONE][0][VALUE_TYPE] // additional field
Optional email – fields[EMAIL][0][VALUE_TYPE] // additional field
On the right side choose values from the drop-down menu corresponding to the data in the fields on the left (name, phone number, etc.), and manually specify values for the additional parameters in the PHONE and EMAIL fields – Work or Home.
Save the process and the funnel.
Now it is necessary to test data transmission in Bitrix 24.
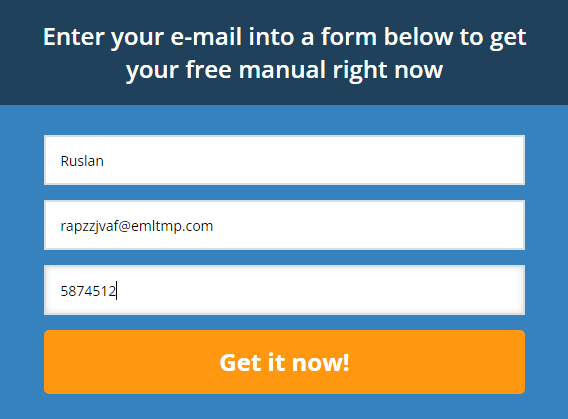
Open the page with subscription form, fill in the fields, activate subscription and test Bitrix 24
Receiving contact information in Bitrix 24 in the CRM section

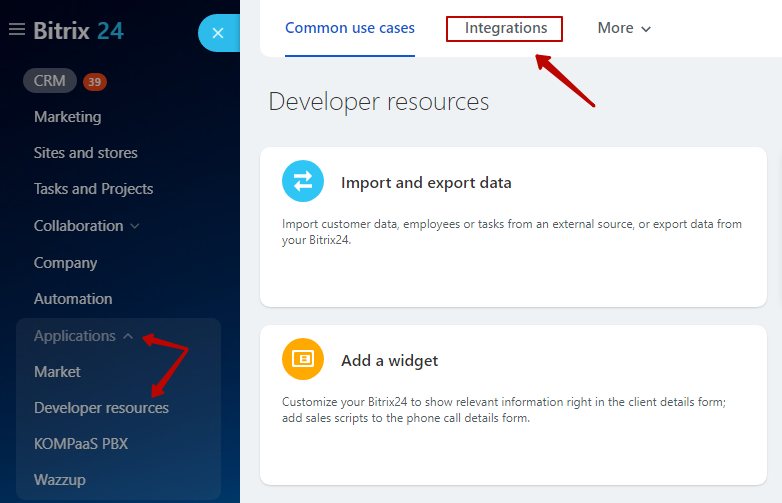
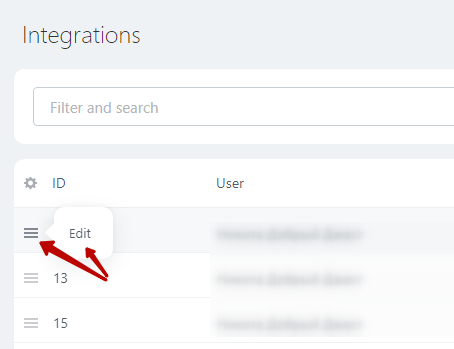
To edit the data on a previously created webhook on the Bitrix 24 side go to section Developers – Integrations.
And click on the line with a previously created webhook
If you need to transfer additional data, use the Bitrix 24 documentation
