Content
Zoom account setup
Before creating an integration, you need to install the JustClick.io application in your Zoom account:
1. Log in to Zoom.us
2. Go to “Advanced” – “App Marketplace”
3. Find the JustClick.io application and click on the “Visit Site to Install” button.

You will be prompted to log into your JustClick account to continue configuring the integration between platforms.
Setting up in your JustClick account
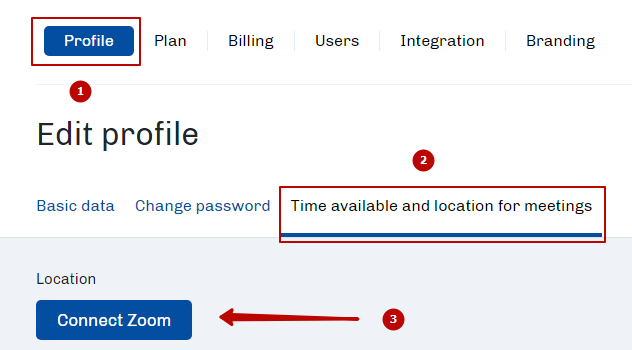
Go to the Profile (admin / employee) section >> Available meeting place >> click the “Connect Zoom” button
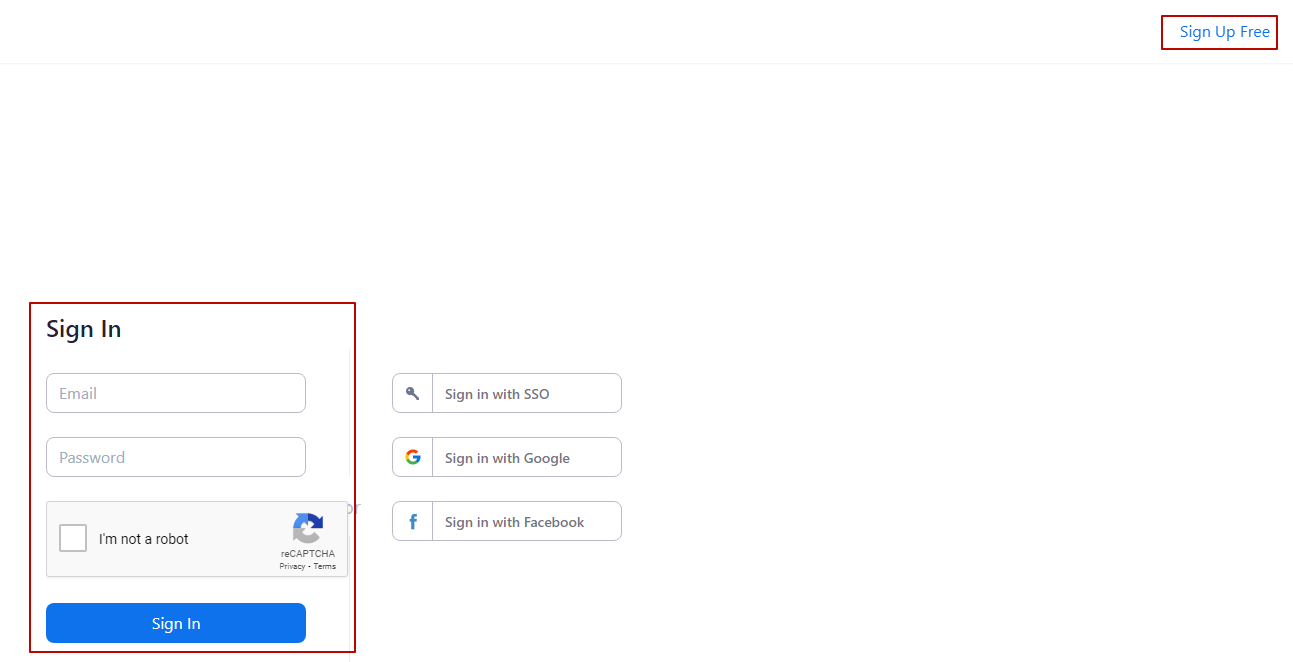
Log in to Zoom or go through a free registration if there is no account in the service https://zoom.us/
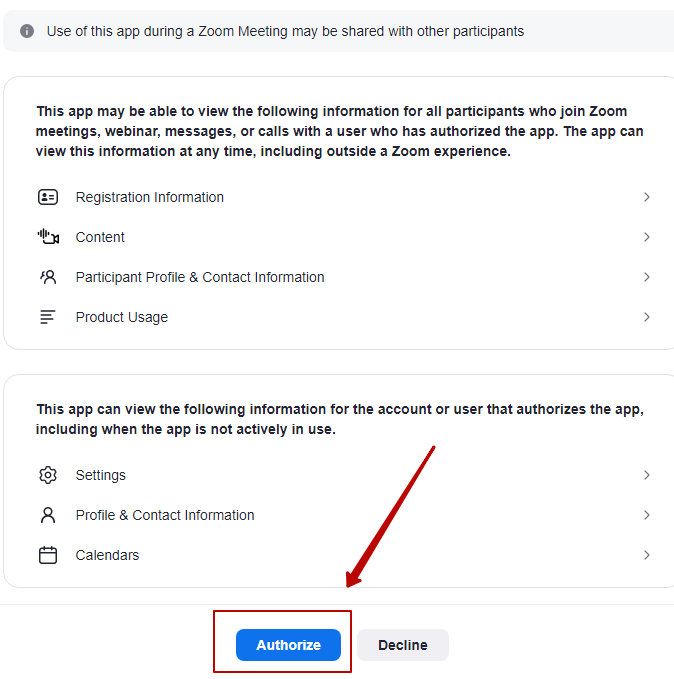
After authorization, we accept the agreement by clicking on the button at the bottom of the page.
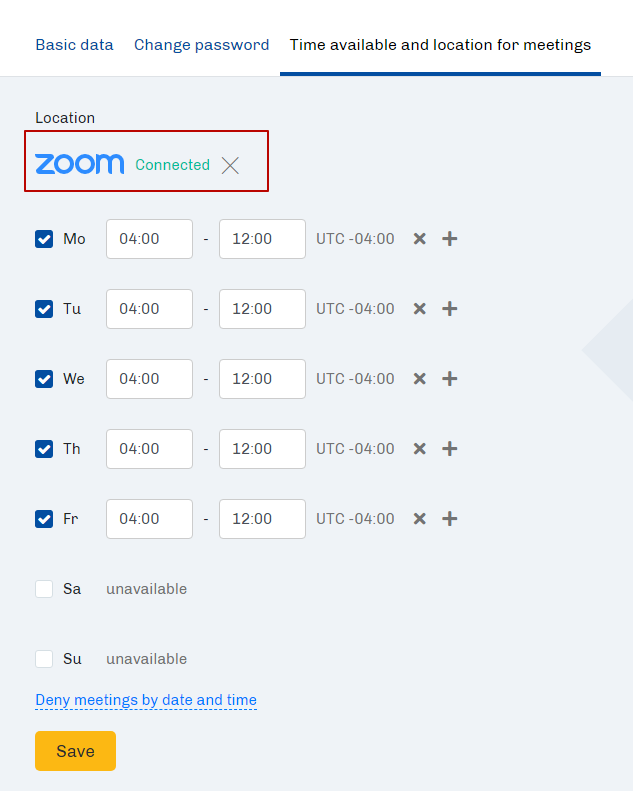
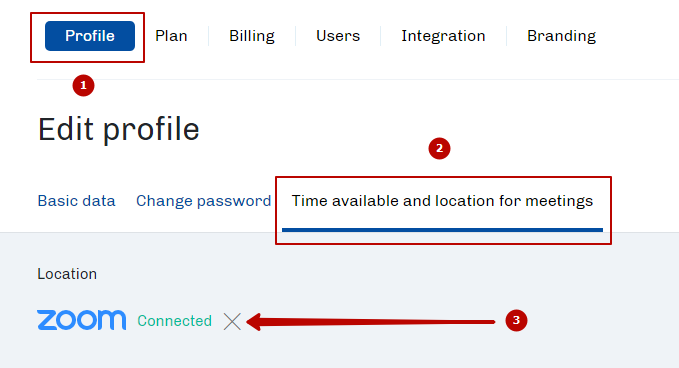
Now in the section Profile >> Time and place available for meetings, there is a logo of the Zoom service with the inscription “Connected”
How to remove integration with Zoom
Removal in JustClick
Attention. You can set up integration with Zoom from several JustClick accounts, when you delete the integration on the JustClick side, the integration is deleted only with the profile in which the deletion took place. Integration will be active with the rest of the accounts.
To remove the integration with the Zoom service, go to Profile (admin / employee) >> Available time and place for meetings, click on the cross to the right of the Zoom logo.
Removal in Zoom
To completely remove the integration between Zoom and all linked accounts in JustClick, you must:
- Login to your Zoom.us account
- Click “Advanced” – “App Marketplace”
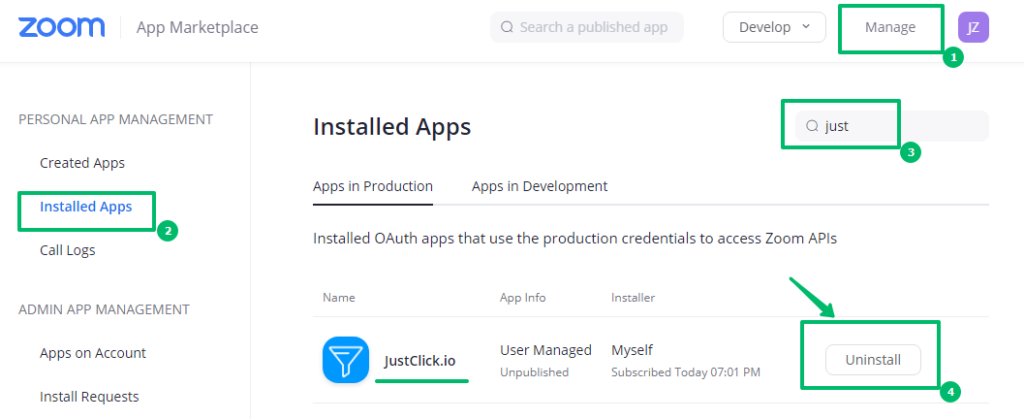
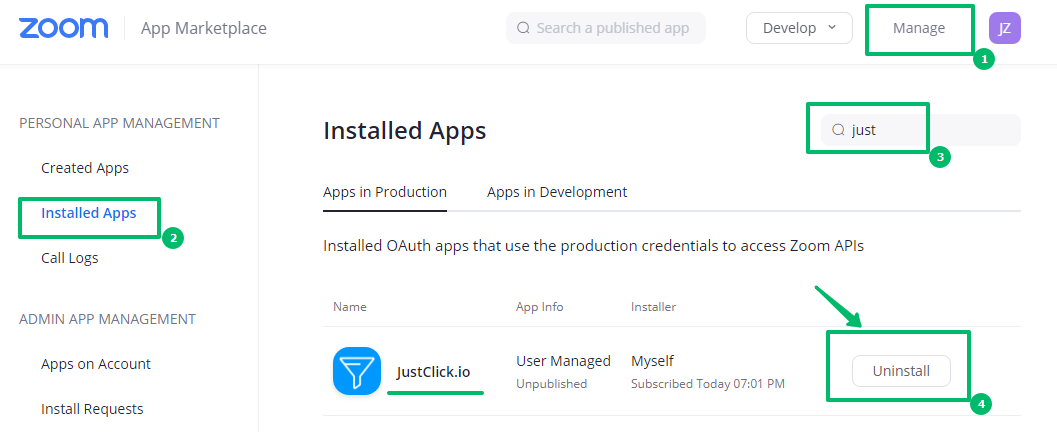
- Click “Manage” – “«Installed Apps”
- Search for the “JustClick.io” app and click “Uninstall”
How to create an appointment
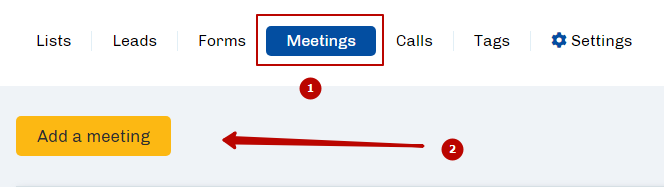
In order for users to make an appointment, you need to create one. Go to the Contacts section >> Meetings >> Create a meeting.
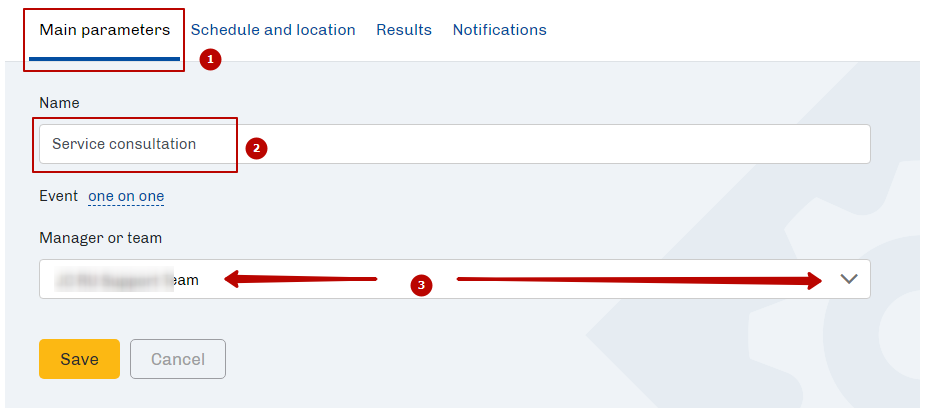
In the general settings, specify the name of the meeting and select the person in charge.
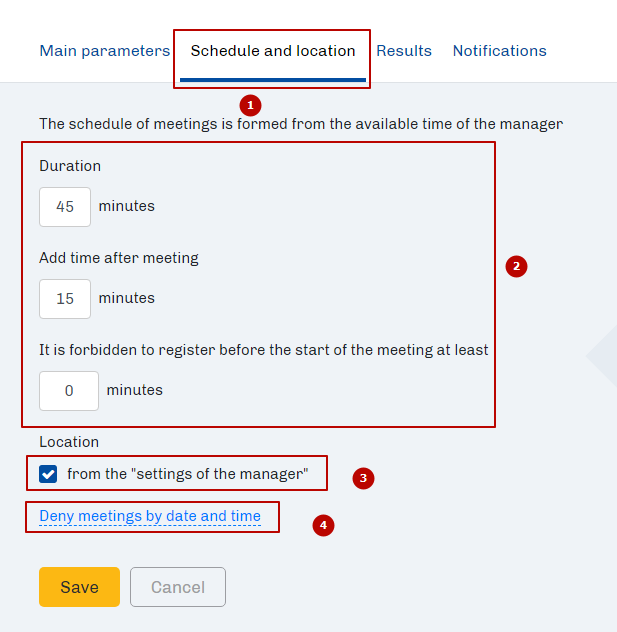
On the “Schedule and meeting place” tab, specify the time parameters and meeting place (by default, the meeting place is taken from the settings of the person in charge).
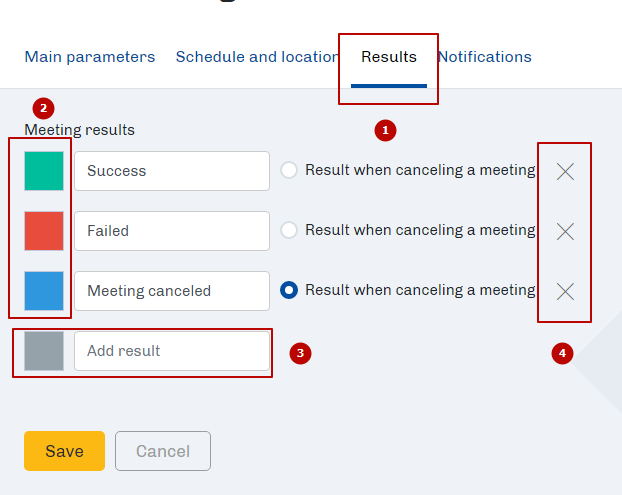
On the “Results” tab, you can add or remove a meeting result, change the color and text.
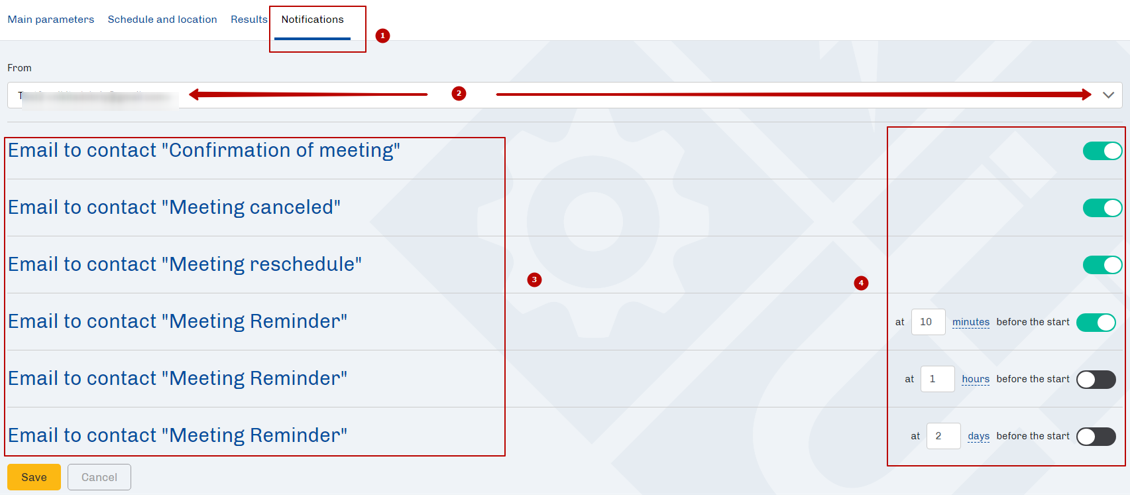
On the “Notifications” tab, select the sender’s name and, if necessary, edit the notification letters to the contact, after which we save the settings.
How to add registration to a meeting in the funnel
To create a meeting, go to the “Funnels” section and create a funnel or edit the current one.
Adding an appointment “Add appointment entry” is available for the following blocks on the “Action” tab:
- Opt in
- Double opt in
- Single opt in form
- Double opt in form
- Payment page
- Payment form
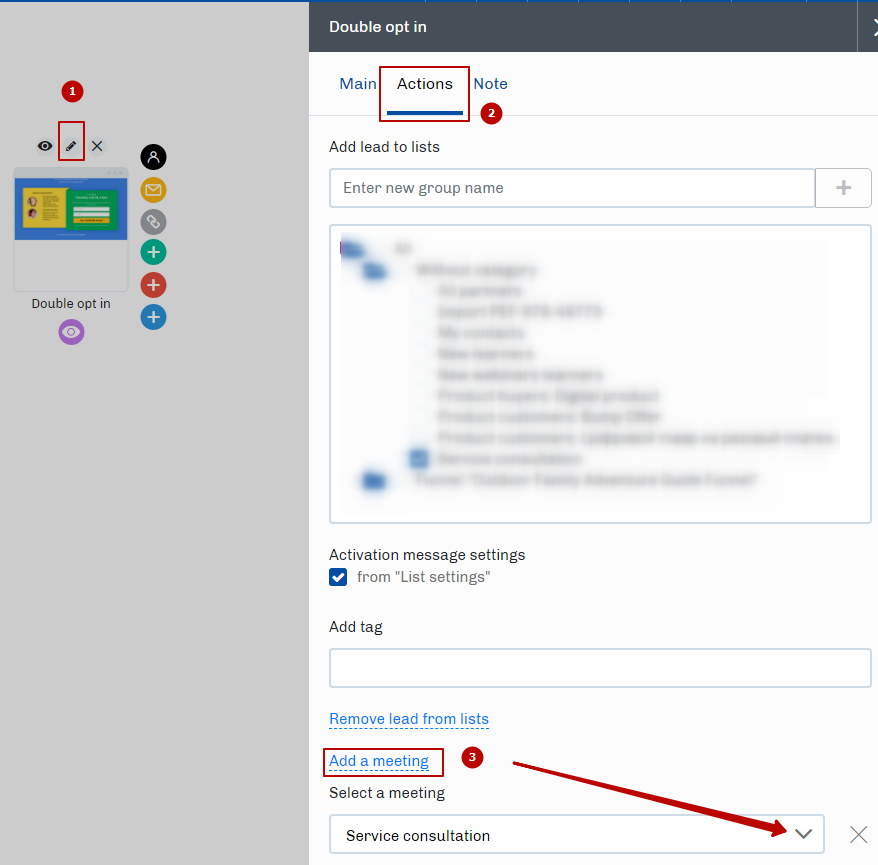
Let’s take a subscription page as an example. In the editor of the subscription page block on the “Actions” tab, click “Add an appointment” and select the desired meeting from the list.
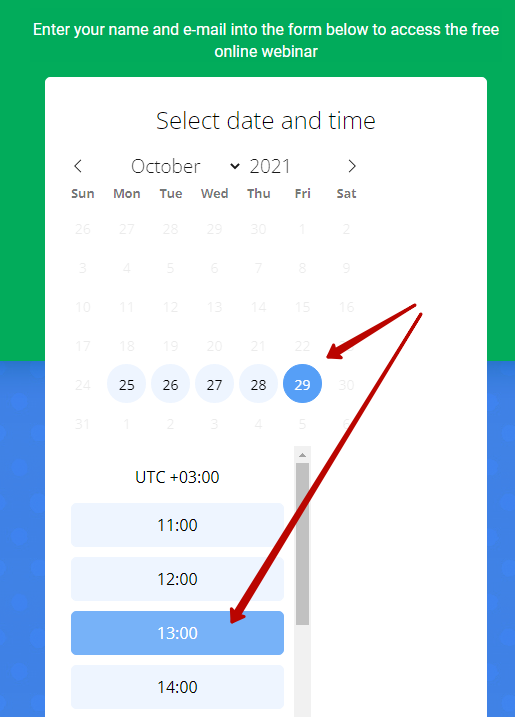
An example of an appointment through a calendar in a funnel
When an appointment is added to the funnel, the user will be presented with a calendar when they sign in, where they can select a date and time and then schedule an appointment.

After sending the form to the user, a window with the data for entering the conference in the Zoom service will open.
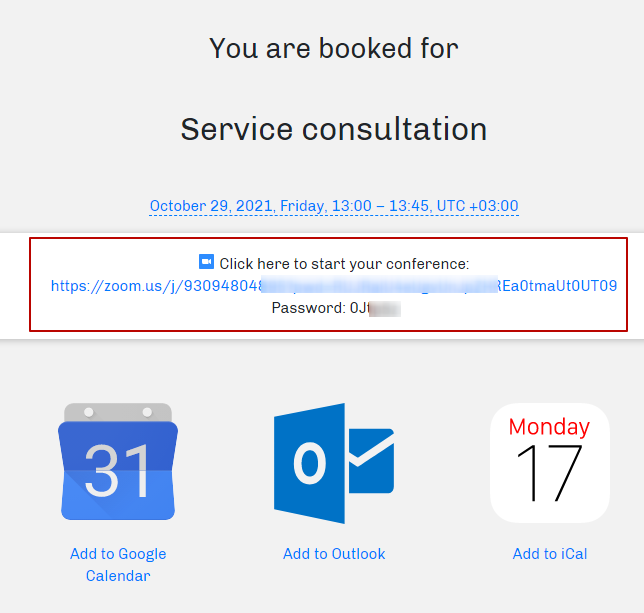
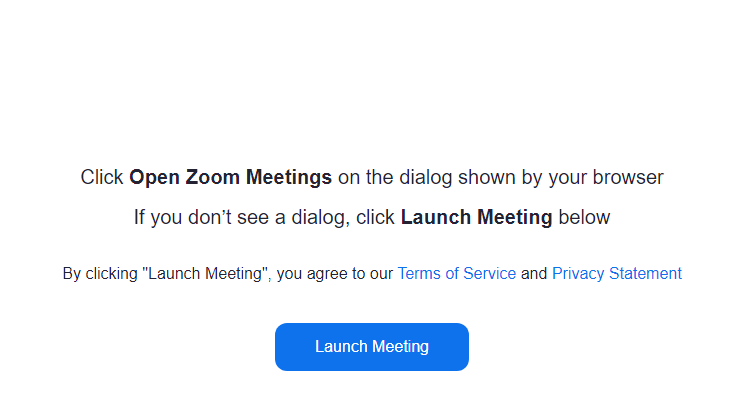
By clicking on the link, the user can download the conference file and launch Zoom.
How to edit a meeting request
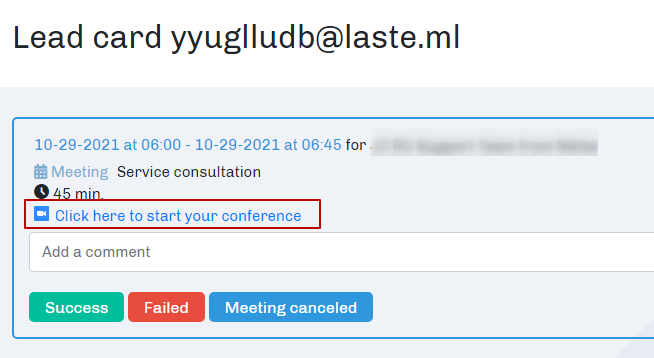
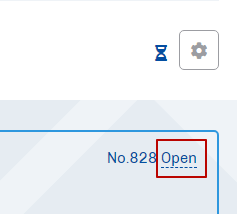
After the user leaves a request for a meeting, a tab with meeting data will appear in the admin / employee account in the “Tasks” section.

By clicking on the name, task number or email of the user, a contact card will open, where there will be a link to enter a meeting with the user in the Zoom service.
To delete or edit an appointment, click on the appointment status on the right.
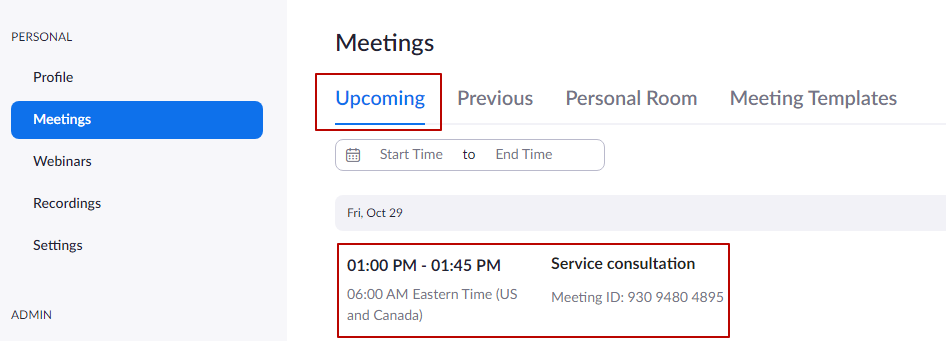
The meeting data will also be displayed in the Zoom service account in the Conferences >> Upcoming section, where you can delete or edit the meeting.
Still have questions? Write to support
- [email protected]
- 9AM to 9PM (GMT+3)
- https://www.facebook.com/justclick.software/
- Response time within 24-72h
