Content
Contact lists allow you to segment available contacts.
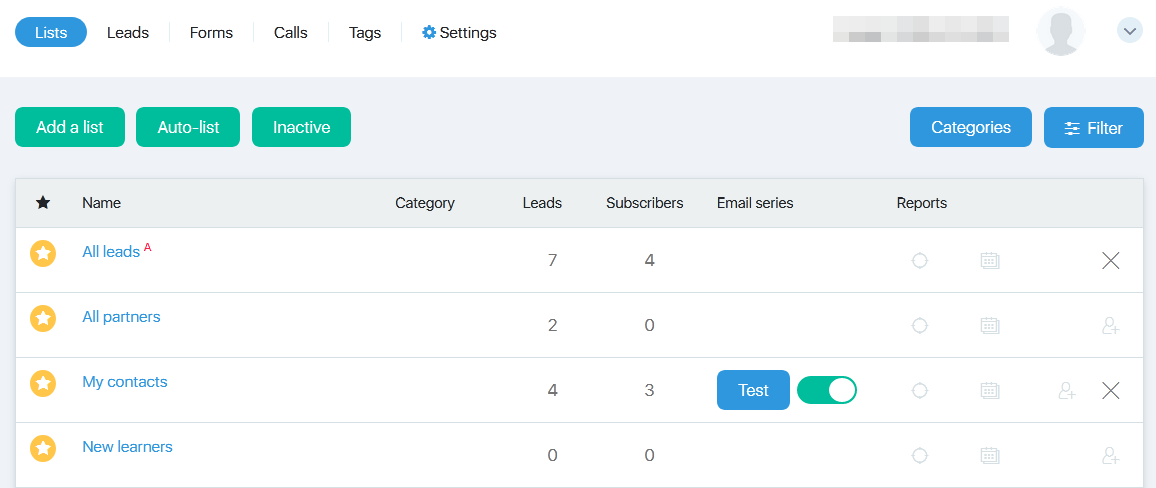
To switch to working with lists, you need to select Contacts from the menu on the left and then List. By default, several lists are automatically created there:
- All leads;
- All partners;
- My contacts;
- New learners
- All customers.
All the lists you have created yourself are also displayed on the page.
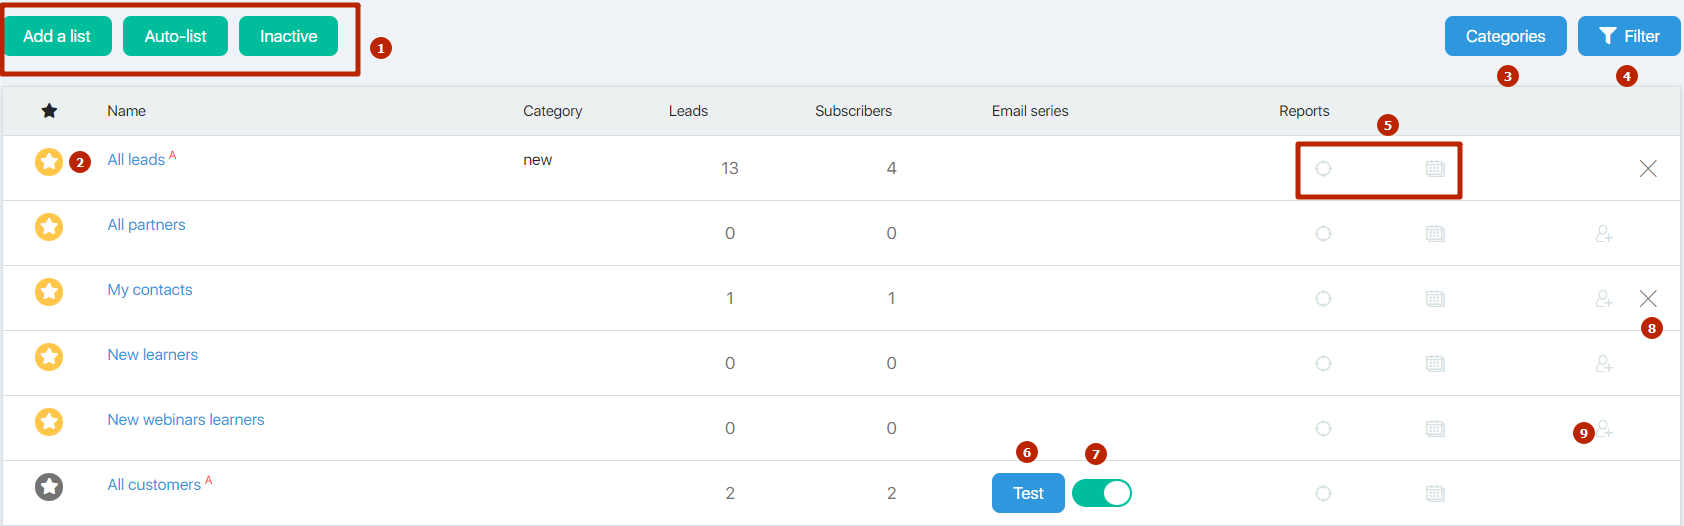
The form allows you to:
- add and edit lists (normal, automatic, and for inactive contacts);
- add and edit categories;
- configure the output of lists by certain criteria, with the help of the filter;
- add lists to favorites;
- enable / disable Email series;
- test autoseries;
- view list reports;
- delete glists.
- adding groups
- adding group to favorites
- adding/editing categories
- selection of groups by specified conditions
- group reports
- emaling for tests
- activation of autoseries
- delete group of contacts
- import from CVS file
Filter
The filter allows you to select lists by specified criteria.
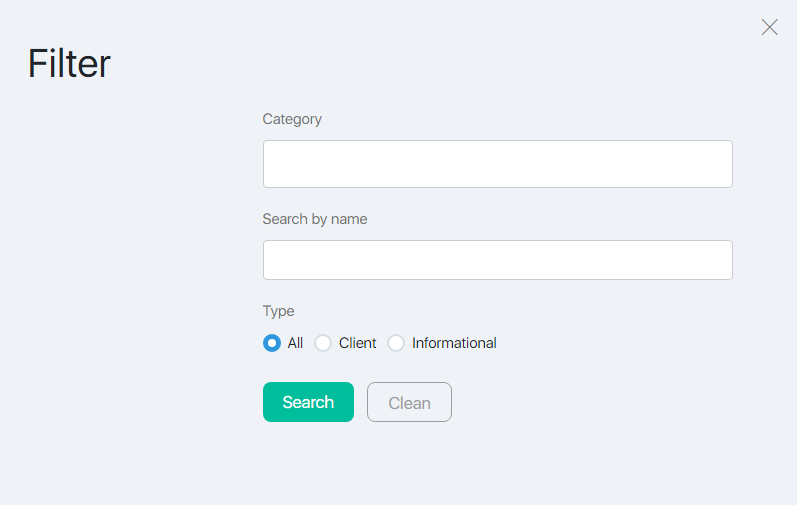
You can select lists by:
- a certain category;
- name – if you enter the whole title, one list will be selected, if you enter a fragment, all lists where the fragment is part of the name will be selected;
- type:
◦ client (those who made a purchase);
◦ information (those who are subscribed to the newsletter).
It is not necessary to fill in all the fields of the filter. You must specify the filter values and click the Search button. The lists corresponding to the filtering conditions will be displayed in the table. To display a complete table, click the Filter button, and then click Clear.
Adding and Editing a list
To add an ordinary list, use the Add button.
To add an auto list (the list to which contacts are added automatically when the specified conditions are met), use the Auto-list button.
For inactive contacts, you can use the Inactive button to configure specific auto lists to which contacts will be added after a specified period of inactivity (do not open letters / do not click on the links in the letters).
To edit an existing list, click on its name in the Name column.
Adding and editing categories
Categories allow you to combine several thematic lists into one array. This can be convenient if you have several areas of work that are radically different from each other (for example, projects for the early development of children and for weight loss). If you have categories, you can select all lists of contacts for the same subject with a single click.
To go to the form for adding and editing categories, click the Categories button.
Activation and deactivation of email series
You can, if necessary, disable the sending of an email series configured for this list of contacts. To do this, drag the slider at the green button in the Email series column to the left. The button will change color to black, and the distribution of the email series will be stopped.

To enable the email series, you must move the slider to the right. The newsletter will be resumed.
My Favorites
Clicking on an asterisk in the first column of the table allows you to mark the list as a favorite. The asterisk will change color from gray to yellow.
Such lists are displayed at the top of the table.
Testing
The Test button allows you to send all emails of the auto-series to the test address specified in the mailing settings. This will allow you to evaluate the appearance of emails in the mail client.
List reports
Here you can see the report on the sources of the funnel and the report on the cohorts of the funnel of the selected list.
Delete
To delete a list of contacts, click on the cross in the last column of the table.
Import
To import contacts from a file into a list, click on the corresponding import icon.

In the import window that opens, select a file in the specified format from your computer and import contacts into the list.
For more information on importing contacts from files, see this Knowledge Base article.

 (6 votes, avr.: 4.17 / 5)