Content
What are the interactive blocks for?
Interactive blocks are used in a constructor when you create or edit pages. These blocks could be easily hidden by one click with no need to refresh a page.
Let’s look at the following situation: you run an online webinar and want the button “Order now” pop up once you voice your offer. But the webinar is live, so it is hardly possible to predict when this happens. Or you want to show this button several times for a short period of time at the moments when the participants are prepared for it the best. How could this be done? For example, you can edit the page during the webinar, or you can choose other alternatives, but they all have their own disadvantages: no block will appear (and disappear) on the page which has already been opened by a user unless the user refreshes it. Unfortunately, this makes a mock of all the hard work in preparing the users.
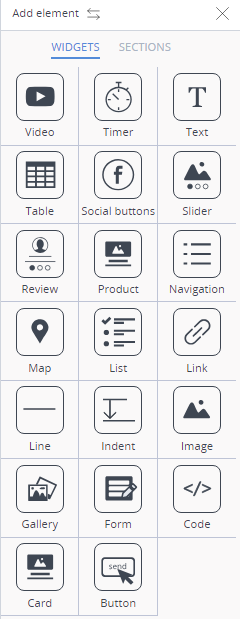
This very problem is solved by the interactive blocks. They are typical widgets we get used to: a text, forms, buttons, images, timer — any widget could be interactive. This is true for whole sections: you can show and hide them if necessary.
How to handle interactive blocks?
Enabling the function
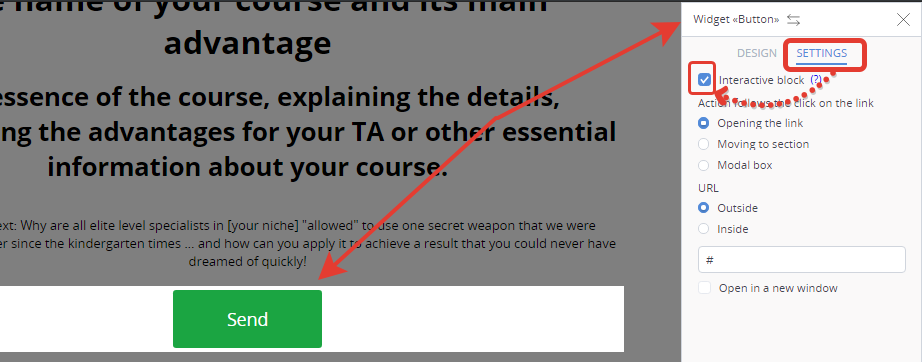
The widget becomes interactive once it is added to the page in the template constructor, and the option is ticked in the widget settings. See below:
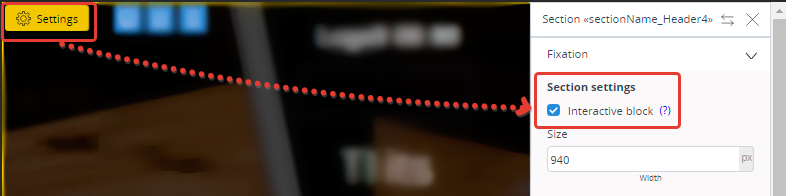
Similar procedure can be done for the sections. Click “Settings” in the upper left corner of the section and tick interactivity:
Don’t forget to save the page prior exit.
Changing the status
Now your page has at least one interactive block, and the constructor has a new switch button:
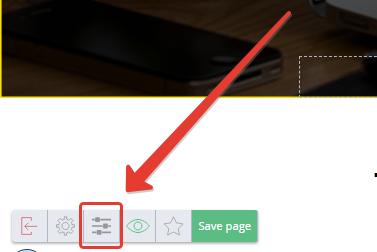
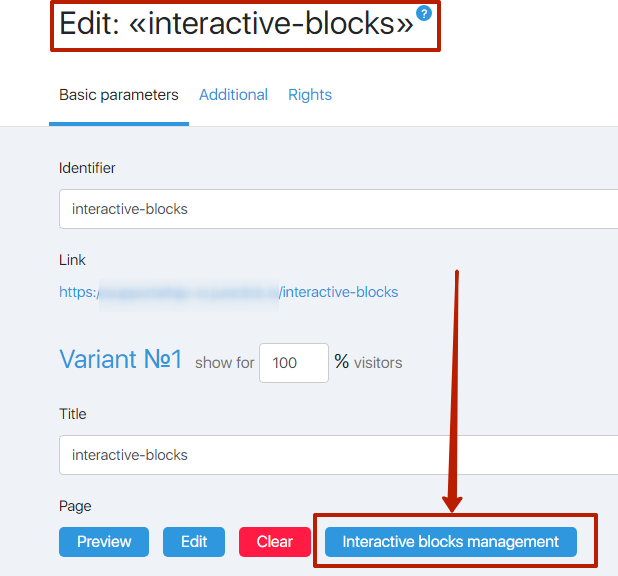
If you click the button, you enter enable/disable mode for the blocks which you have ticked earlier. By the way, you can enter the mode without opening the page in the constructor: a new button will appear in the general view of editing the page:
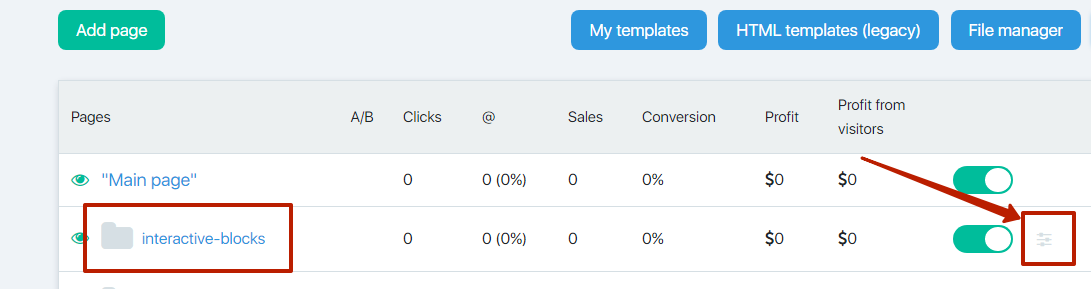
However, you can do that even quicker! The section “Website — Pages” displays a list of all pages when you open the site you need (if it is one site, it will immediately open). If the page has interactive blocks, then “enable/disable a page” switch button will neighbor “interactivity mixer” button:
You can choose any way to enter Editor where you can enable or disable the blocks by one click: each has its own switch button.
The interactive block is disabled. The slider is grey, the block is crosshatched and blind:

The interactive block is enabled. The slider is green, the block is visible:

The page is automatically saved after each switch, and the changes could be seen live by all page users. No extra page save is required, a save button at the bottom of the page is just to pay tribute to the traditions.
