Content
How can I combine the features of the Tilda Platform’s banding designer with JustClick’s tools?
Option 1 – Use JustClick subscription/payment forms
The fastest and easiest option, in which you use the features of the Tilda platform’s webpage builder, but the subscription/payment forms are created in the JustClick platform.
Create a form and publish it as Javascript code. To add the code to the landing created in Tilda, open “Block Library” → “Other” and add the “T123. HTML-code”. Read more
Option 2 – Direct API integration (Webhook)
Suitable if you want to use the Tilda platform subscription form and pass data directly to your JustClick account without using Zapier. Read more about the API.
As an example, let’s create a subscription form on the Tilda platform and pass the subscriber’s data (email, name, phone number) to JustClick via a webhook.
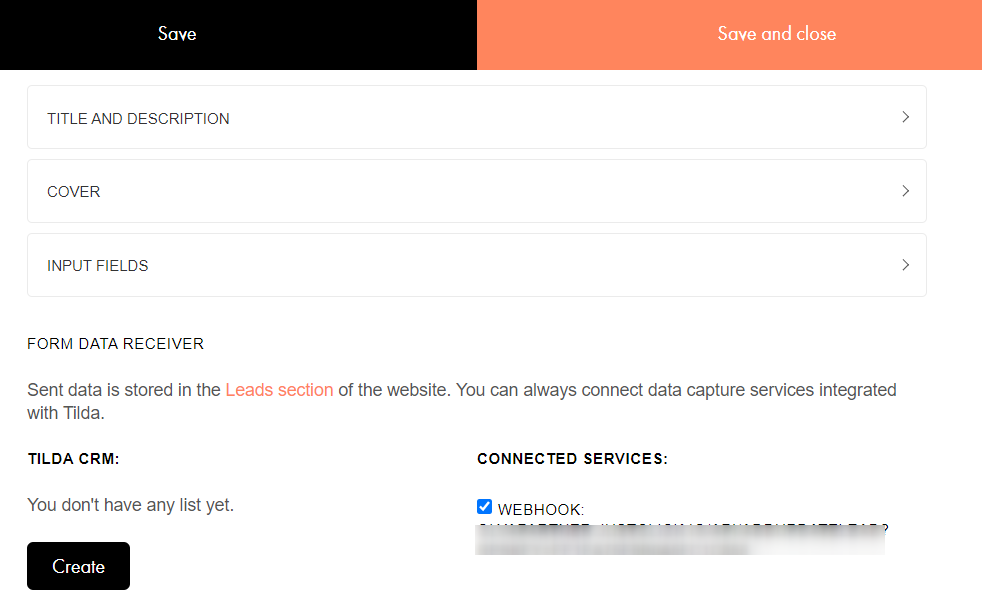
In the account of the Tilda platform, open the settings of the site – forms.

Scroll down the page and find the Webhook option.

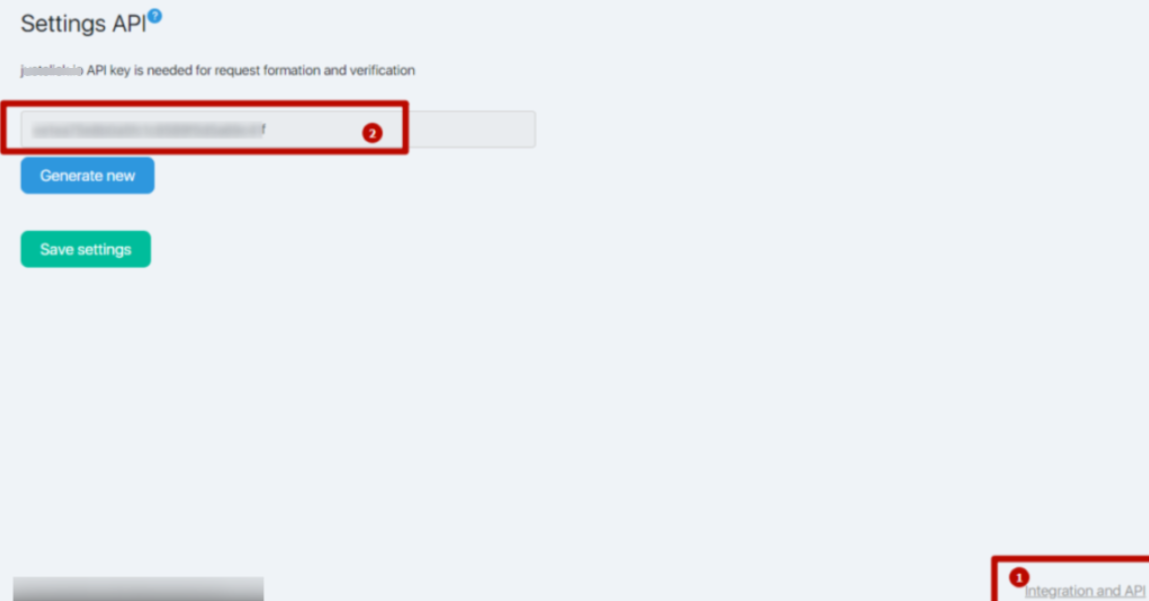
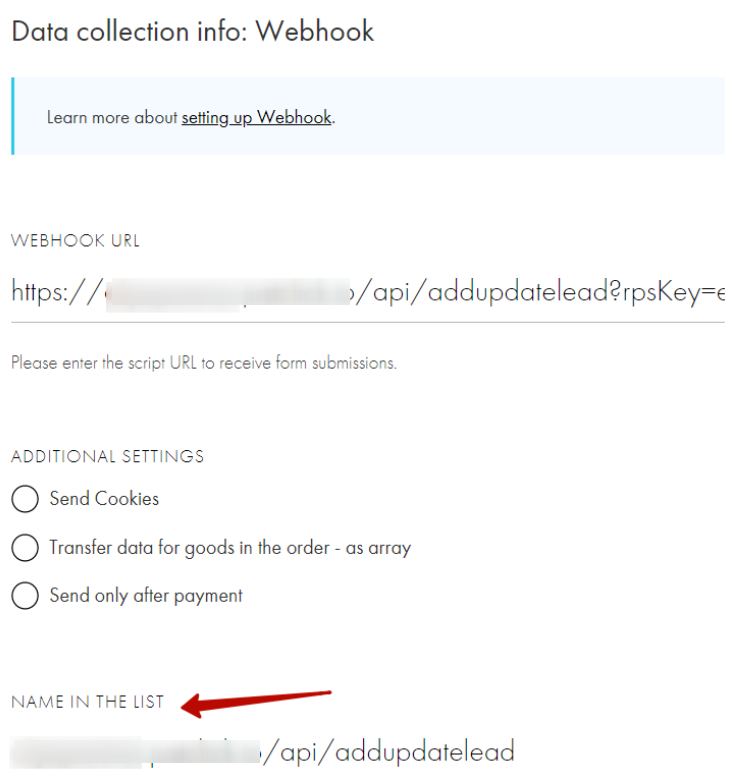
In the “WEBHOOK URL” field, specify the address of the script to which data from the forms will be sent and add an API key to the link. Example:
https://xxxxx.justclick.io/api/addupdatelead?rpsKey=yyyyy
Where,
xxxxx is your login on the JustClick platform.
yyyy – api key on JustClick platform, copy it here
This will make your link look like this (example):
https://test.justclick.io/api/addupdatelead?rpsKey=135642135116951356
As a result, you should have a connected service in the settings of the site – forms
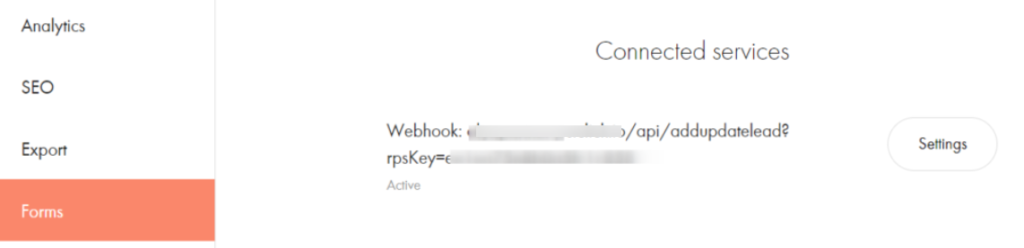
Open the settings to change the name (for example, you can call Webhook Tilda – JustClick or remove the API key from the name)
Open the page with the subscription form from which you want to transfer data to your JustClick account and click the “Content” button.
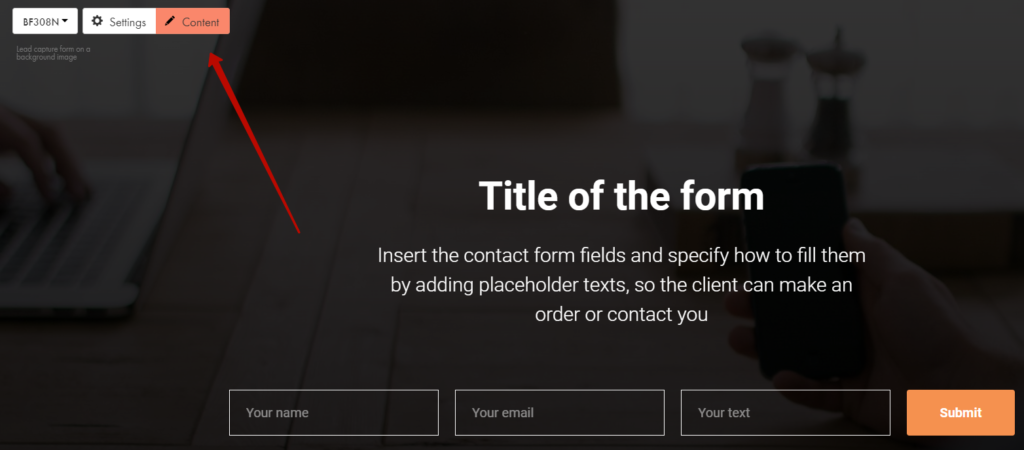
Turn on the previously created webhook, save and expand the “Input fields” section
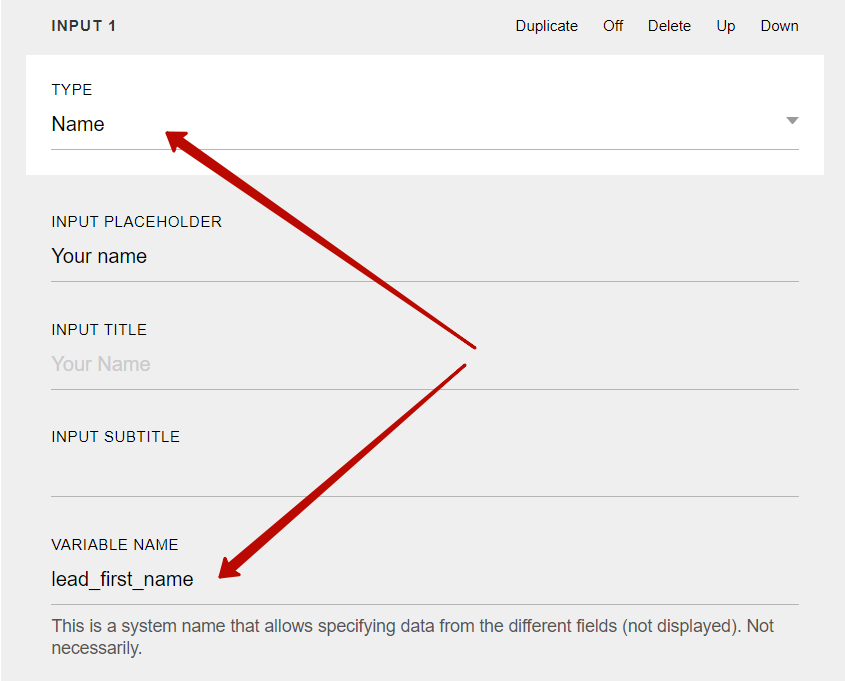
Now you have to assign variables to each field in the form, according to the API documentation
- For a field of type Email, specify the variable name “lead_email”.
- Enter the variable name “lead_first_name” in the field of type “Name”.
- Specify the variable name “lead_phone” in the field of type “Phone” (the field can be deleted if you do not plan to request a mobile number from the subscriber)
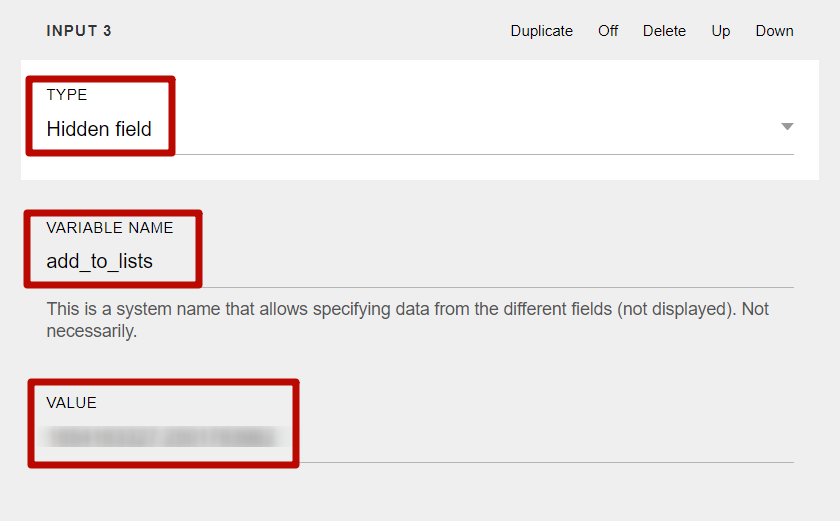
Let’s add another hidden field.
- The “Hidden field” type.
- Variable name “add_to_lists” (group to subscribe to)
- Value = group ID (see below how to get the group ID)
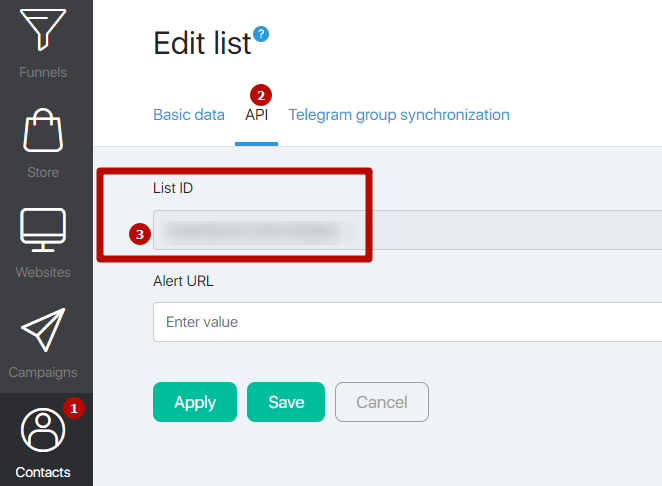
The value (Group ID) of each group is unique.
- Go to Contacts – Groups in your JustClick account.
- Click on the group to which the contact should be added from the form on the Tilda platform.
- Switch to the “API” tab and copy the data from the “Group ID” field
Save the settings of the form fields and changes to the page (publish).
Check integration:
- Register yourself through the form.
- Go to Contacts – Leads in your JustClick account.
- The contact should appear as ” Subscribed”.

Option 3 – Integration via the Zapier platform
You will learn what Zapier is and how to set it up in this article.
You can transfer contact not only from Tilda to JustClick, but also exchange data with AmoCRM and other platforms.
The Tilda platform has its own instructions on setting up Zapier. Use it to set up a data transfer from Tilda to Zapier. Instead of a data recipient (Trello), let’s add our JustClick application.
Up to this point, you already have the integration with Zapier active in the form settings on the Tilda page
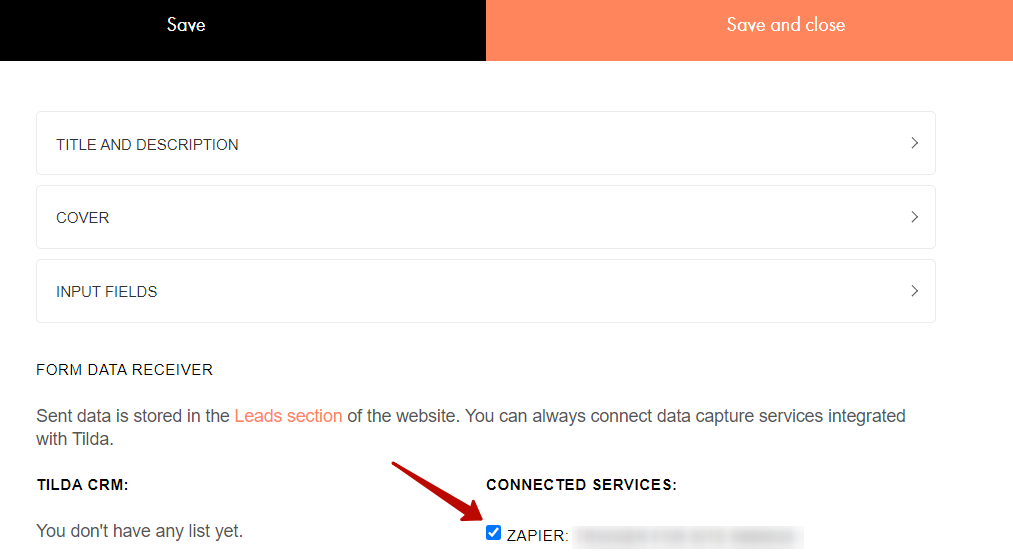
And transferred data from the Tilda form to Zapir in the testing phase
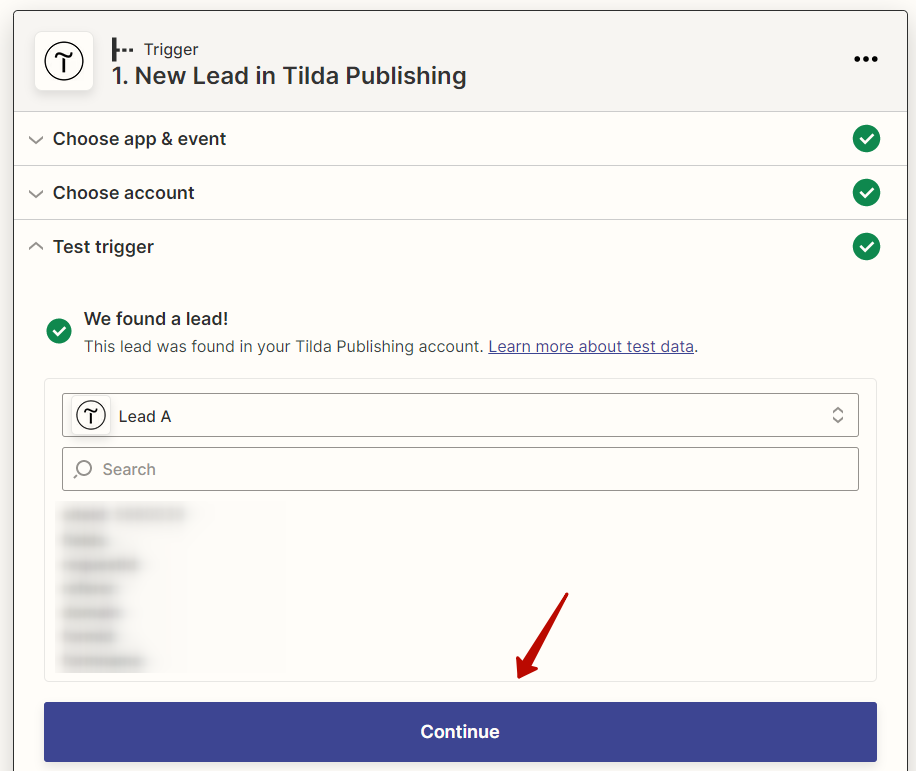
- Test passed successfully
- Data from Tilda form (form contains Email, Name, Phone fields)
- Click “Continue” to continue configuring and add the following application to which the data from the Tilda form will be transmitted.
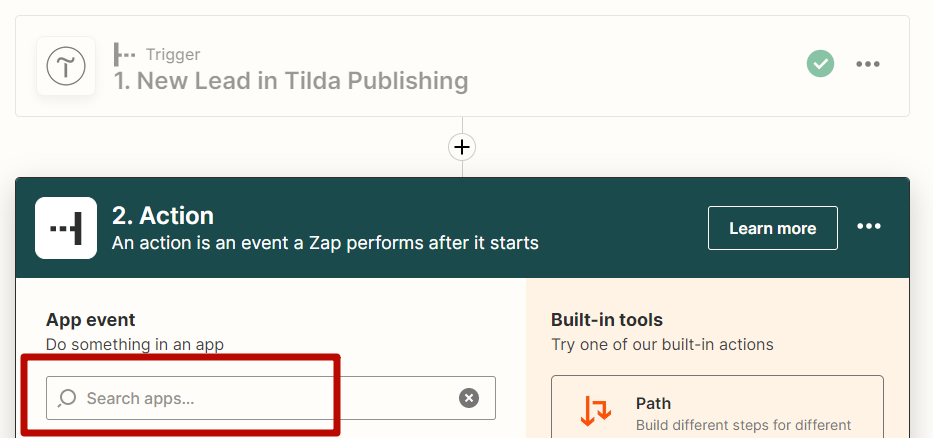
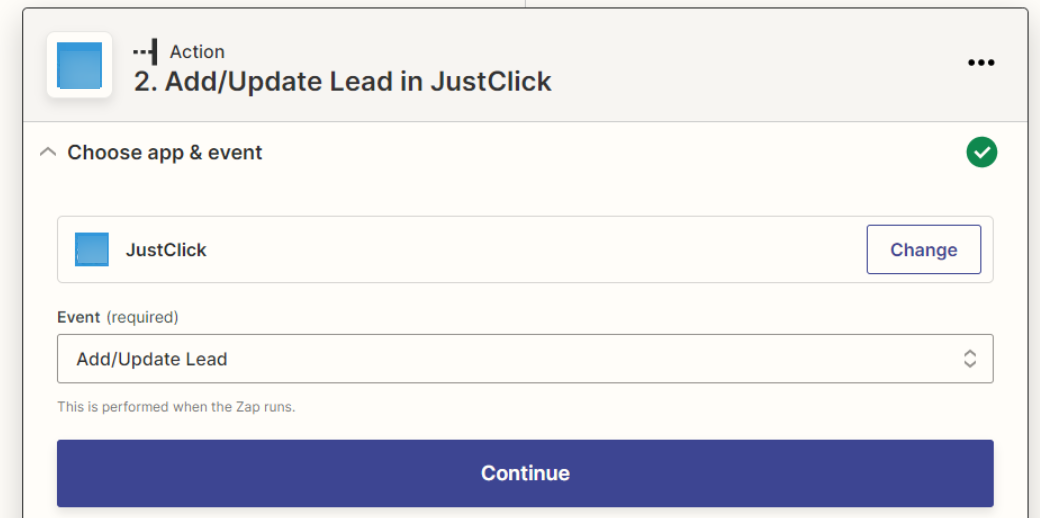
Type the name of the “JustClick” application into the search box
Select “Add/Update Lead” from the “Action Event” drop-down list and click “Continue”.
Now you need to connect your account on the JustClick platform
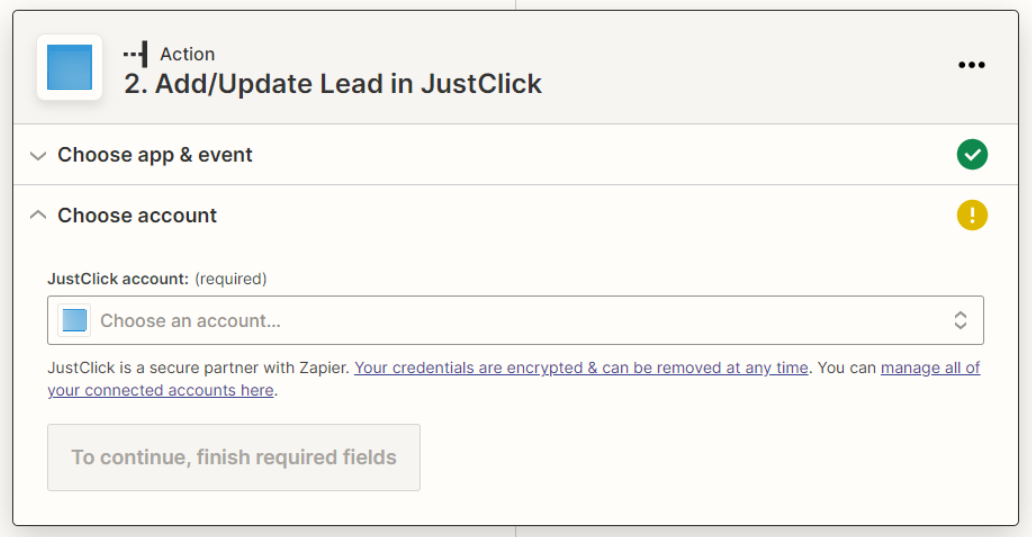
You will see a window to connect your account
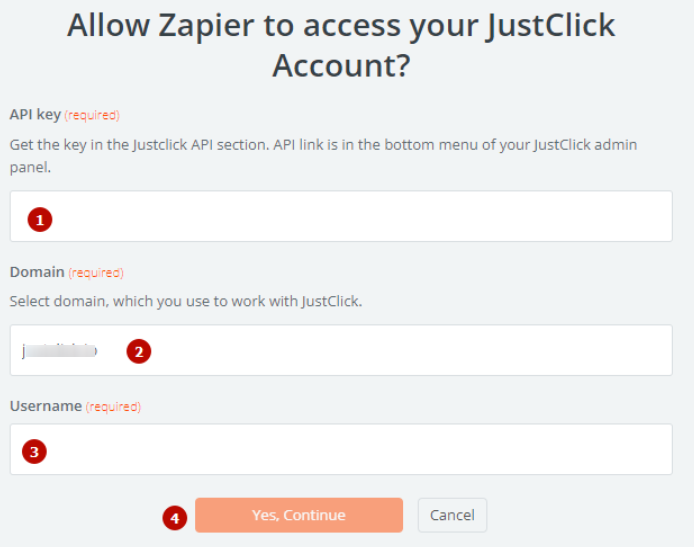
- Specify API private key
- Domain justclick.io
- Your JustClick login
- Click Continue
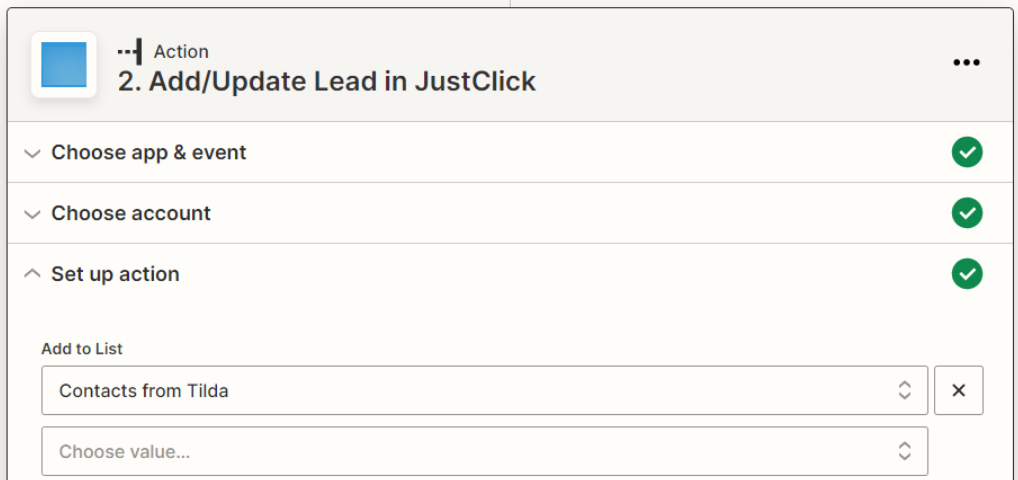
Now you need to configure the group in which the contacts will be transferred and dock the data to the fields.
For example, a group called “Contacts from Tilda” has already been created in advance and can be found via search.
Now we need to assign the data from the Tilda form, which we previously passed during testing, to the data recipient application fields. In the example, we configured the Lead email field to pass the contact’s email data, and for convenience, Zapir also prompts us for the email itself from the Tilda form during testing.
Similarly, we set up fields for Name and Mobile Number, which we get from the Tilda form. If you request more data from the form, specify it in the appropriate field at this step.
Turn on the created integration (Zap), and name it “Tilda-JustClick” for convenience
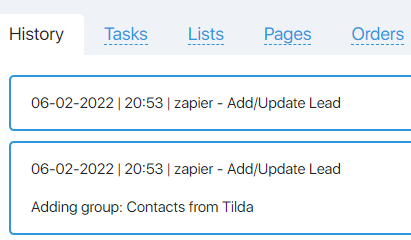
Sign up through your landing page and verify the transfer of the contact’s data to your JustClick account. Go to Contacts — Leads section of your CRM. A new contact should appear in the section.

When you open the contact card, you will see that it is transferred via Zapier
By default, all emails you send to subscribers are sent from JustClick servers. You can choose your server for sending emails – then emails that you configure in auto-chains, funnels, etc., will be sent from your server. Description is here.
