Content
Courses options in JustClick
JustClick gives its own platform for the educational activities. Now we have an independent system for course creation within the service. The system includes the part for the authors, which is in Course section in Author’s account, and Student’s account. This article presents an overview of the Student’s account, illustrates its possibilities with visual explanations.
The next article will look at how a student gets an access to his account, then we will describe the fine tuning for the accessibility settings of particular courses and their modules. But here we will mainly focus on what a Student sees on his page.
Login, Student’s profile
The procedure to get an access to the account is described in a separate article, and now we are not going to look at possible alternatives. Let us just mention that a student will have his own login (his email address) and a password. Here is the way a login window looks like: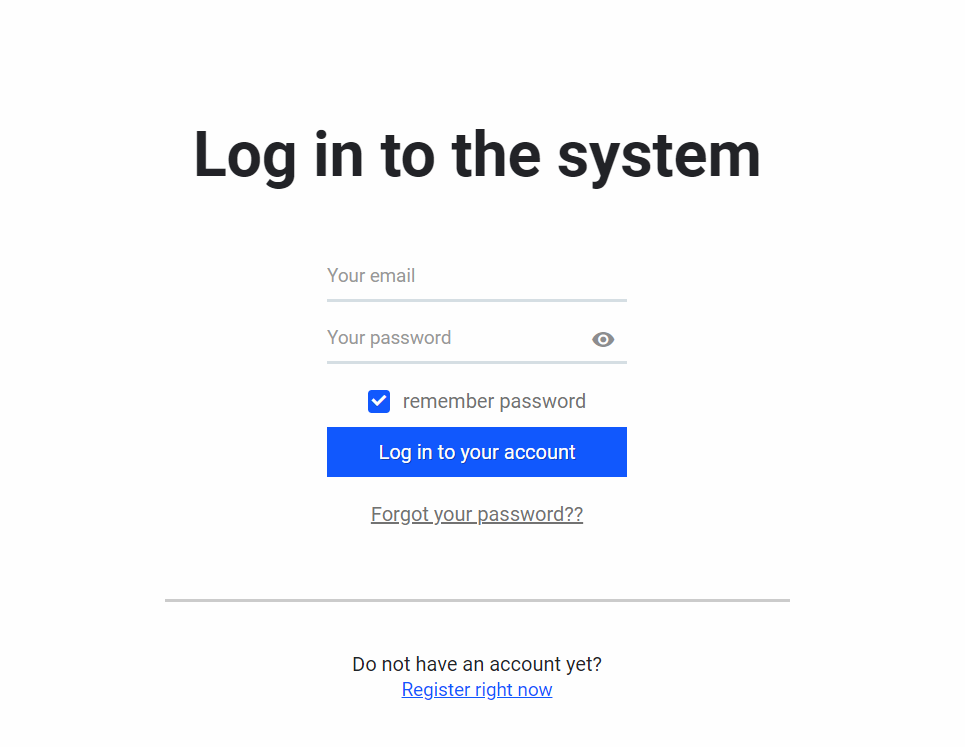
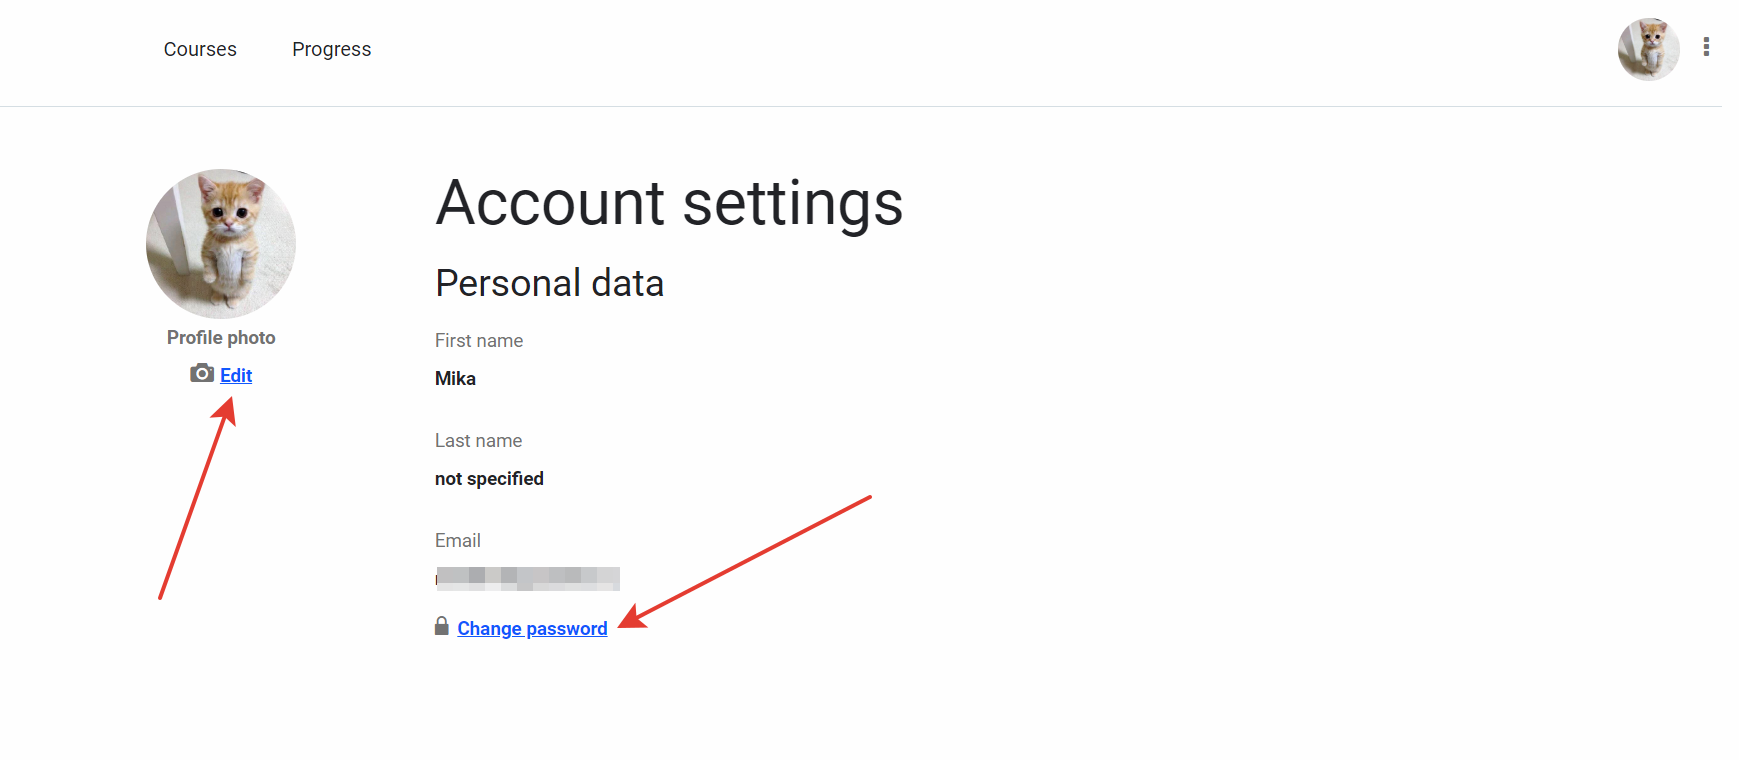
You see there is login field, a possibility to register and to restore a password. Once a student gets an access to his account, he will see the available courses and the progress bar for the tasks. There are also some tiny pleasures such as a profile icon (avatar) and profile itself where a student can enter the information about his account.
Educational process
Start of the studies
To start the studies, a student should go to Courses section, then he clicks “Start learning” or “Continue learning” – if he has already started doing some tasks of the chosen course – on the page displaying the available courses.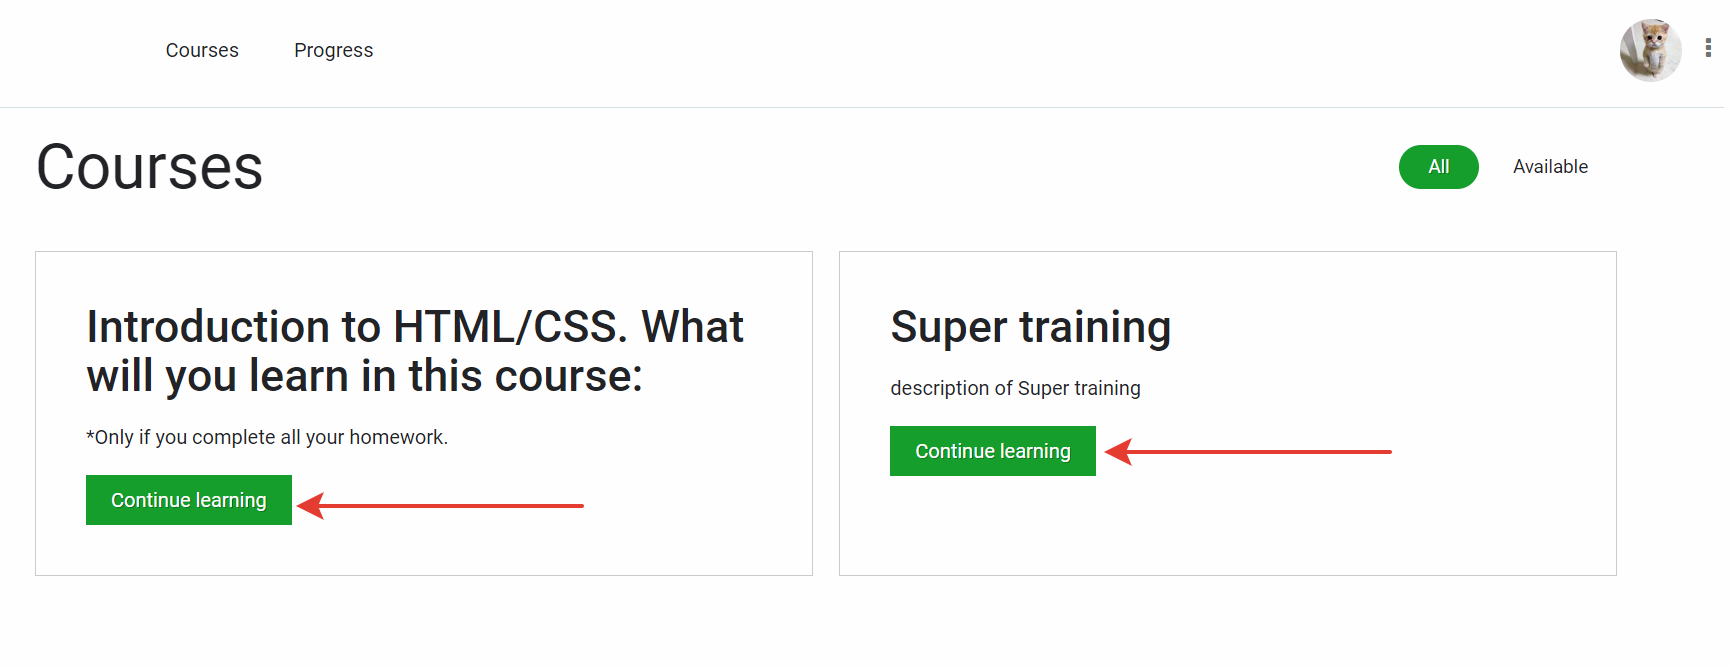
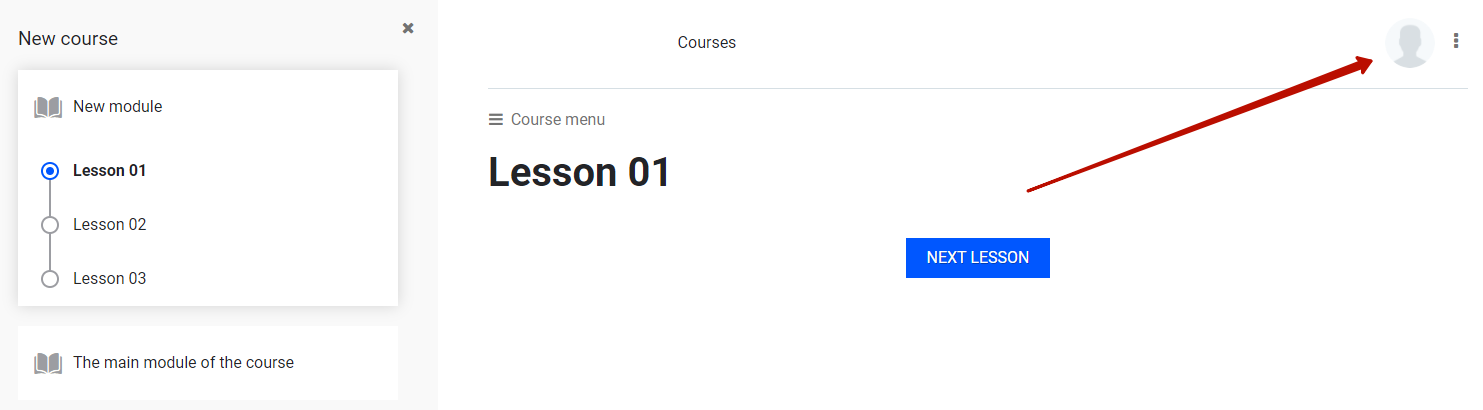
Then he sees the first lesson (if the course starts) or the one which he stops at.
Doing the tasks and preparing reports
You can create the lessons which can be accessed in reading mode only and the courses with the tasks to be done. Of course, you can attach files both to the lesson and to the particular tasks. One lesson can contain several tasks with a report for each task:
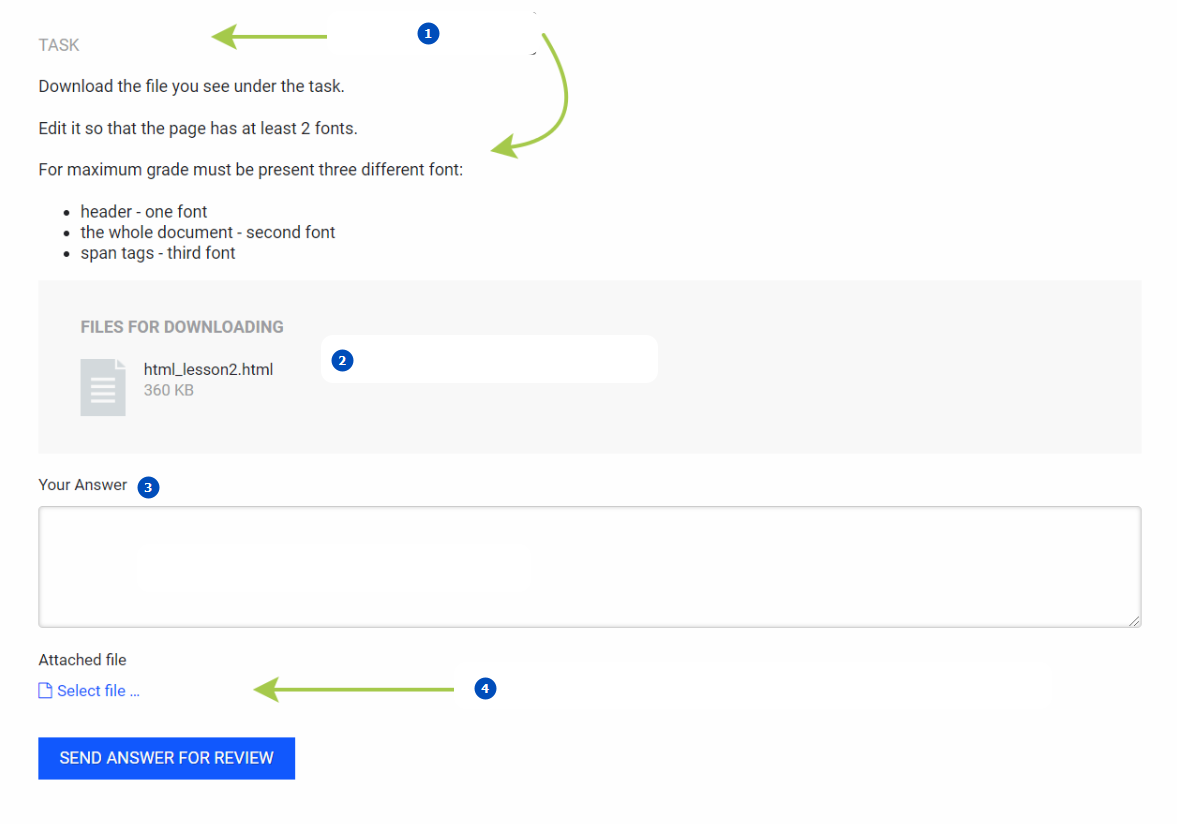
- task and its text
- supporting files for the task
- window for the students answer
- here student can attach and send a file for checking
Here is an article about the task settings. And here you can find out about the work with the reports sent by the students.
Progress
A Progress tab helps a student track the current progress for a particular course. Course modules are represented by the horizontal bars, and the colour denotes their status: completed, underway, and not started yet: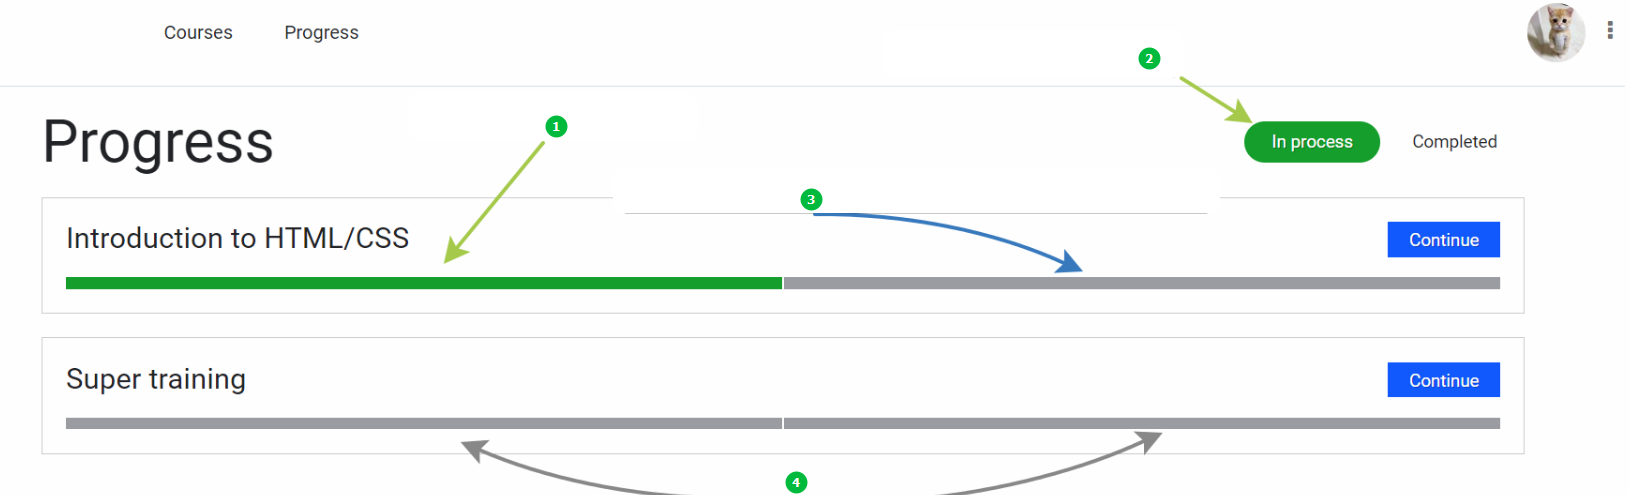
- completed module
- courses in progress
- module in progress (not all lessons are done)
- learning is started but no lesson has been completed
Pay attention to the menu in the upper right corner: a student can see both the courses he has started but not completed yet and the completed ones. If a student completed all obligatory lessons, he may click “Finish the course”. Then Progress tab will display the completed course in Completed Courses tab.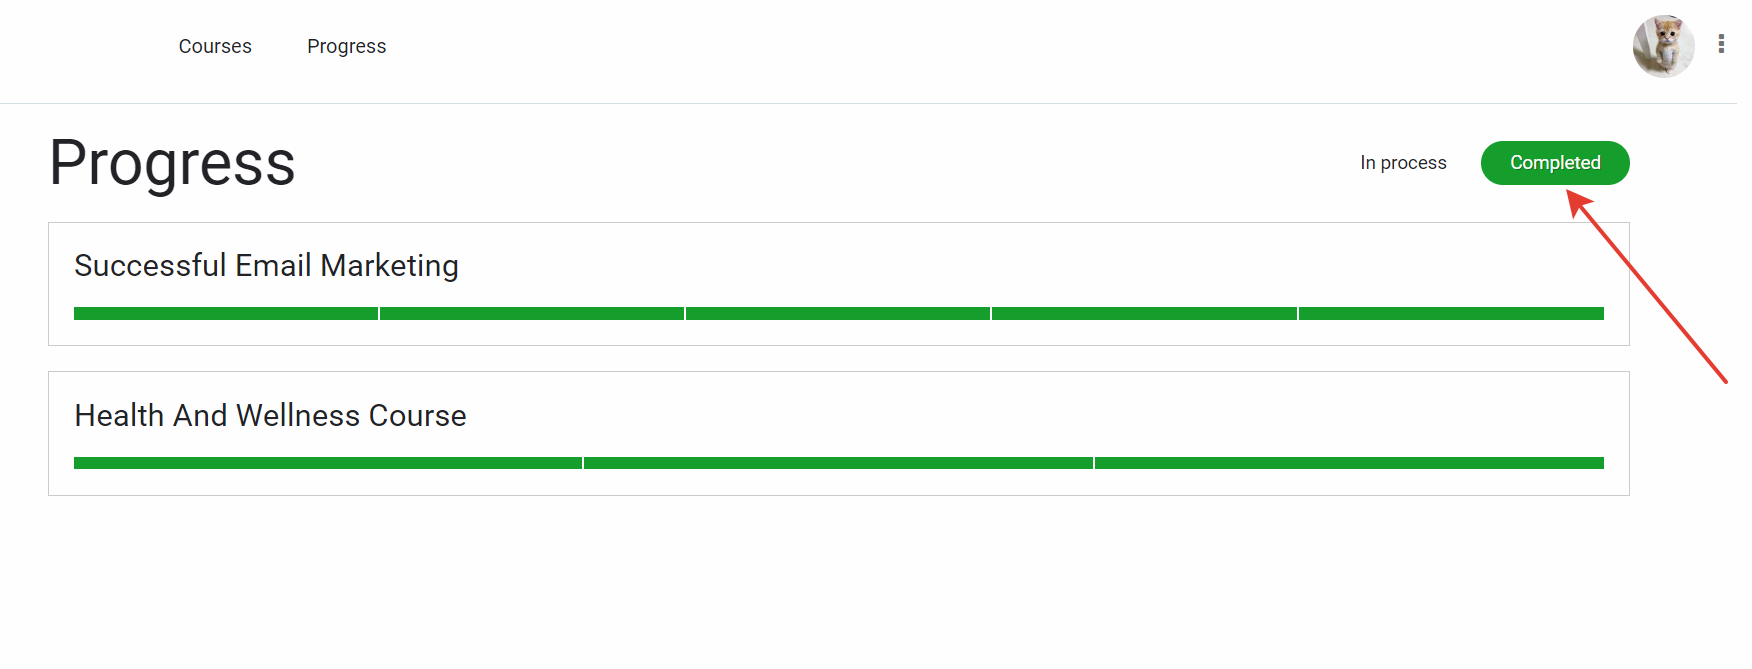
Course structure
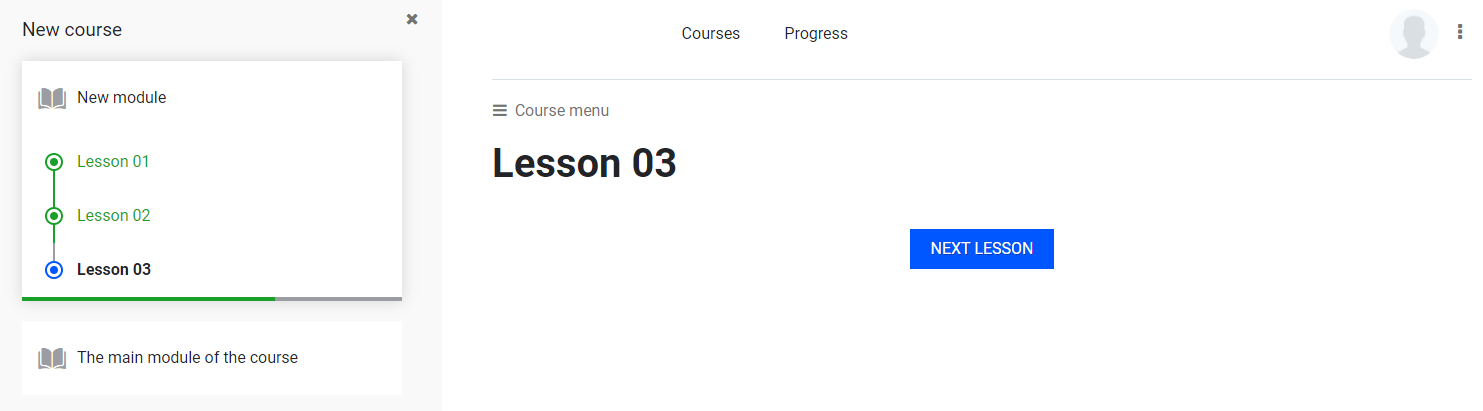
While doing a course, a student could see a drop-down menu:
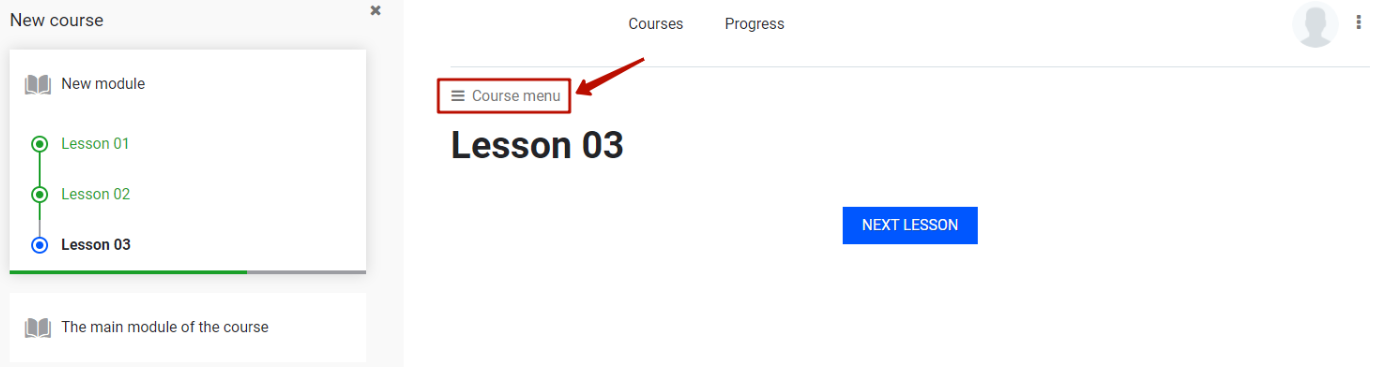
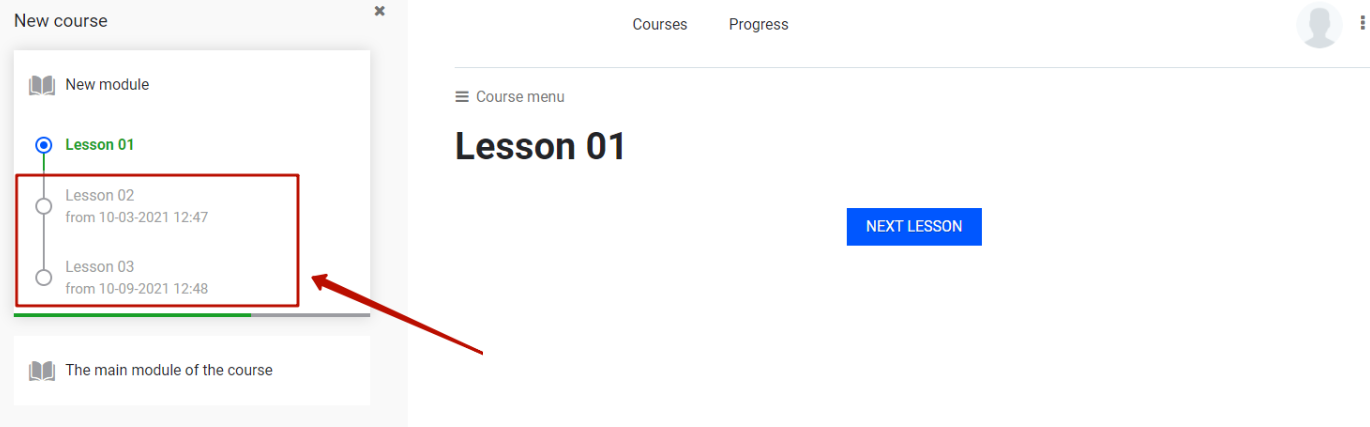
If he clicks the arrows of the drop-down menu, he will see the structure of the course. It should be noted that the screenshot above gives the easiest example: a course consists of one module, and this module with its lessons is accessible for the student. In the article about how to create and to choose the right settings for a course we will describe how to create inaccessible lessons, inaccessible modules, modules which become accessible in some time, as well as how to display the lesson timetable. In the end, you can create a complicated system which will be presented to a student like this:

Or like that:
Course layout
All screenshots in this article display the default layout settings. However, you can change the colour by selecting the one from the pre-set colors or by creating your own color combinations. Here is an example: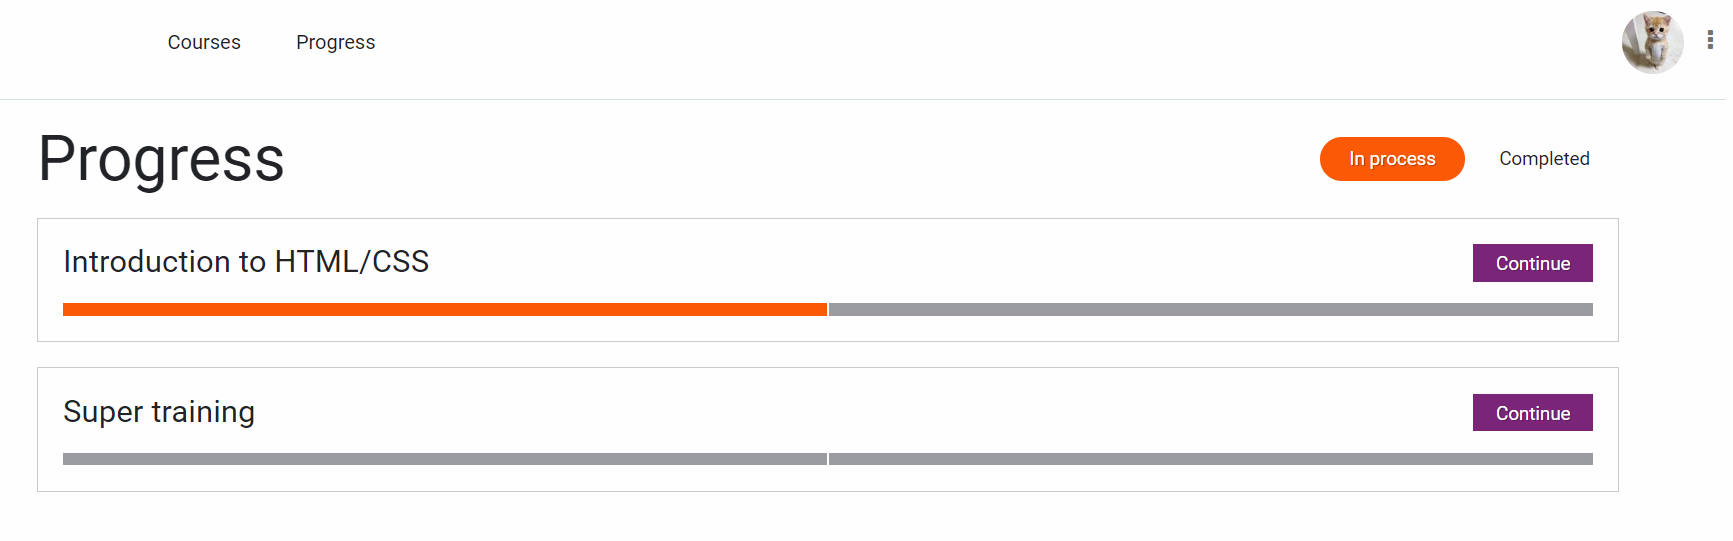
Layout settings also include fonts, logo selection, etc. You can find out more about this in Course Settings.
