Content
To go to the Store settings, you must select the Store item in the main menu and then in the submenu – Settings:
The form contains 8 tabs:
- Payment method
- General settings
- After prepayment
- Delivery
- Alternative store
- Payment methods for alternative store
- Sales tax
- Language
Payment method
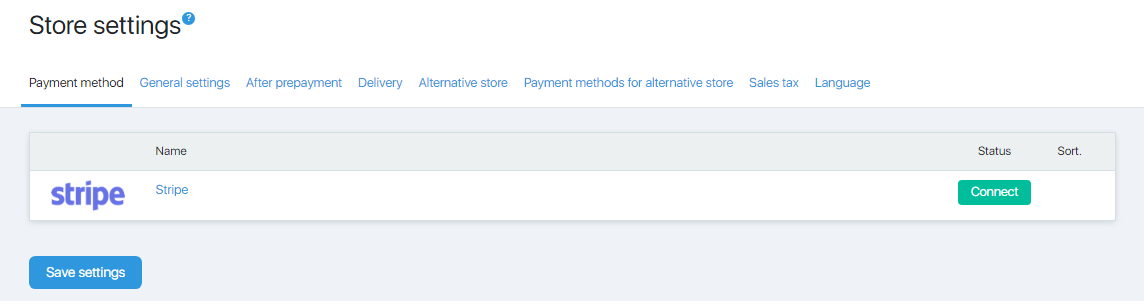
To set a payment method, click «Connect»
General settings
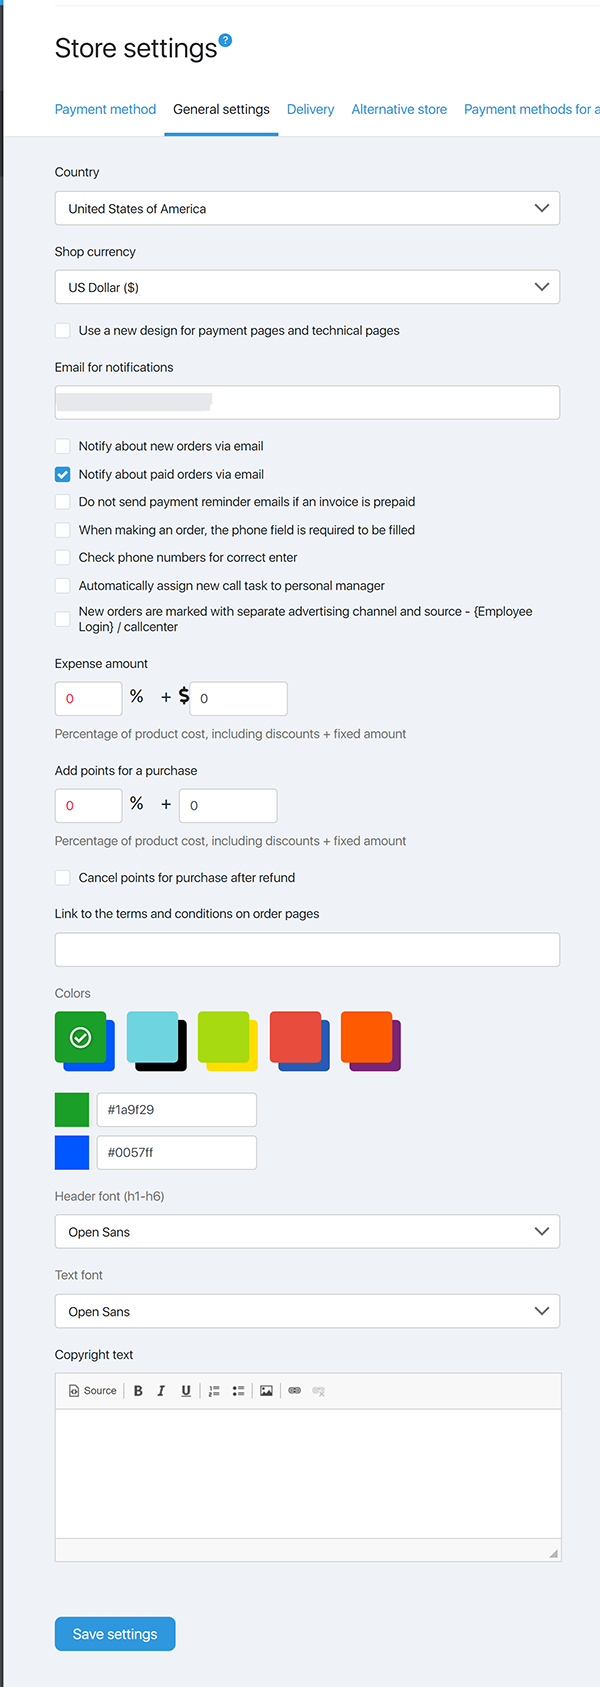
Email for notifications. This field specifies the e-mail address to which alerts will be sent about all created and paid bills in your store.
Notify about new orders via email. If you uncheck this box, notifications about created accounts will not be received.
Notify about paid orders via email. If you uncheck this box, notifications about paid bills will not be received.
Do not send payment reminder emails if an invoice is prepaid.
– [ ] inactive – reminder emails go to everyone who hasn’t paid the bill, including those who have prepaid.
– [ ] active – emails are sent only to those who have made an invoice, have not paid, and have no prepayment.
When making an order, the phone field is required to be filled. The included setting adds the “phone” field to the default order page.
Check phone numbers for correct enter. A phone number mask has been added to minimize typing errors. Location is determined by the client’s IP address.
Automatically assign new call task to personal manager. If an additional employee with Call Center rights is added to the system and he has the right to view all accounts, or accounts of certain products, new accounts will be automatically added to the calling task.
New orders are marked with separate advertising channel and source – {Employee Login} / callcenter. If the check mark is set, then when the manager creates a new account, it will not be possible to set the Channel and Source on the Advertising label tab. The default channel will be set as callcenter, and the manager’s login will be pulled into the source.
Default minimum prepayment amount. Set in dollars. If during the adding and editing a product to allow prepayment, but not to determine its size, the value will be taken from this field. It should be noted that the prepayment should not be more than half the value of the product, since the second payment can be made at least the amount of the prepayment. Hence the second consequence: it is recommended that the minimum prepayment amount set in the product be a multiple of the product amount.
Expense amount. Setup is needed for your financial statistics. For example, you can set the default to count 13% from each product, which is spent on paying taxes and another 100 dollars, for example, postage or payment of encryption for each copy of the product. If the fields are not filled in, then the amount of profit and income in the Store section => Accounts will not differ.
Cancel points for purchase after refund. When this function is enabled, then if a refund is marked on the account, the points accrued for the payment of this account will be deducted automatically.
Link to the terms and conditions on order pages. In this field you can specify a reference to the offer, that will appear in all store products by default.
Colors. With this setting, you can choose the colors and fonts that will be used on the order pages.
You can choose the color range from the suggested colors, or add your own (2 colors) to the fields for inserting the html-color code. The color from the first field will be used to design the order button and the order amount. And the color from the second field, for the color of the links on the page. You can also select the font of the title (title “Ordering”) and the main font of the text, which is displayed in the product name, product value, fields and order button.
Copyright text. Information to be displayed in the footer of the page for the invoice.
After prepayment
In this tab, you can customize the text of the letter that comes to the user after making a prepayment.
Message “Thank you for prepayment”
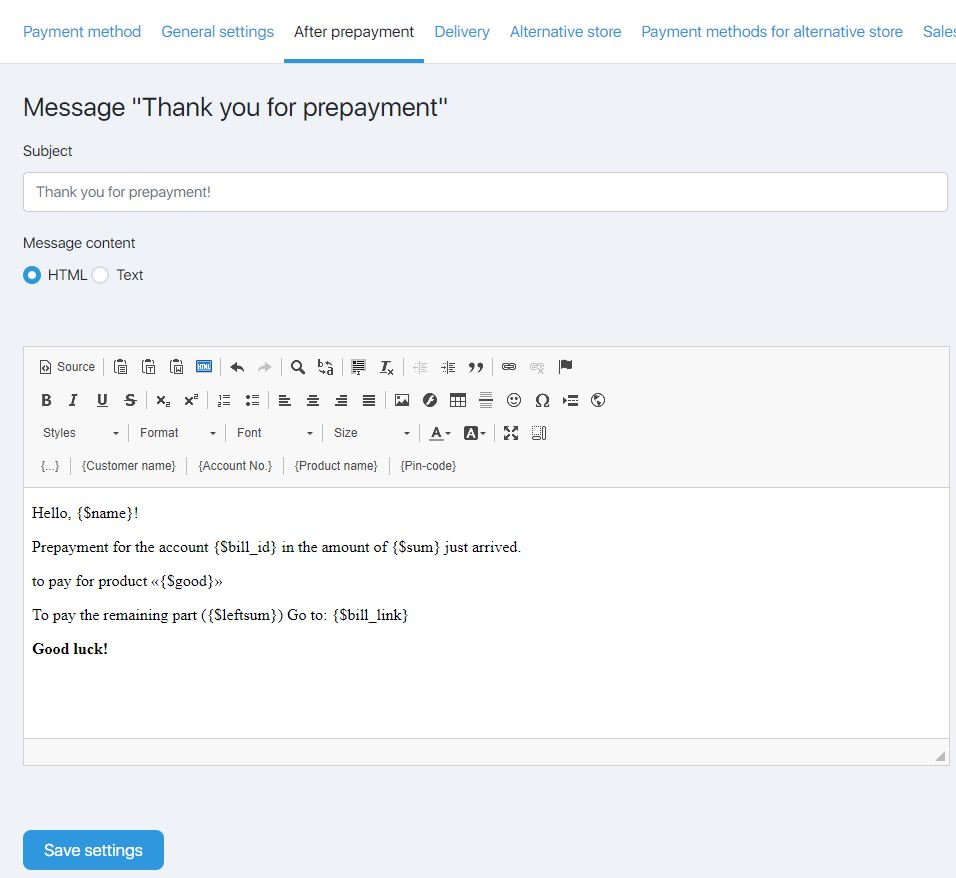
- {…} – button for using additional contact fields in variables. Read more here.
- {$name} — inserts in the letter the name of the contact specified when making the account;
- {$bill_id} — substitute in the letter the number of the account for which the prepayment was made;
- {$sum} — substitute the amount of prepayment made in the letter;
- {$good} — substitutes in the letter the name of the goods for which the prepayment is made;
- {$leftsum} — substitutes the remaining amount in the letter;
- {$bill_link} — substitute in the letter a link to pay the balance.
Delivery
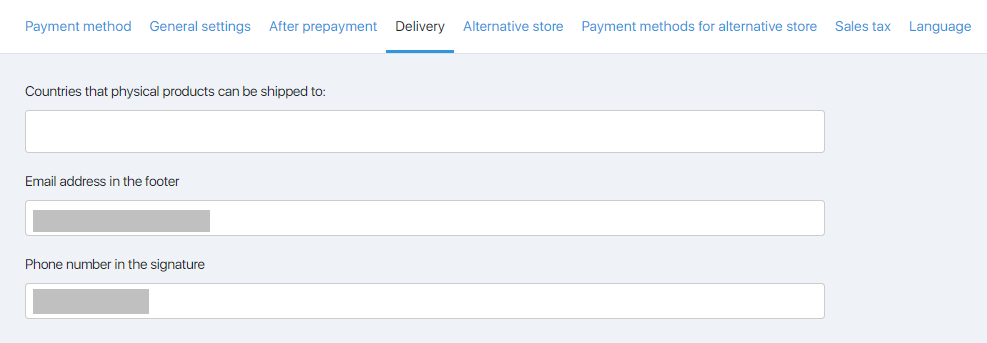
On this tab, you can designate the countries, the list of which will then be visible when creating or editing a physical product, on the “Delivery” tab.
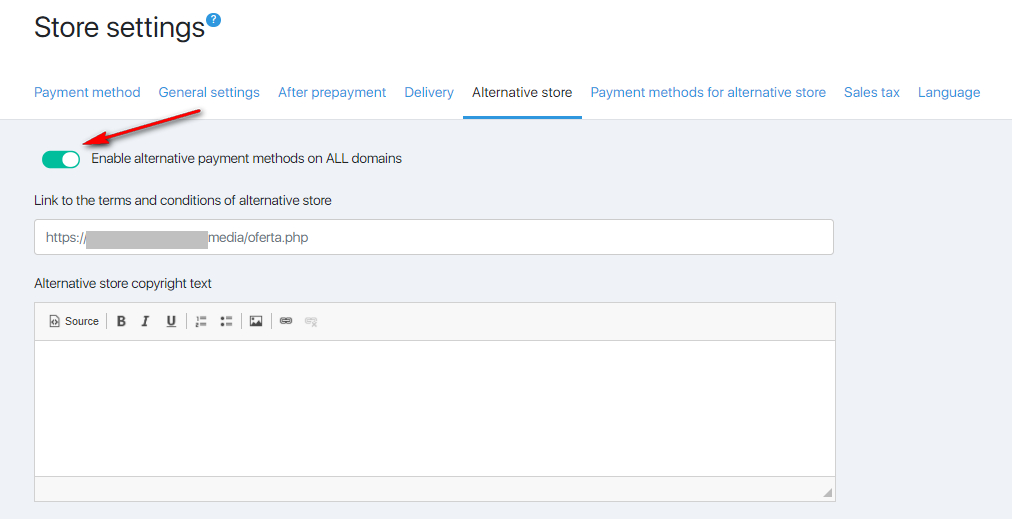
Alternative store
The point of the alternative store is to set up a redistribution of the funds received to different accounts in one account. That is, if you give a link to a regular store – money goes to one account, give another link (to an alternative store) – money goes to another account.
How it works?
In the Store ==> Settings section, you can choose a store for which you make settings for payment methods, that is, they will naturally be different for the main and alternative.

In order to configure the work of an alternative store, you must have an associated domain and assign it as an alternative store in the Store ==> Settings ==> Alternative Store.
Further, the distribution of funds depends on the status of the alternative store: ON or OFF.
- If the alternative store is ON, then ALL products, regardless of the domain of which store the order form was generated, will go to the accounts of the alternative store.
- If the alternative store is in the OFF status, then by default the payment methods of the domain on which the form is generated are set.

If you have html skills and want to manually redistribute payment methods for certain products, then you can change the action forms to the domain of the alternative store so that the accounts are created to the alternative store.
Also, on this tab, you can configure the text of the copyright similarly to the settings of the main store.
Payment methods for alternative store
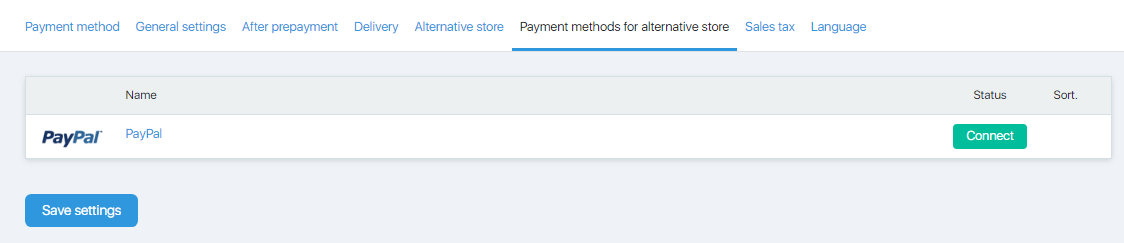
More on PayPal settings
Sales tax
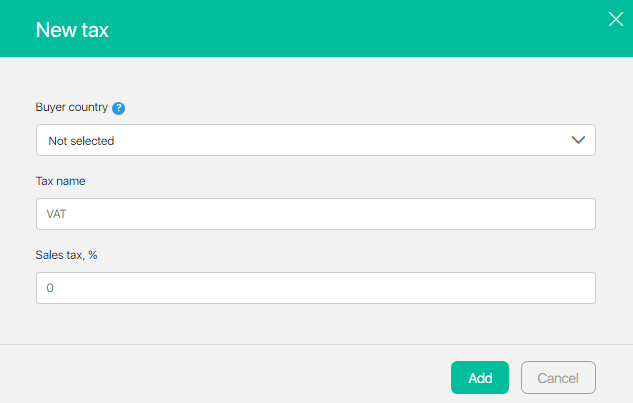
In this tab, you can add sales tax for a specific country of the buyer. Sales tax will be added to the product price when the buyer selects the country for which sales tax has been added:

Clicking on the “Add sales tax” button will open a menu for adding it manually:
You can also add standard EU VAT rates and request the customer’s VAT number. To do this, click on the “Add EU standard VAT rates” button and put a tick in the window that opens in the “Request customer VAT ID” item. After that, if necessary, select additional items with checkmarks. This functionality allows you to massively fill in a table at standard VAT rates for EU countries, so as not to enter data for each country separately:
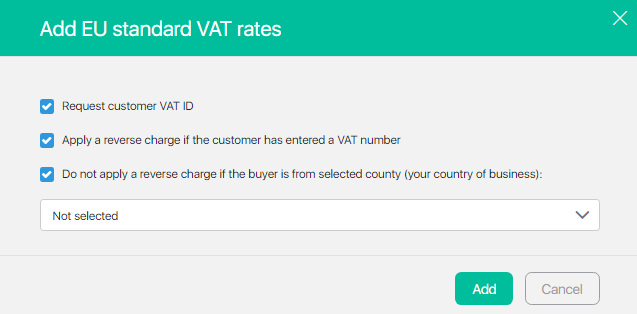
The Add EU standard VAT rates button adds a sales tax value for Europe only. In the country selection box (Not selected in the screenshot) select your country where your business is registered before importing sales taxes. In this case, you can exclude Reverse Charge for your country.
You can delete the added data by clicking on the cross next to them:
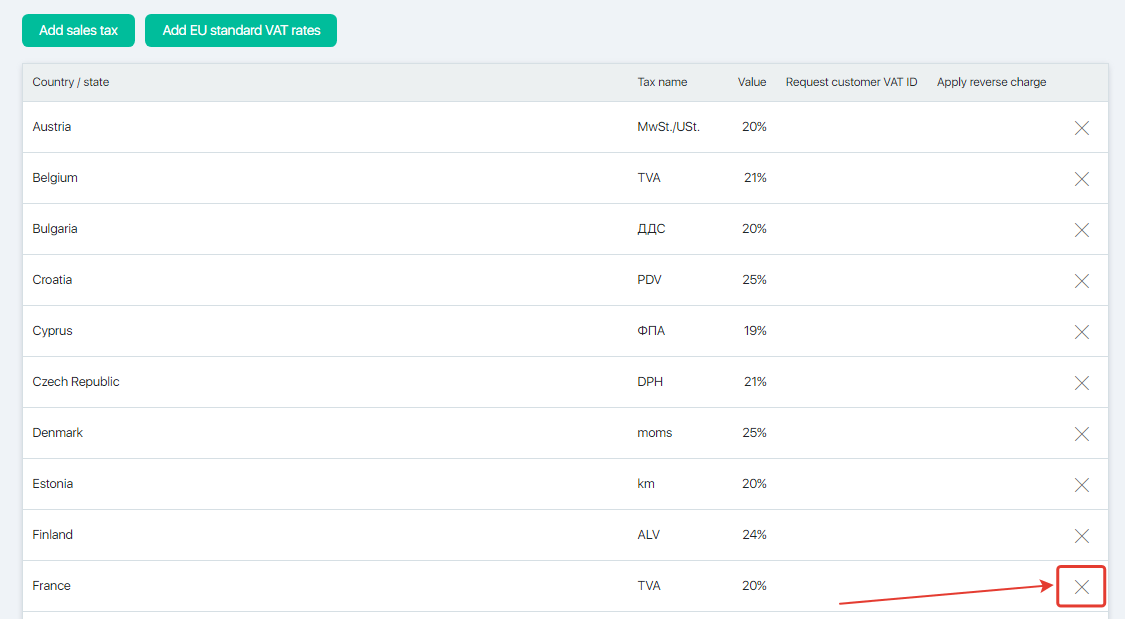
This is useful if you want to edit automatic data. After deleting the data, you can add the information you need via the “Add sales tax” button.
Language
On this tab, you can edit the message for a paid subscription product. By clicking on the question mark, you will see a hint that indicates what each variable from the field means (what for).
Also, here you can set the format of the payment start date. You can choose a suitable format from the dropdown list:

The text from the “Message for a product with paid subscription” field will be displayed on the product order page if the payment type was “Subscription” (ie recurring payment) for the product.


 (4 votes, avr.: 3.75 / 5)