Content
To go to the CRM settings, you must select the Contacts item in the main menu and then Settings in the submenu.
The form contains tabs:
- Additional lead fields;
- reCaptcha;
- Instructions for assignment callings;
- Messages for order callings;
- Instructions for order callings.
Note! On all tabs, except for Additional lead fields, adding instructions and editing emails is available, if at least one employee is added to the system.
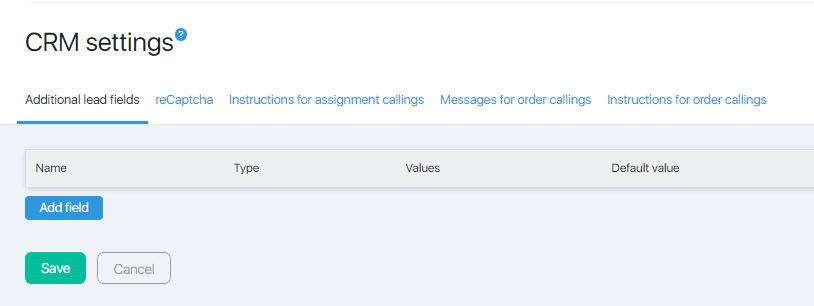
Additional lead fields
If necessary, you can specify additional fields that will be filled when adding a new contact.
To add, click the Add Field button and fill out the form in the pop-up window.

Indicate:
- Field name;
- Type, which can take the following values:
- Integer;
- Afractional number;
- Date;
- Date and time;
- String (up to 255 characters);
- Text (of any length);
- Logical type (yes / no);
- Drop-down list;
- Switches;
- The default value (you do not need to fill it in).
If selected type is a drop-down list, the form will change to:
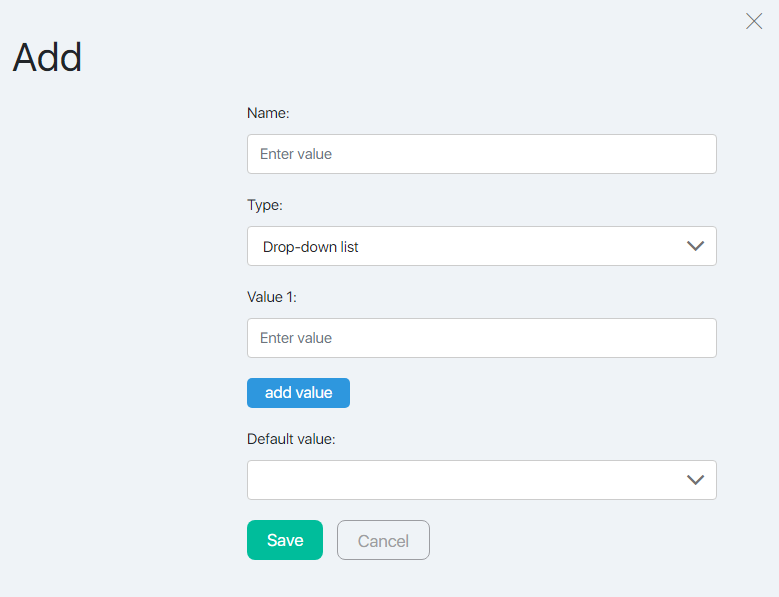
An additional field Value 1 appears where you want to enter a possible value from the drop-down list. The Add Value button will add the next input field.
After filling all fields, click the Save button. The field will be added.
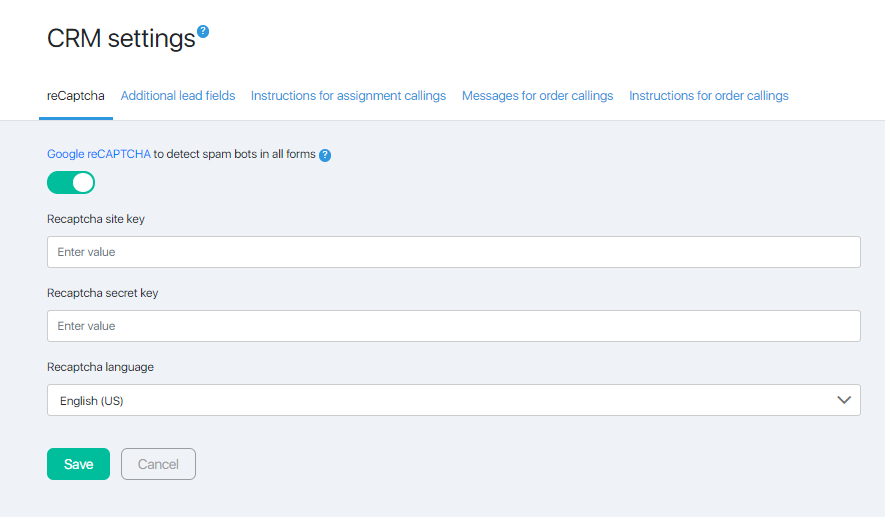
reCAPTCHA
This tab allows you to configure Google reCaptcha. We described the configuration details in this article.
Instructions for assignment callings
This tab allows you to add instructions for calling jobs for employees of the call center.

To create an instruction, the default JustClick text editor is used. The Save button is used to save the changes.
Messages for order callings
On this tab, you can set up default letters that are sent by call center employees to customers after a call.
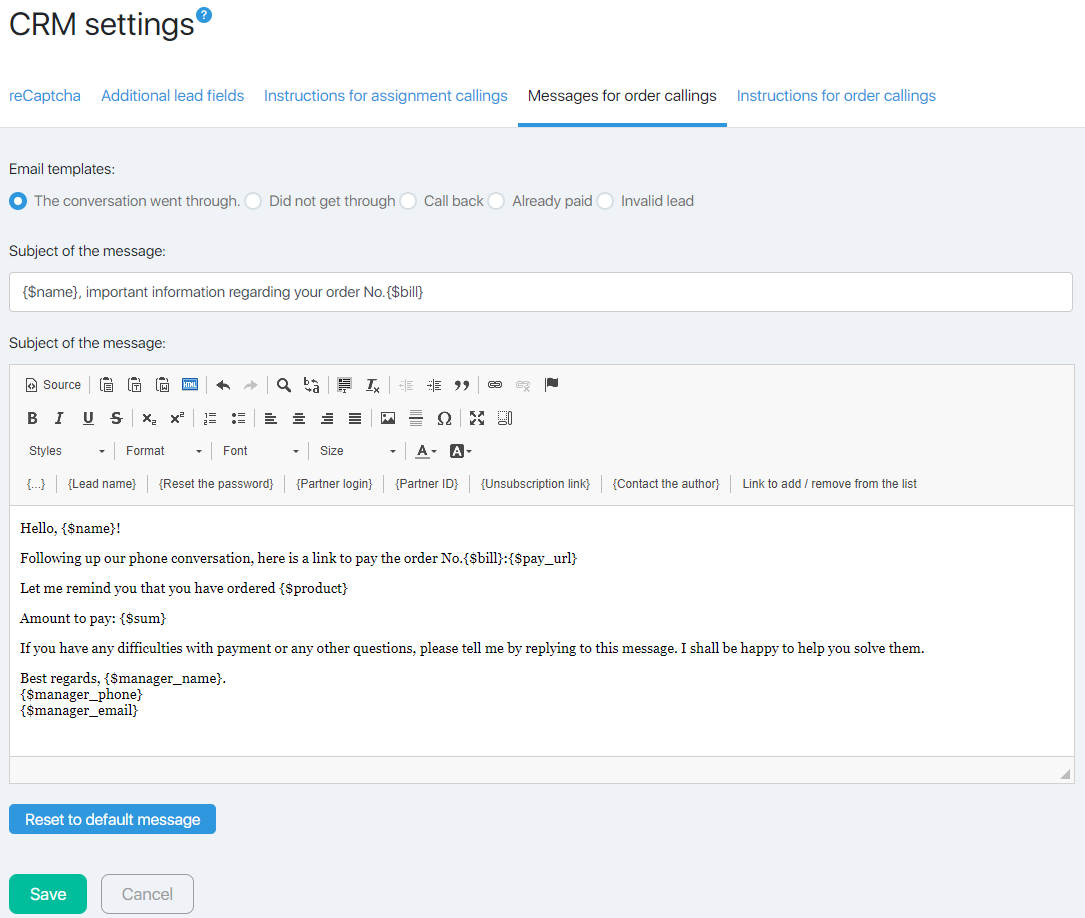
The {…} button has appeared on the editor panel, which allows you to add information from additional contact fields to letters. More details can be found here.
You need to use the radio button to select a letter template. The options include:
- The conversation went through;
- Did not get through;
- Call back;
- Already paid;
- Invalid lead.
There is a default letter for each option. However, with the default text editor JustClick, you can make changes and additions to the text.
The Reset Default Mail button returns the original version of the message.
Instructions for order calligs
This tab allows you to add instructions for calling accounts for employees of the call center.

To create an instruction, the default JustClick text editor is used. The Save button is used to save the changes.
FAQ (Frequently Asked Questions)
If your customer purchases a product, you can offer them the option to choose whether or not to receive your newsletter. You can do this by configuring an additional field in the CRM, as well as Processes. Let’s describe the settings step by step:
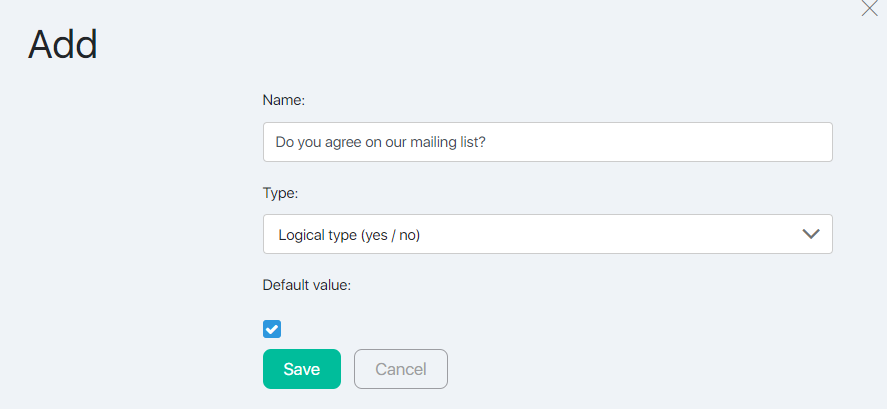
- In the section Contacts — Settings — Additional lead fields create a new field (type – logical type), that is, the client will need to check a box. Enabled checkbox is set to the default value:
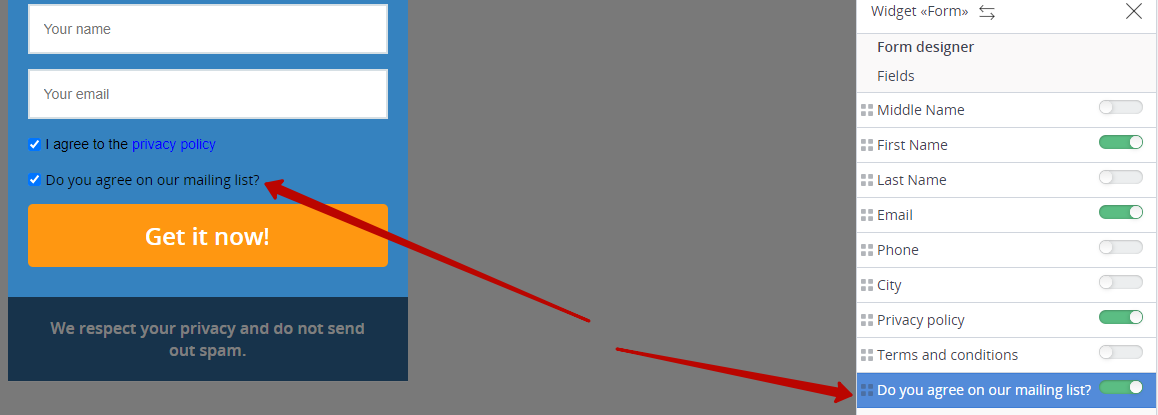
- Under Contacts — Forms, create a product order form and include an additional field:
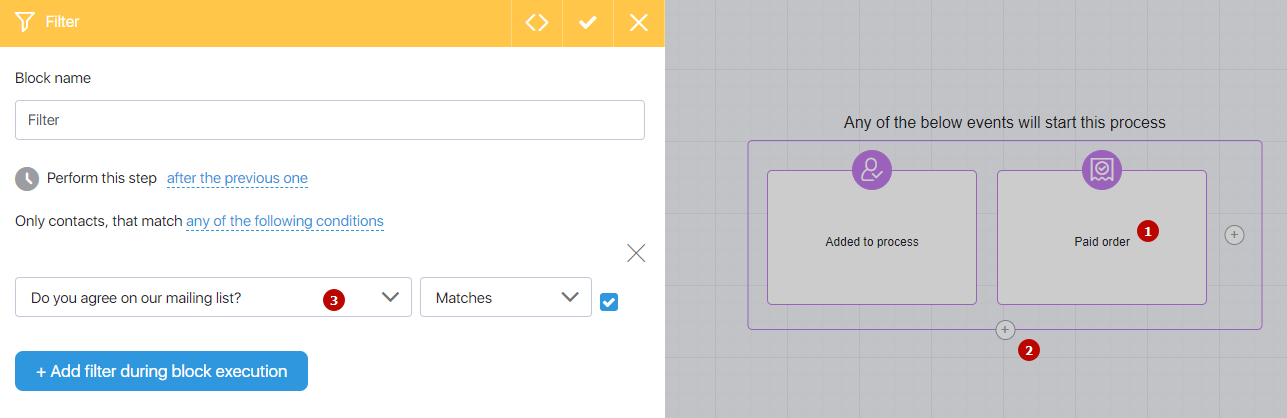
- In Automation — Processes section, configure the Process, in which the start trigger will be the payment for any product (step 1). Then add a Filter (step 2) and a parameter by which the customer will be filtered (step 3):
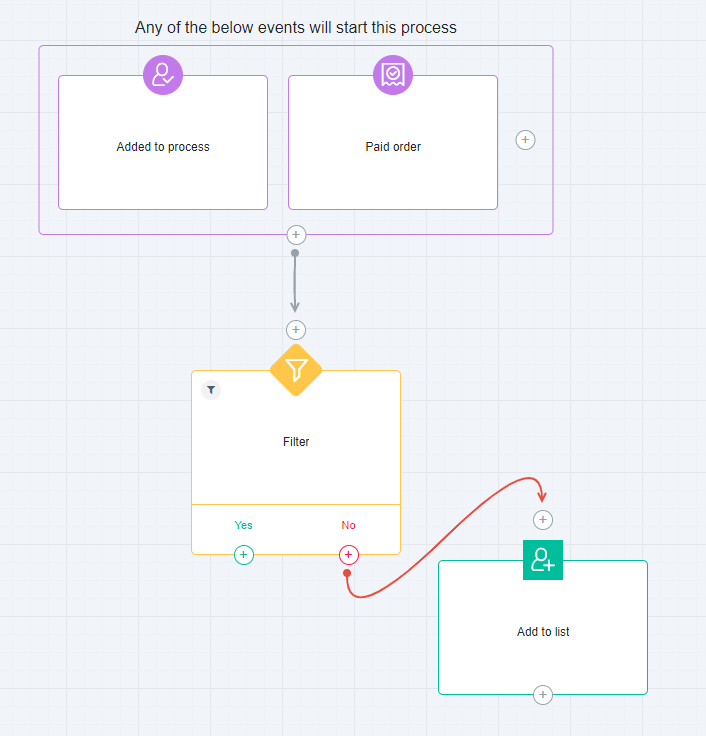
- That is, according to the set filter, if the client did not check the box, you can move it to a separate group, which will be put everywhere in the exceptions mailing.
Note that in the scheme described, the buyer will still receive service letters of our service after the purchase of the product, as well as service letters for authorization in a personal cabinet courses, but will not receive a newsletter.
